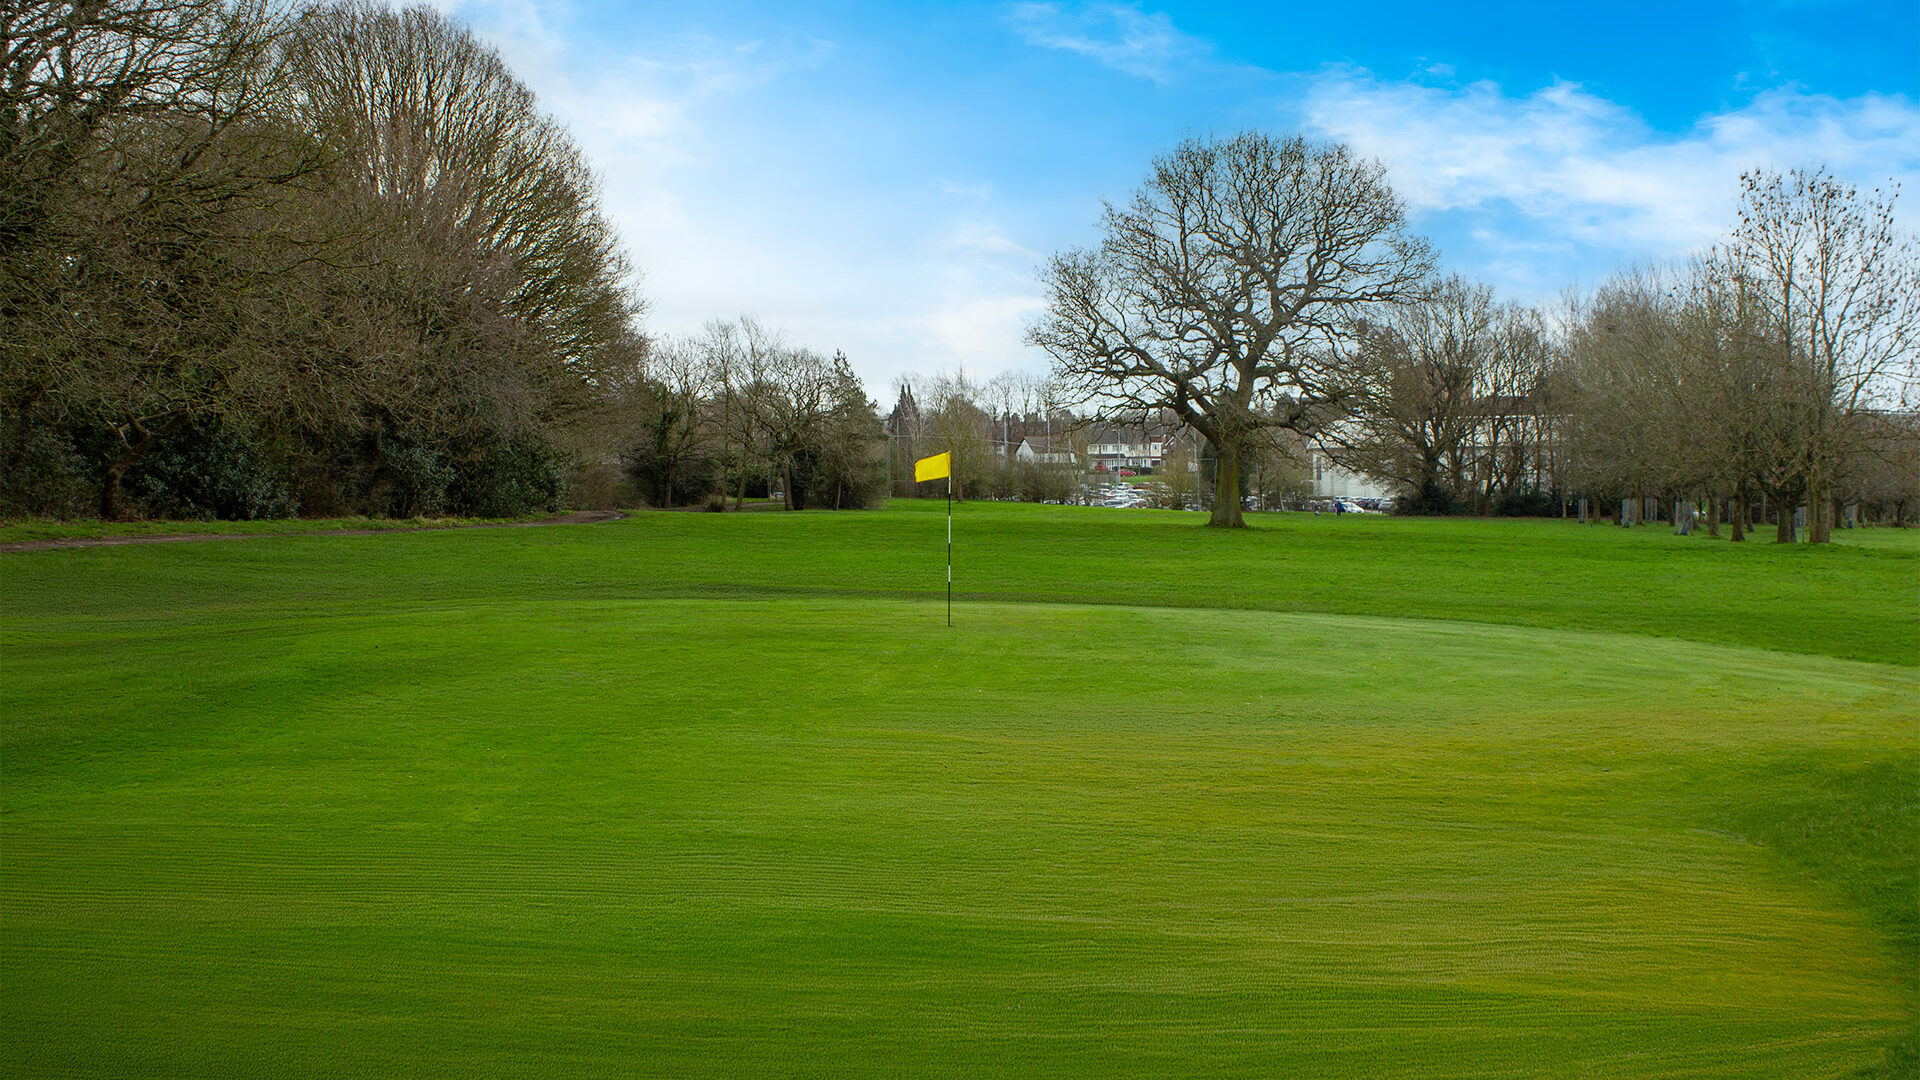
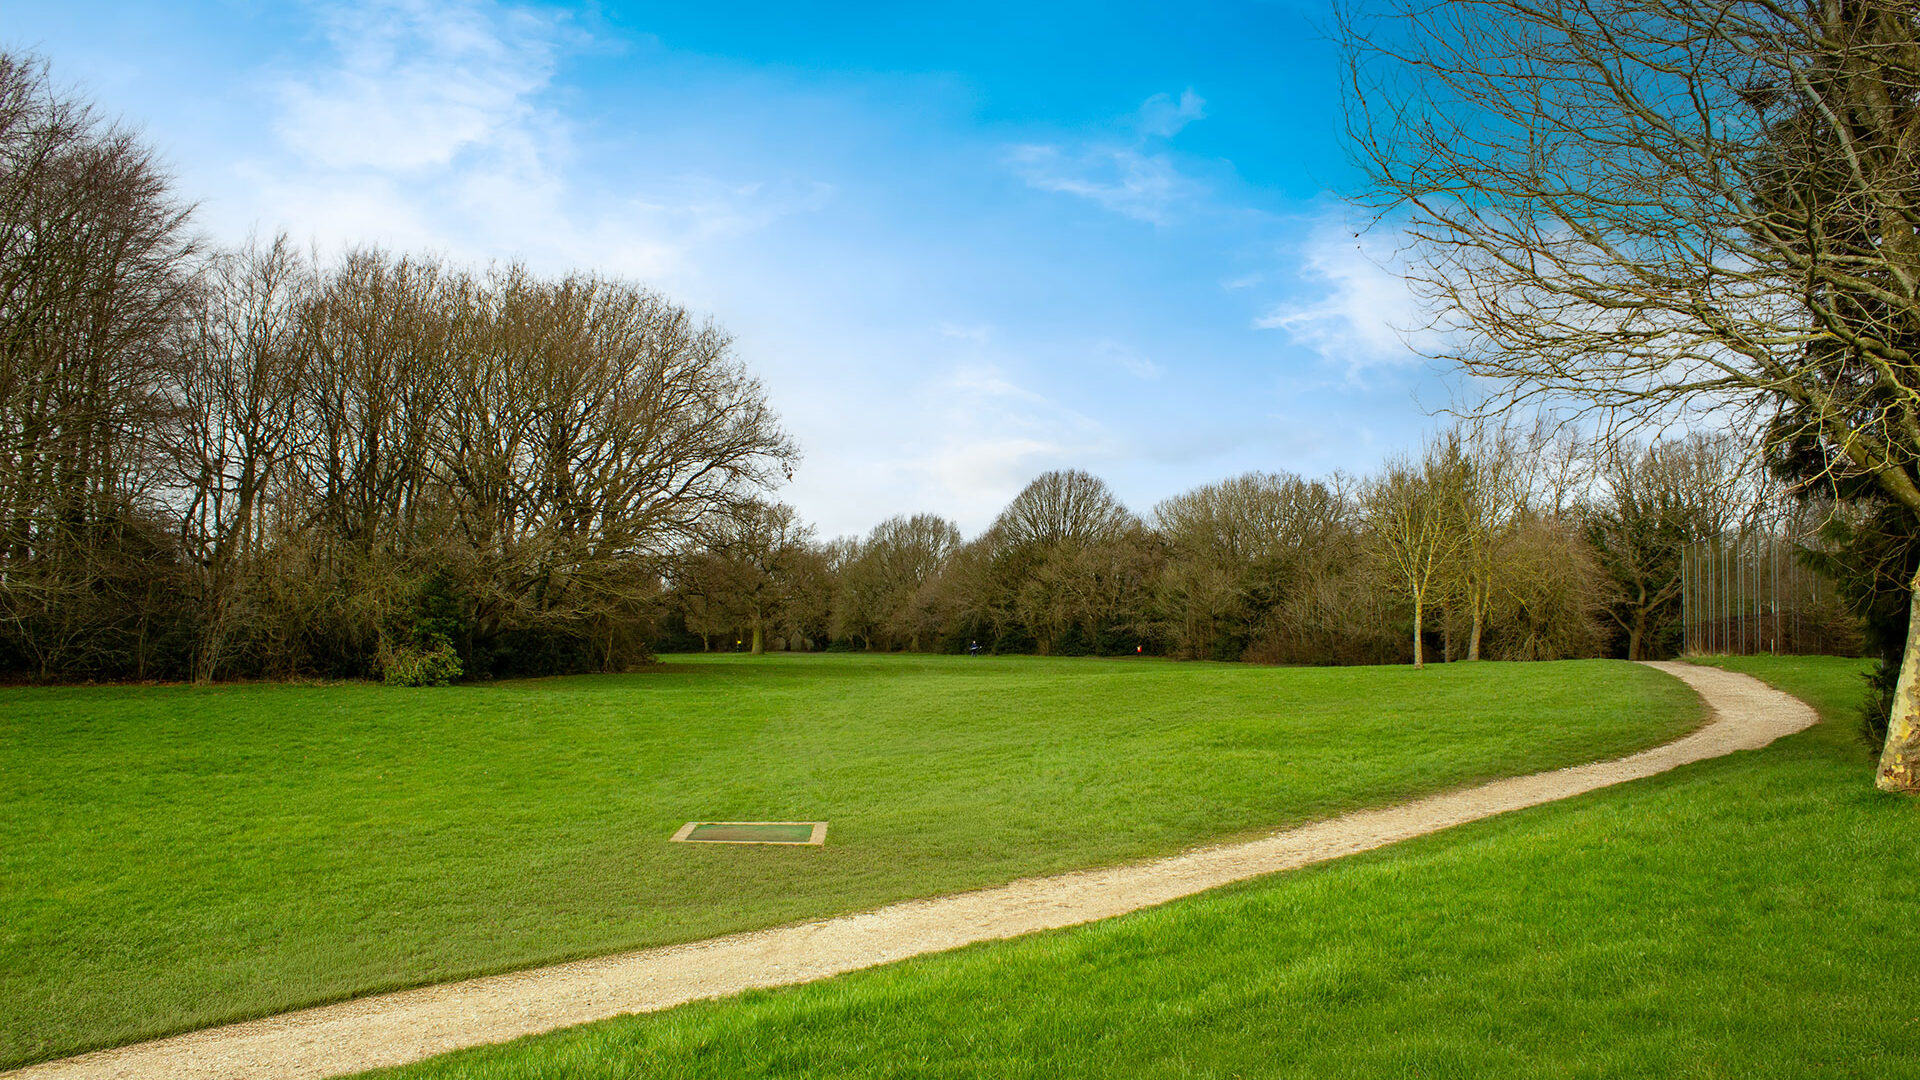
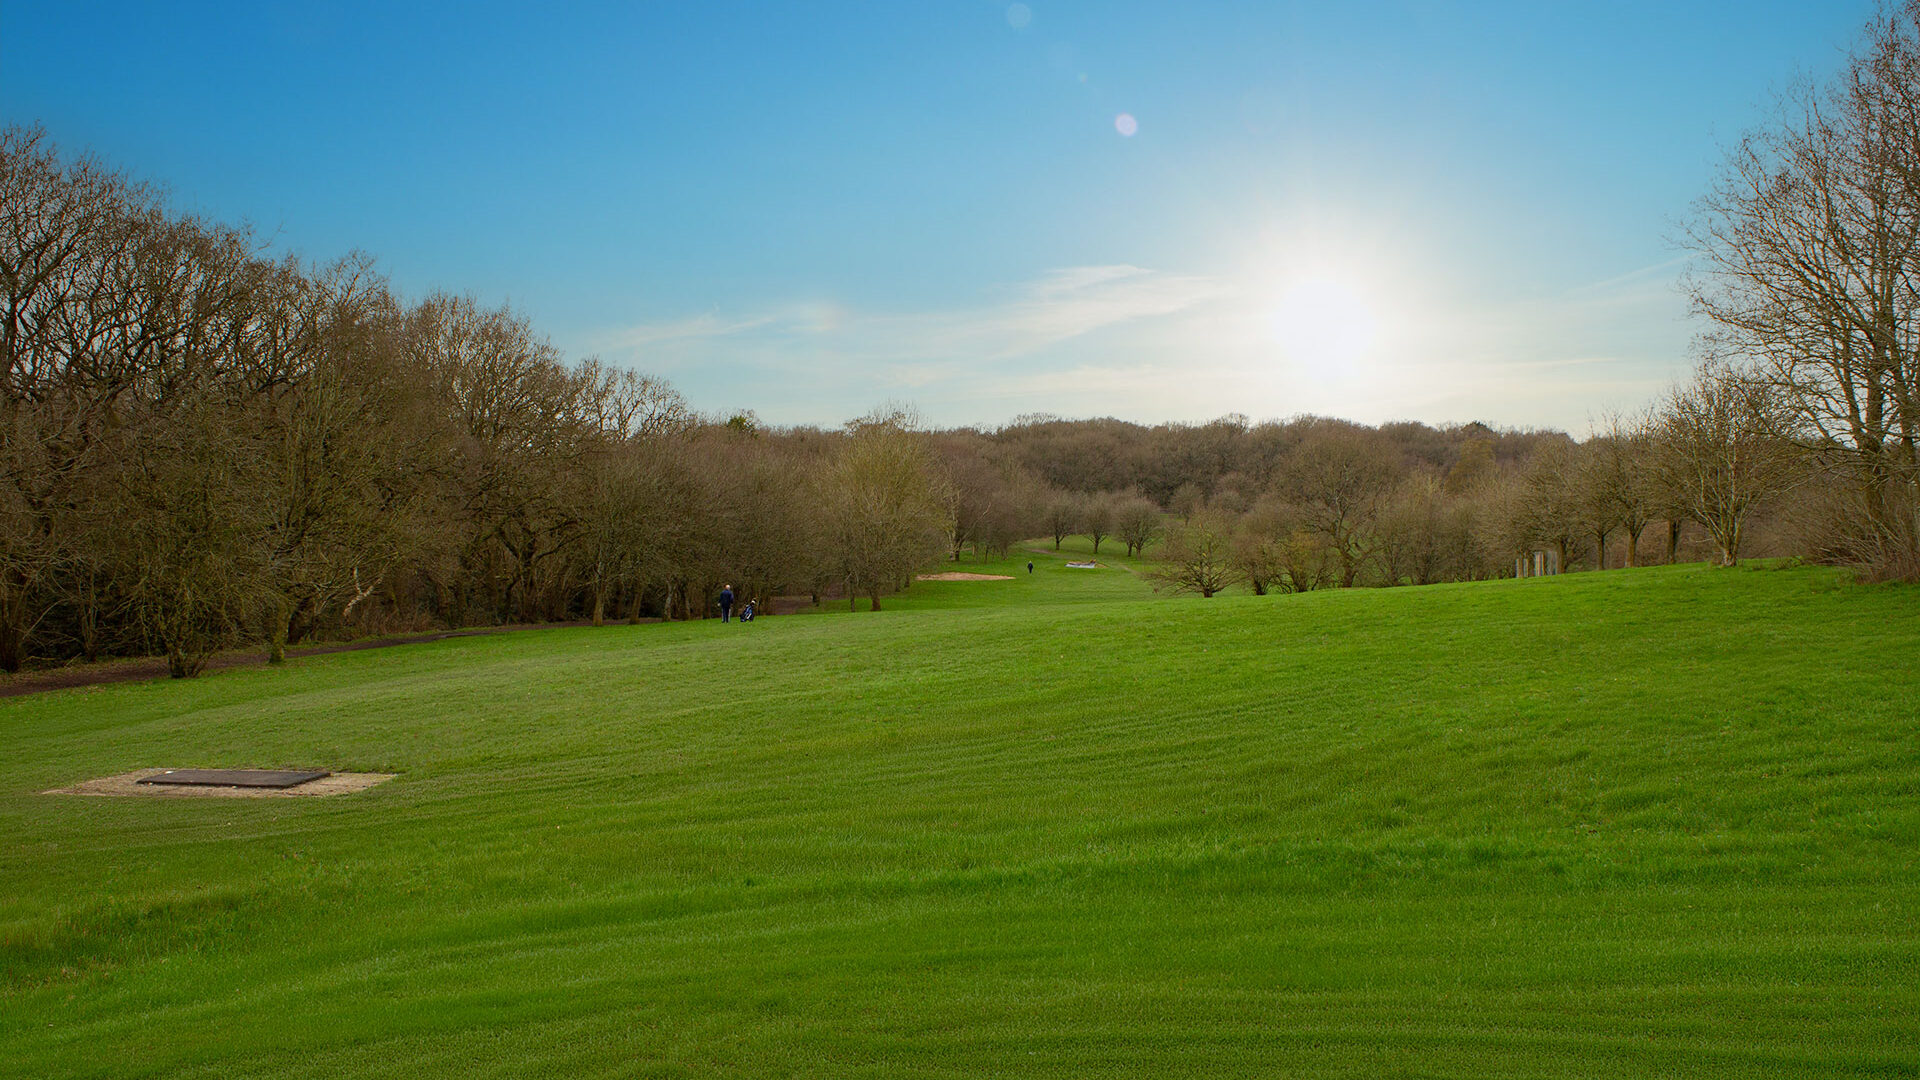
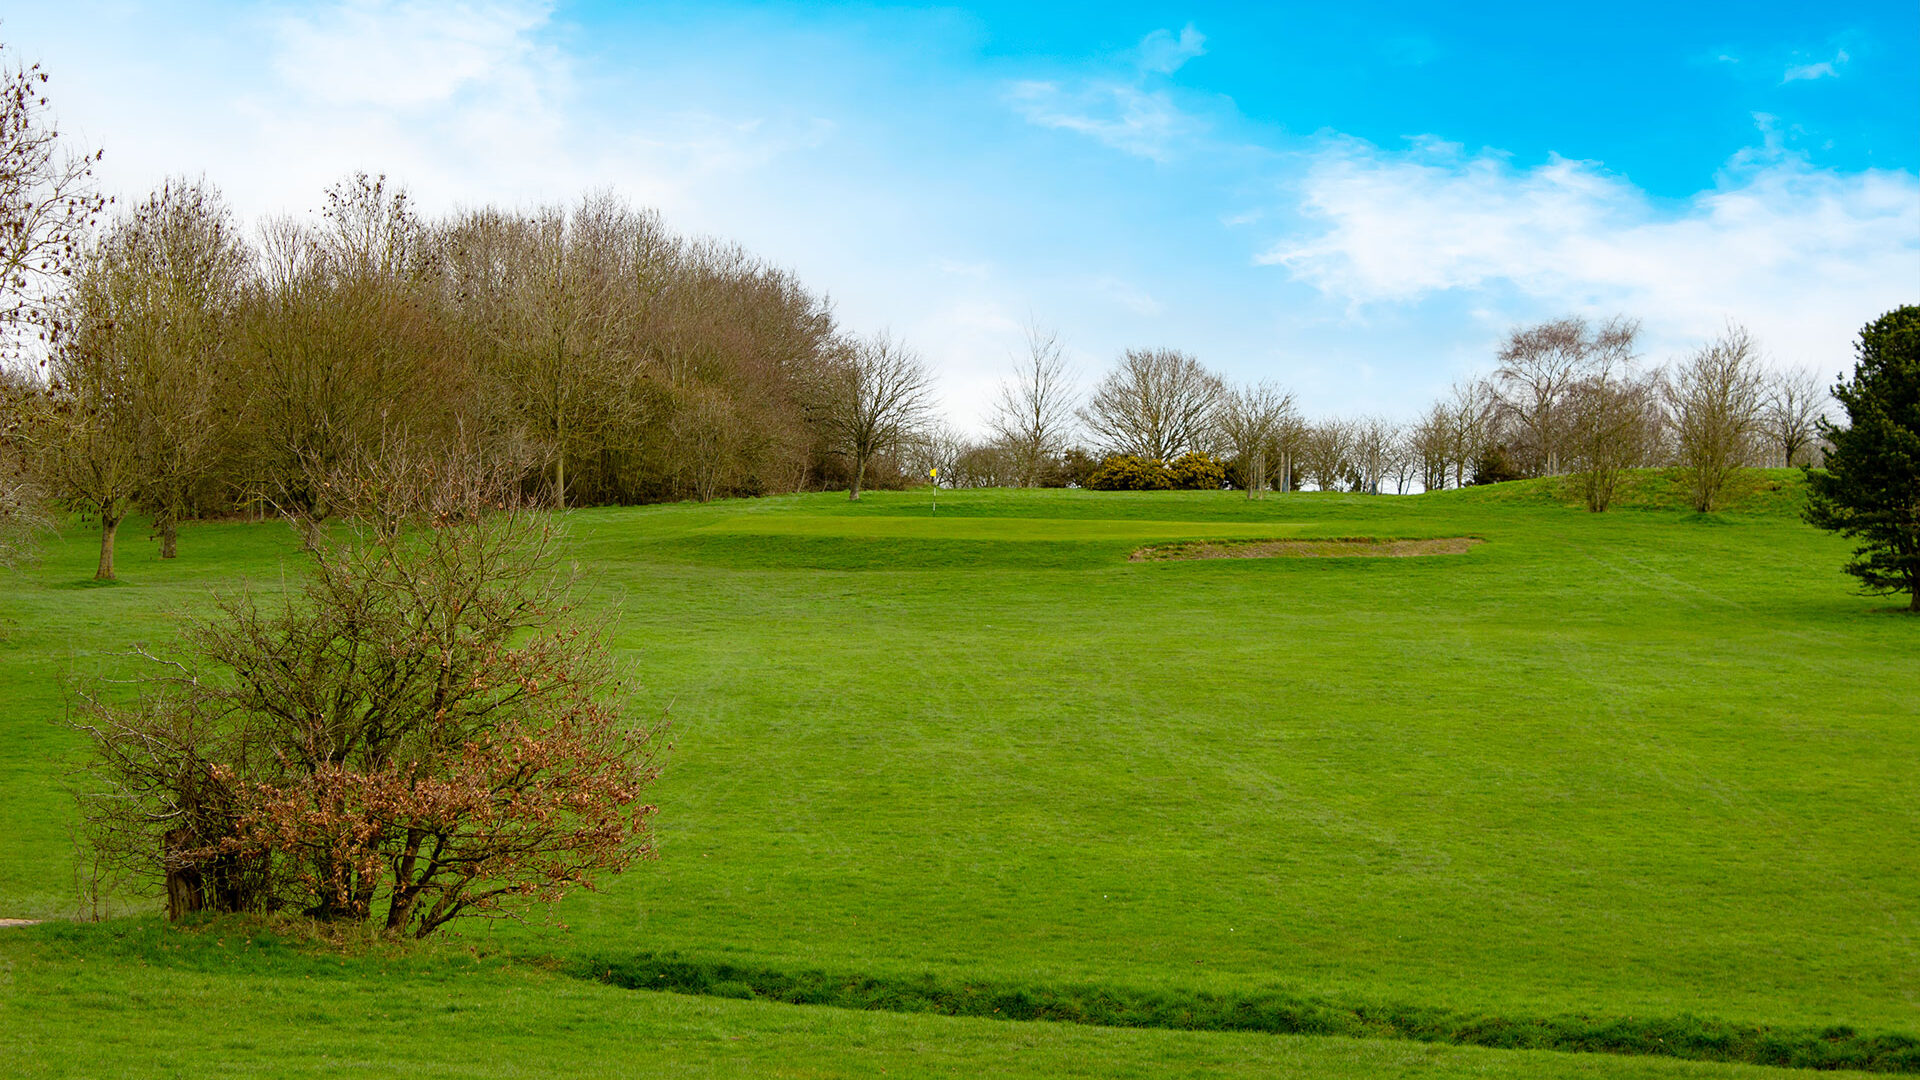
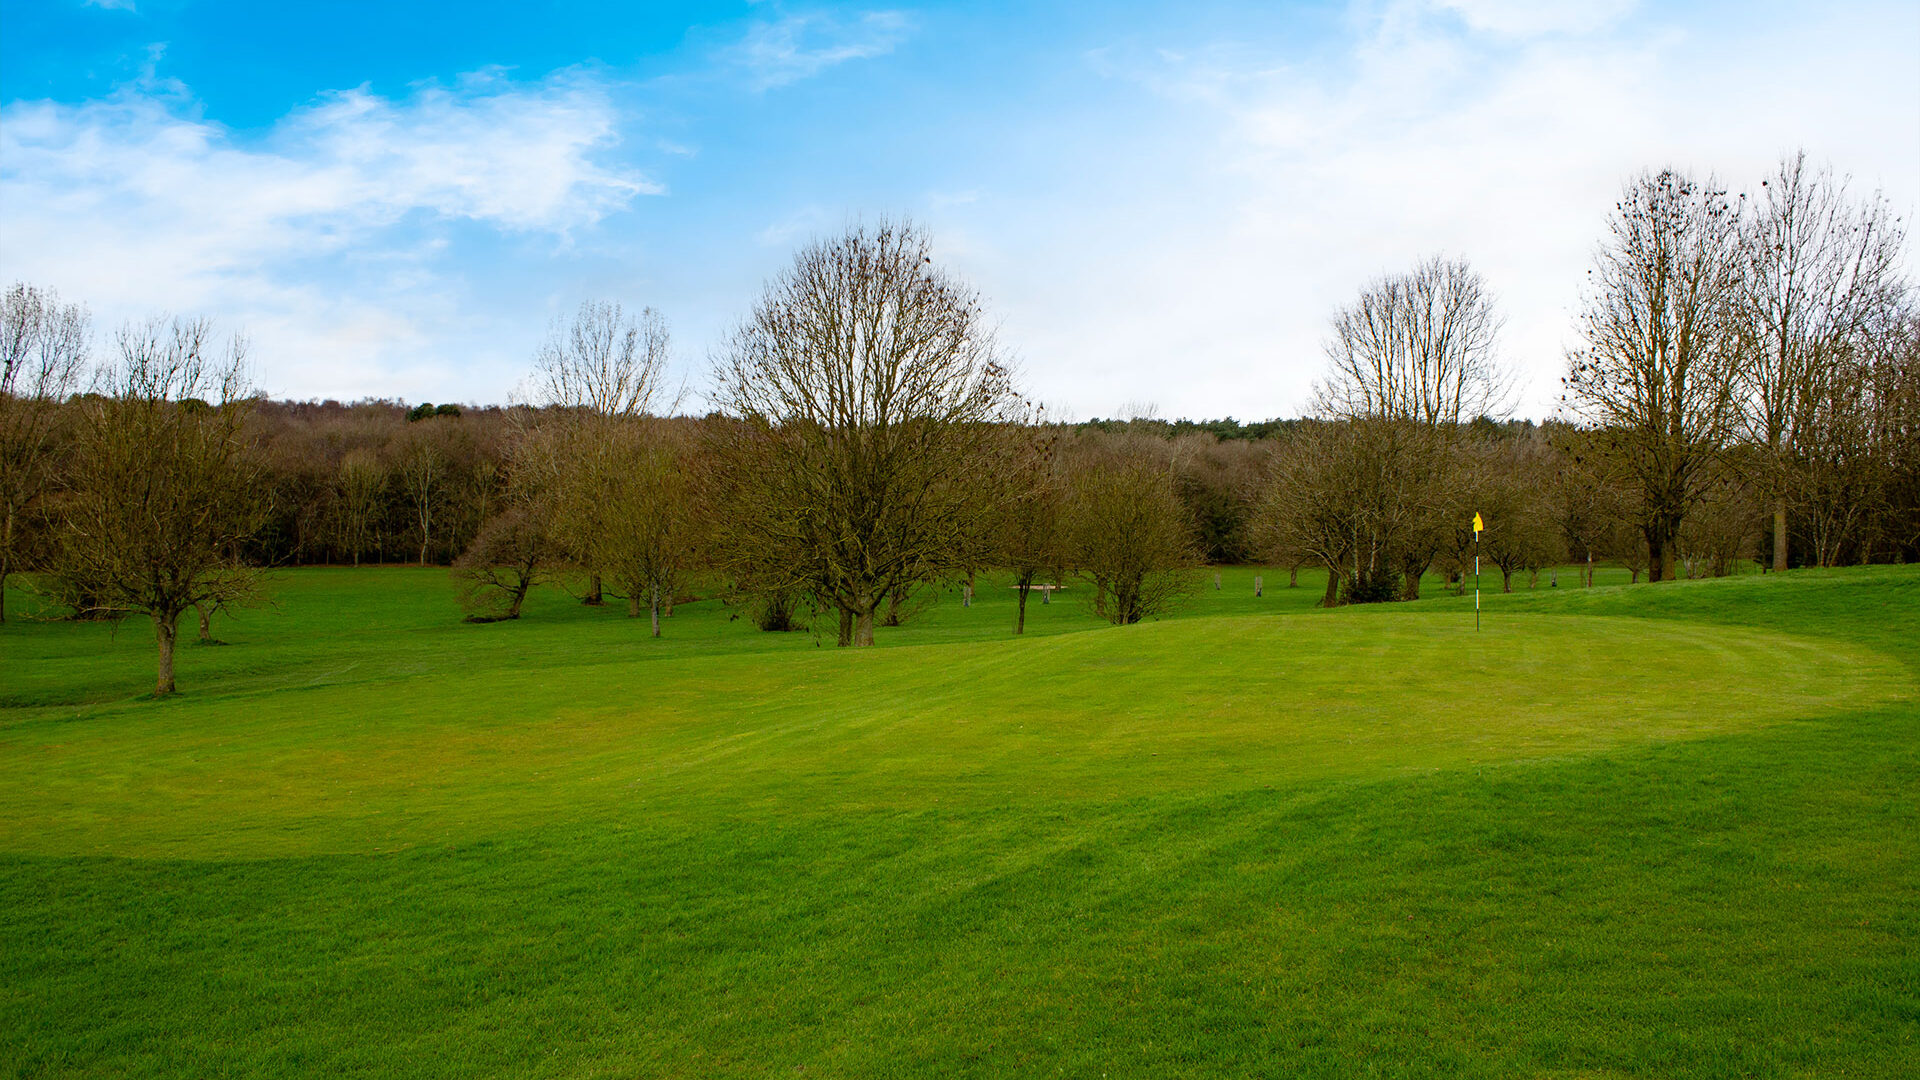
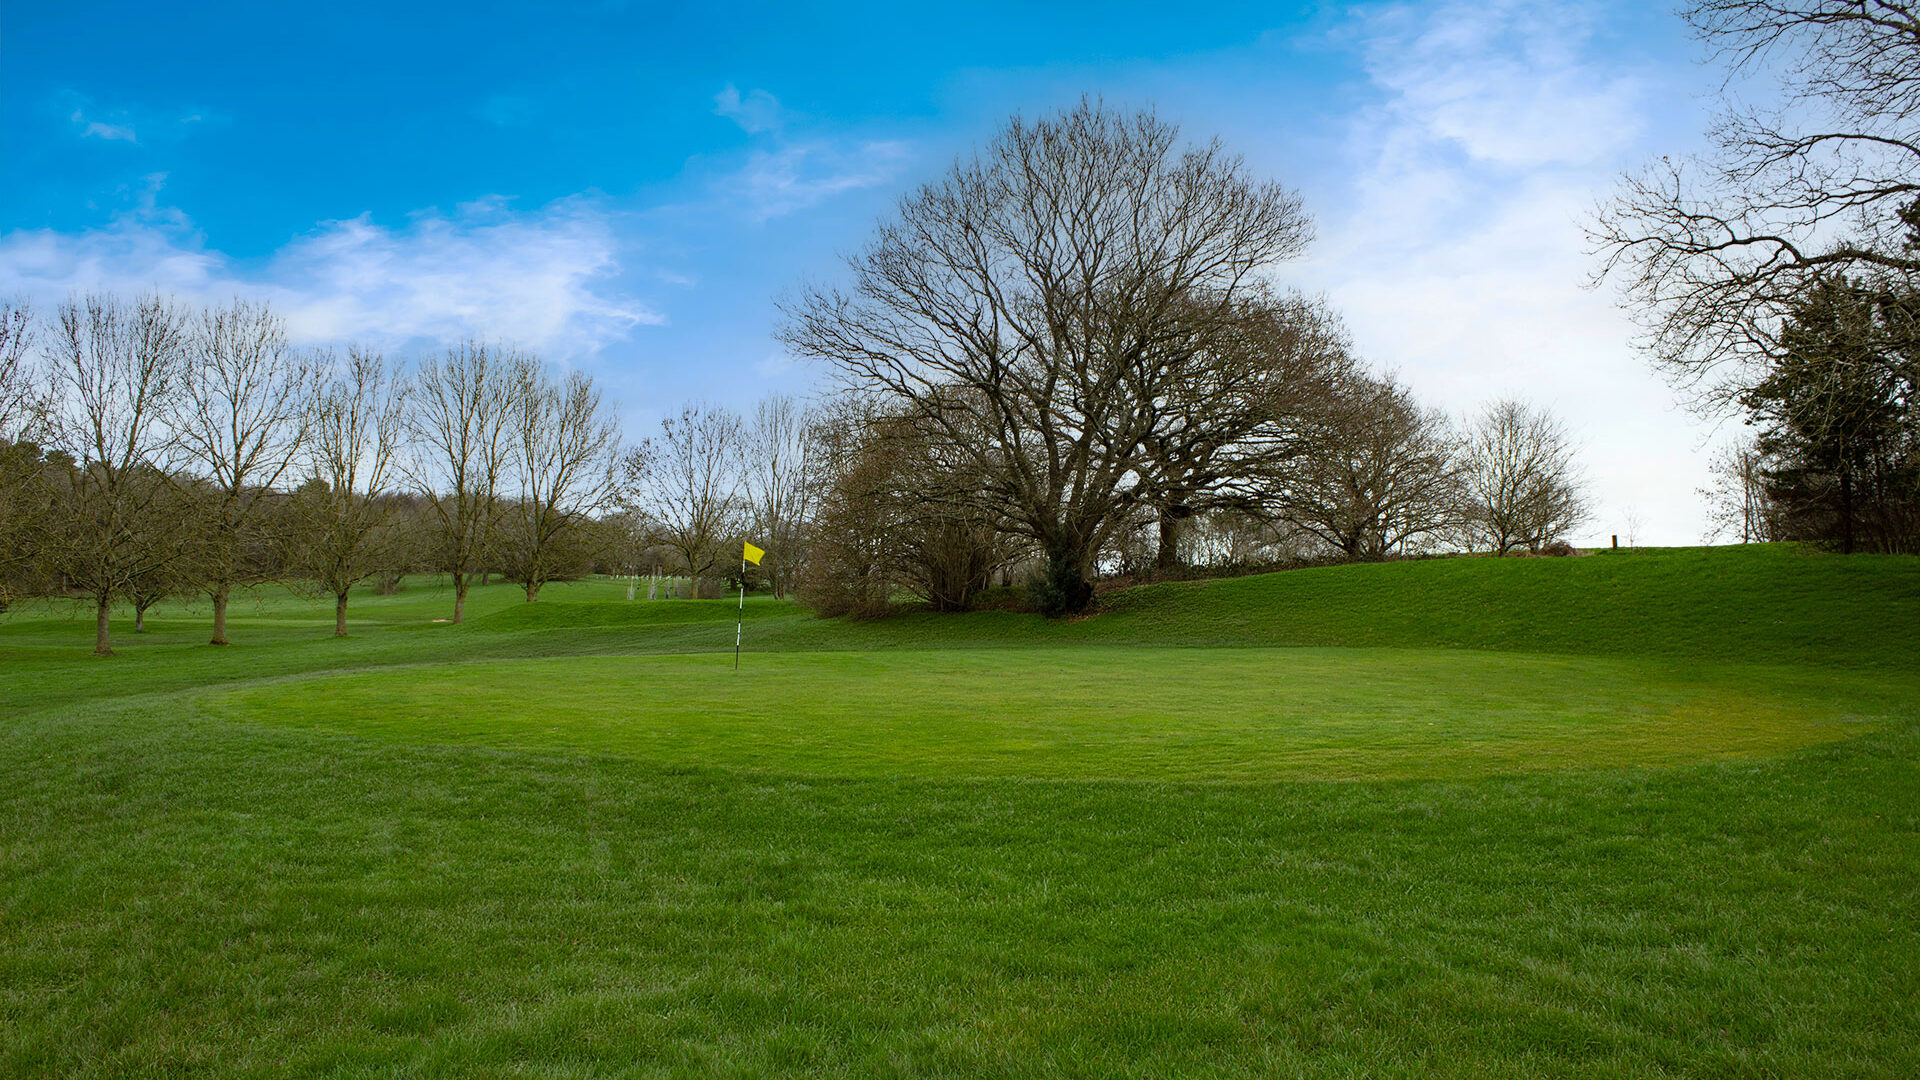
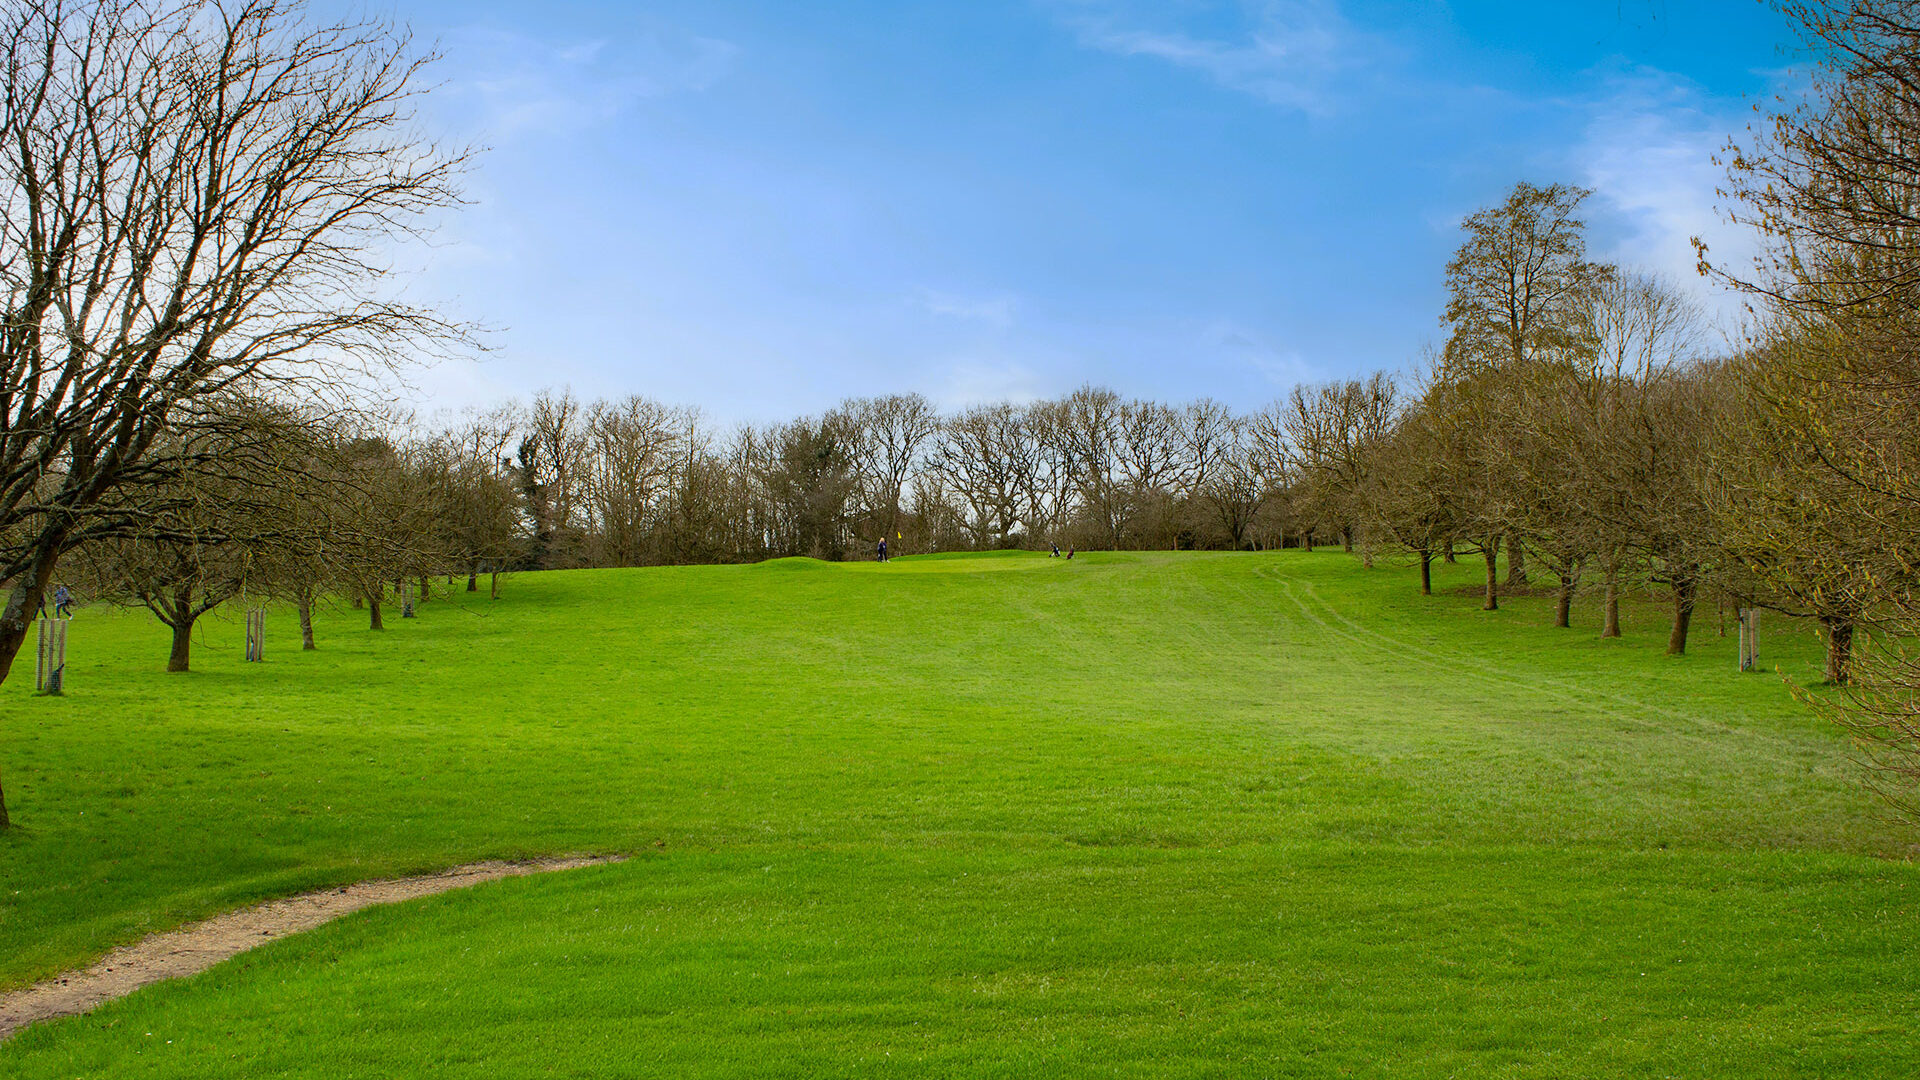
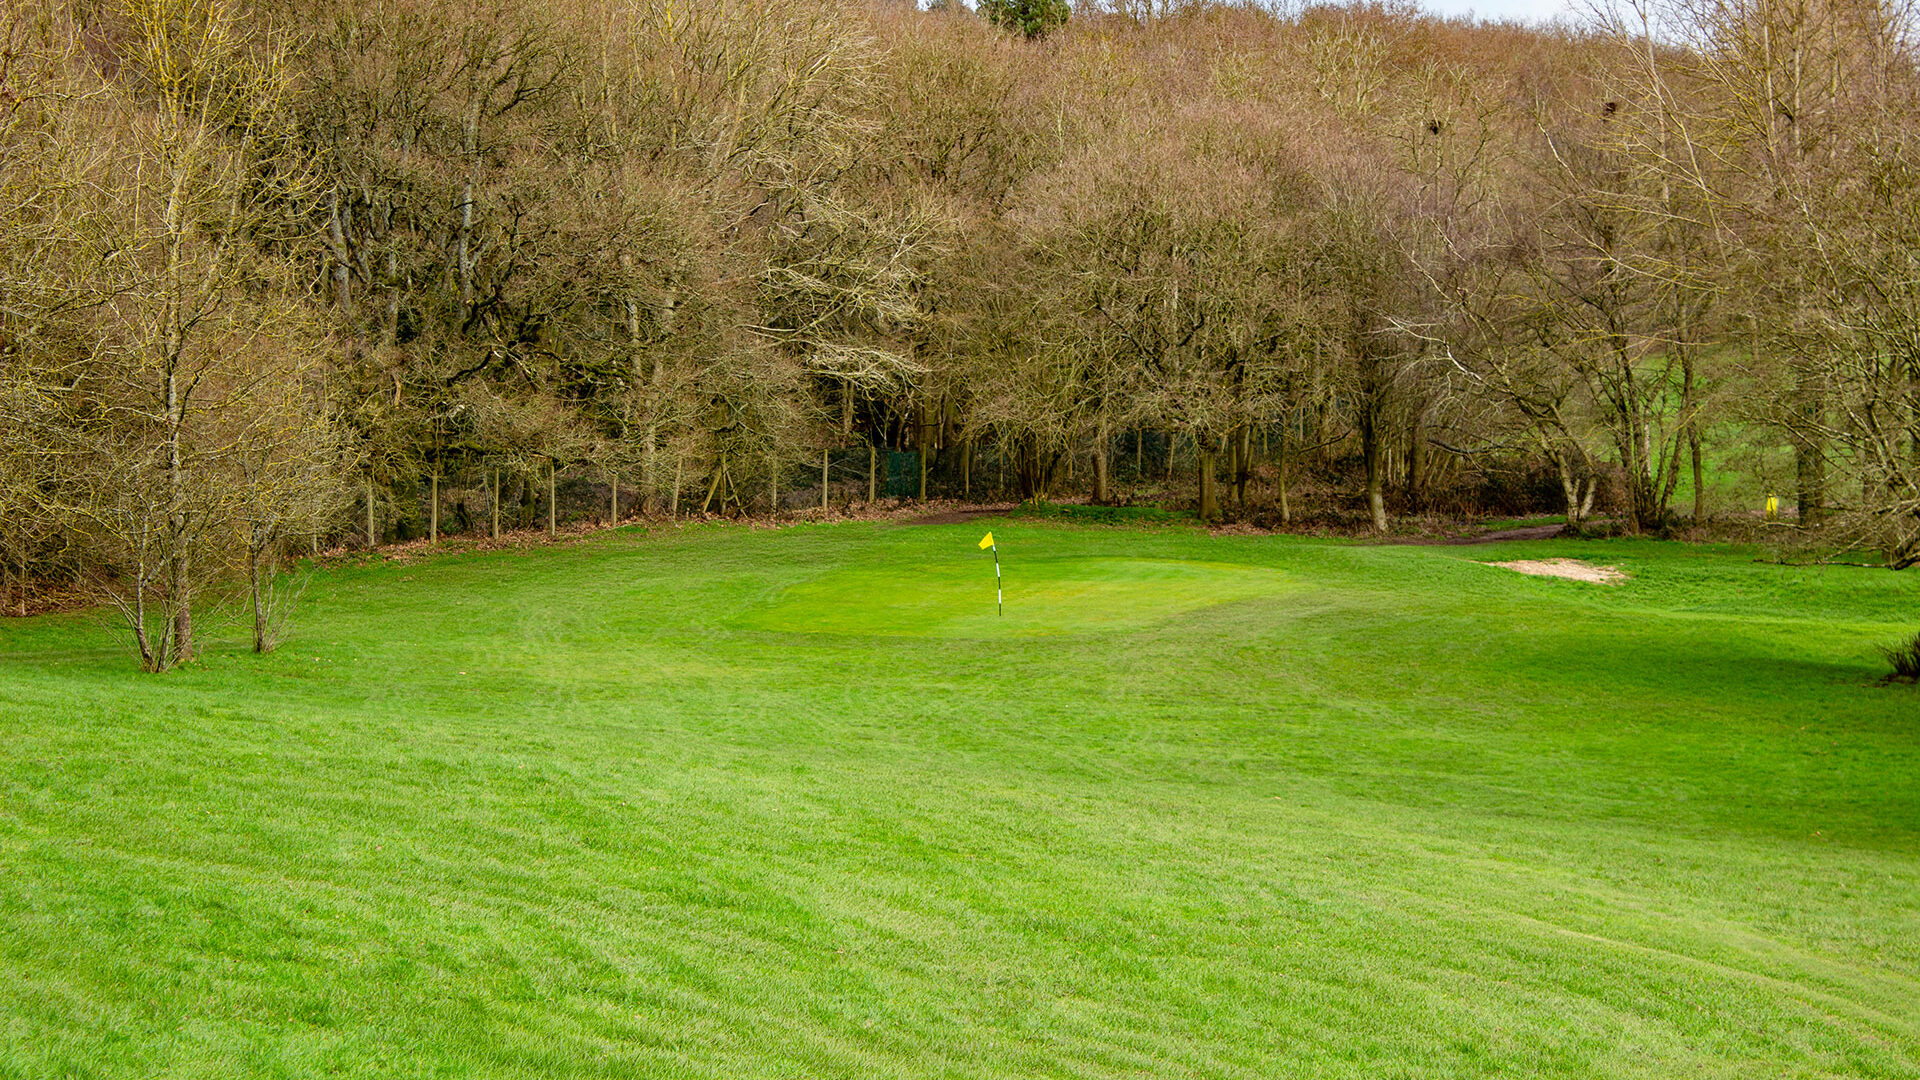
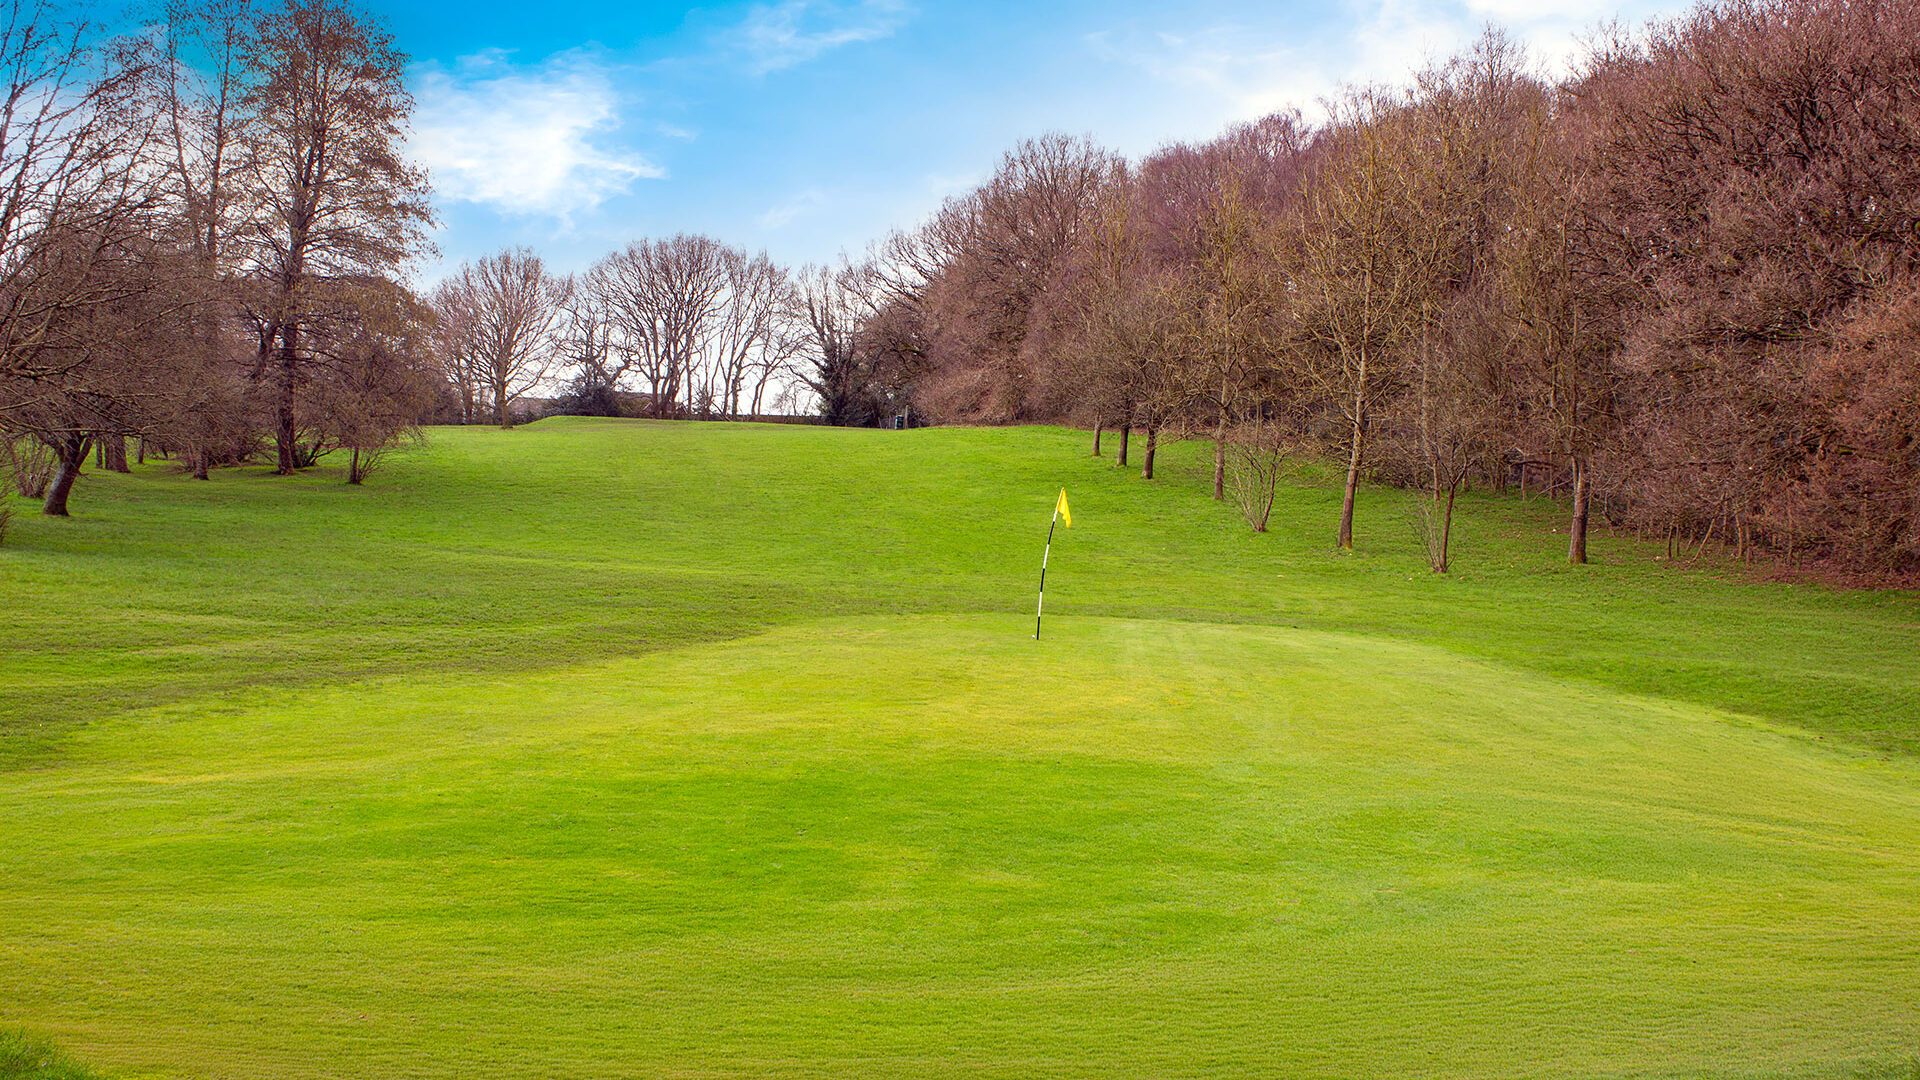
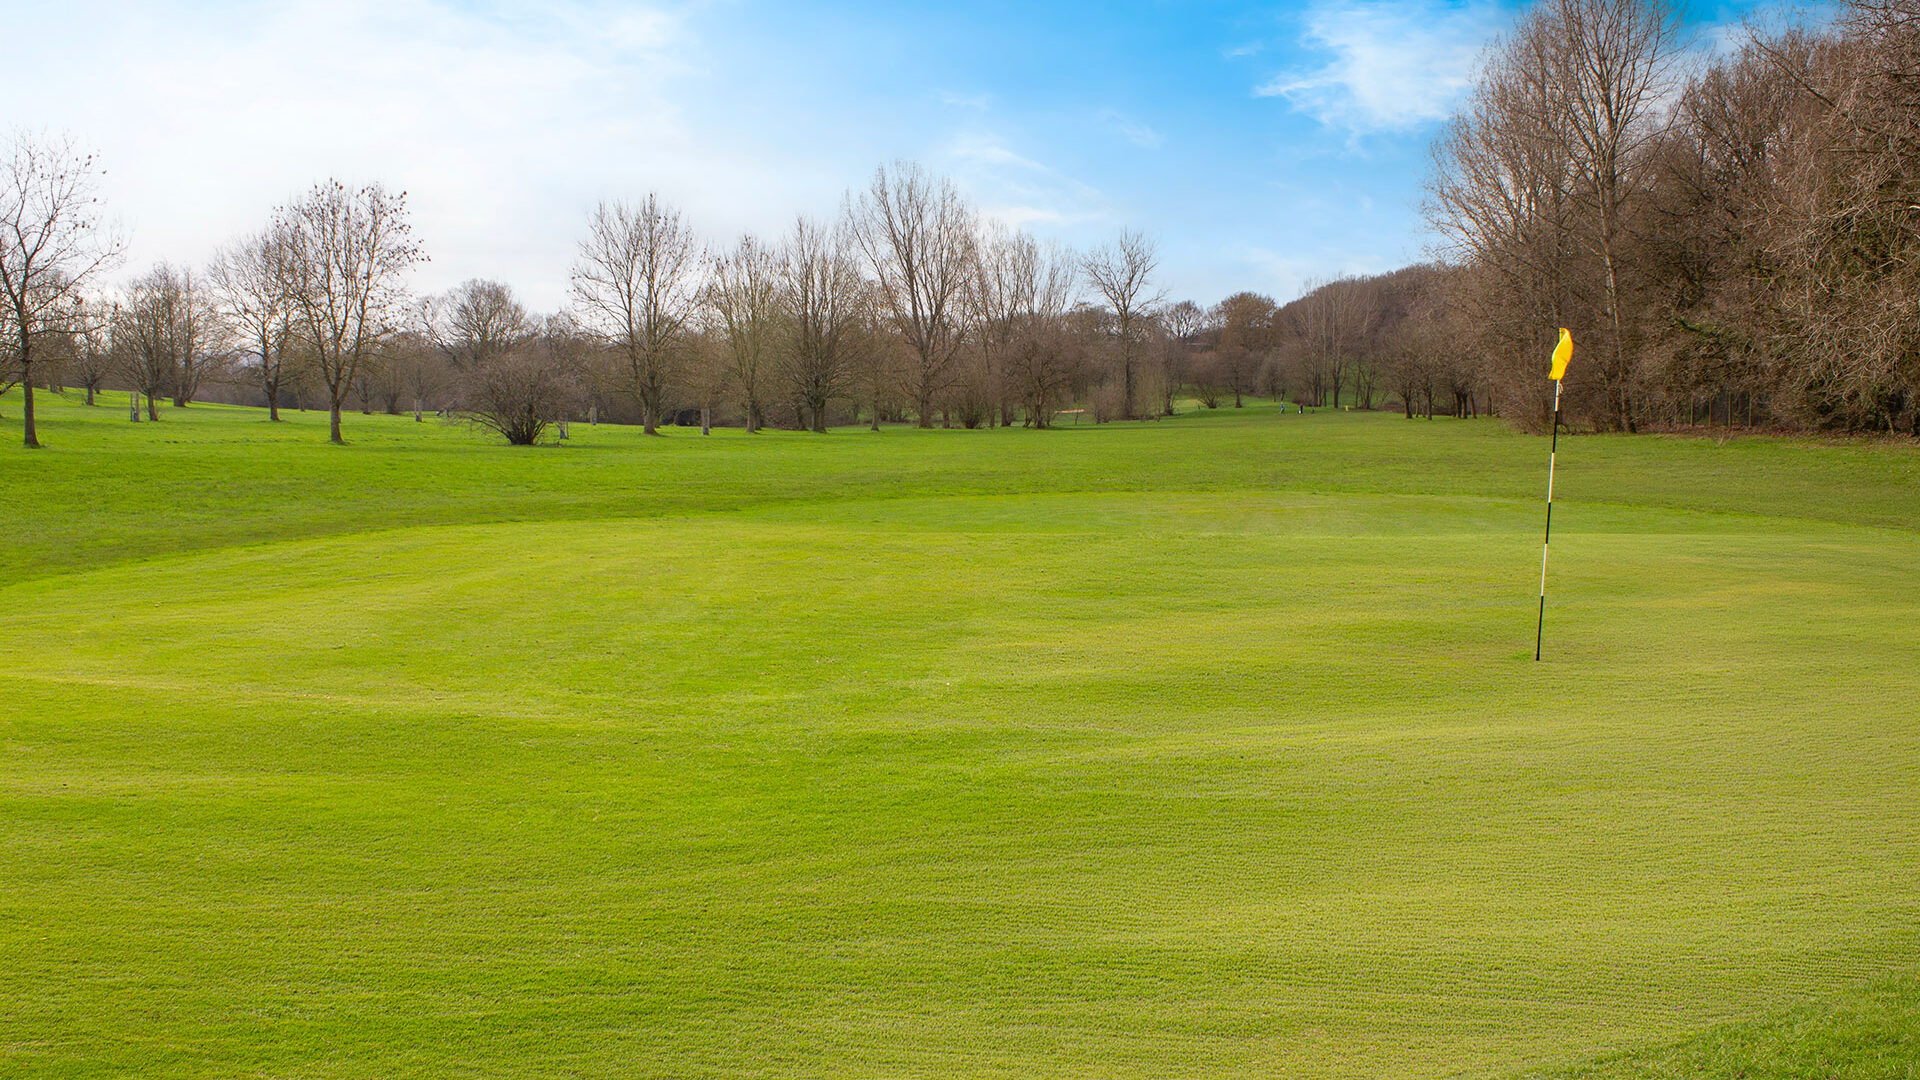
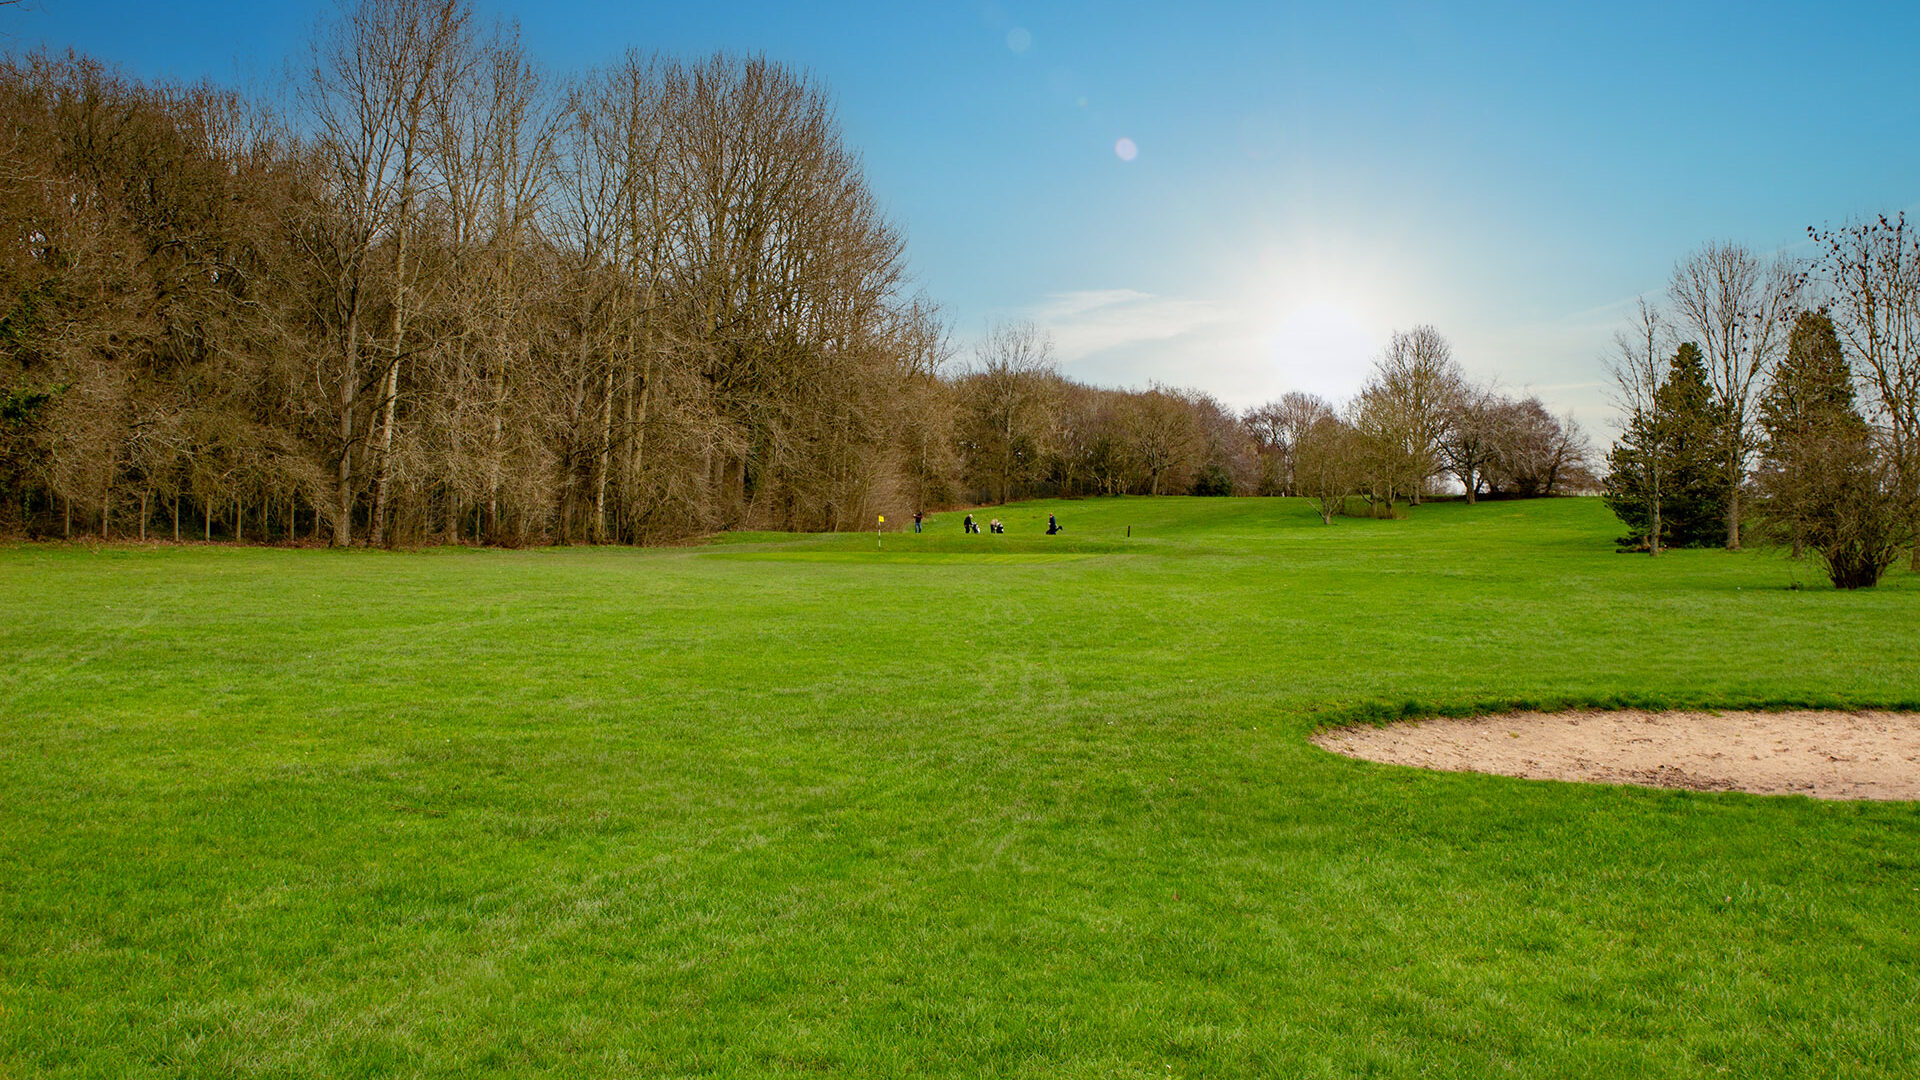
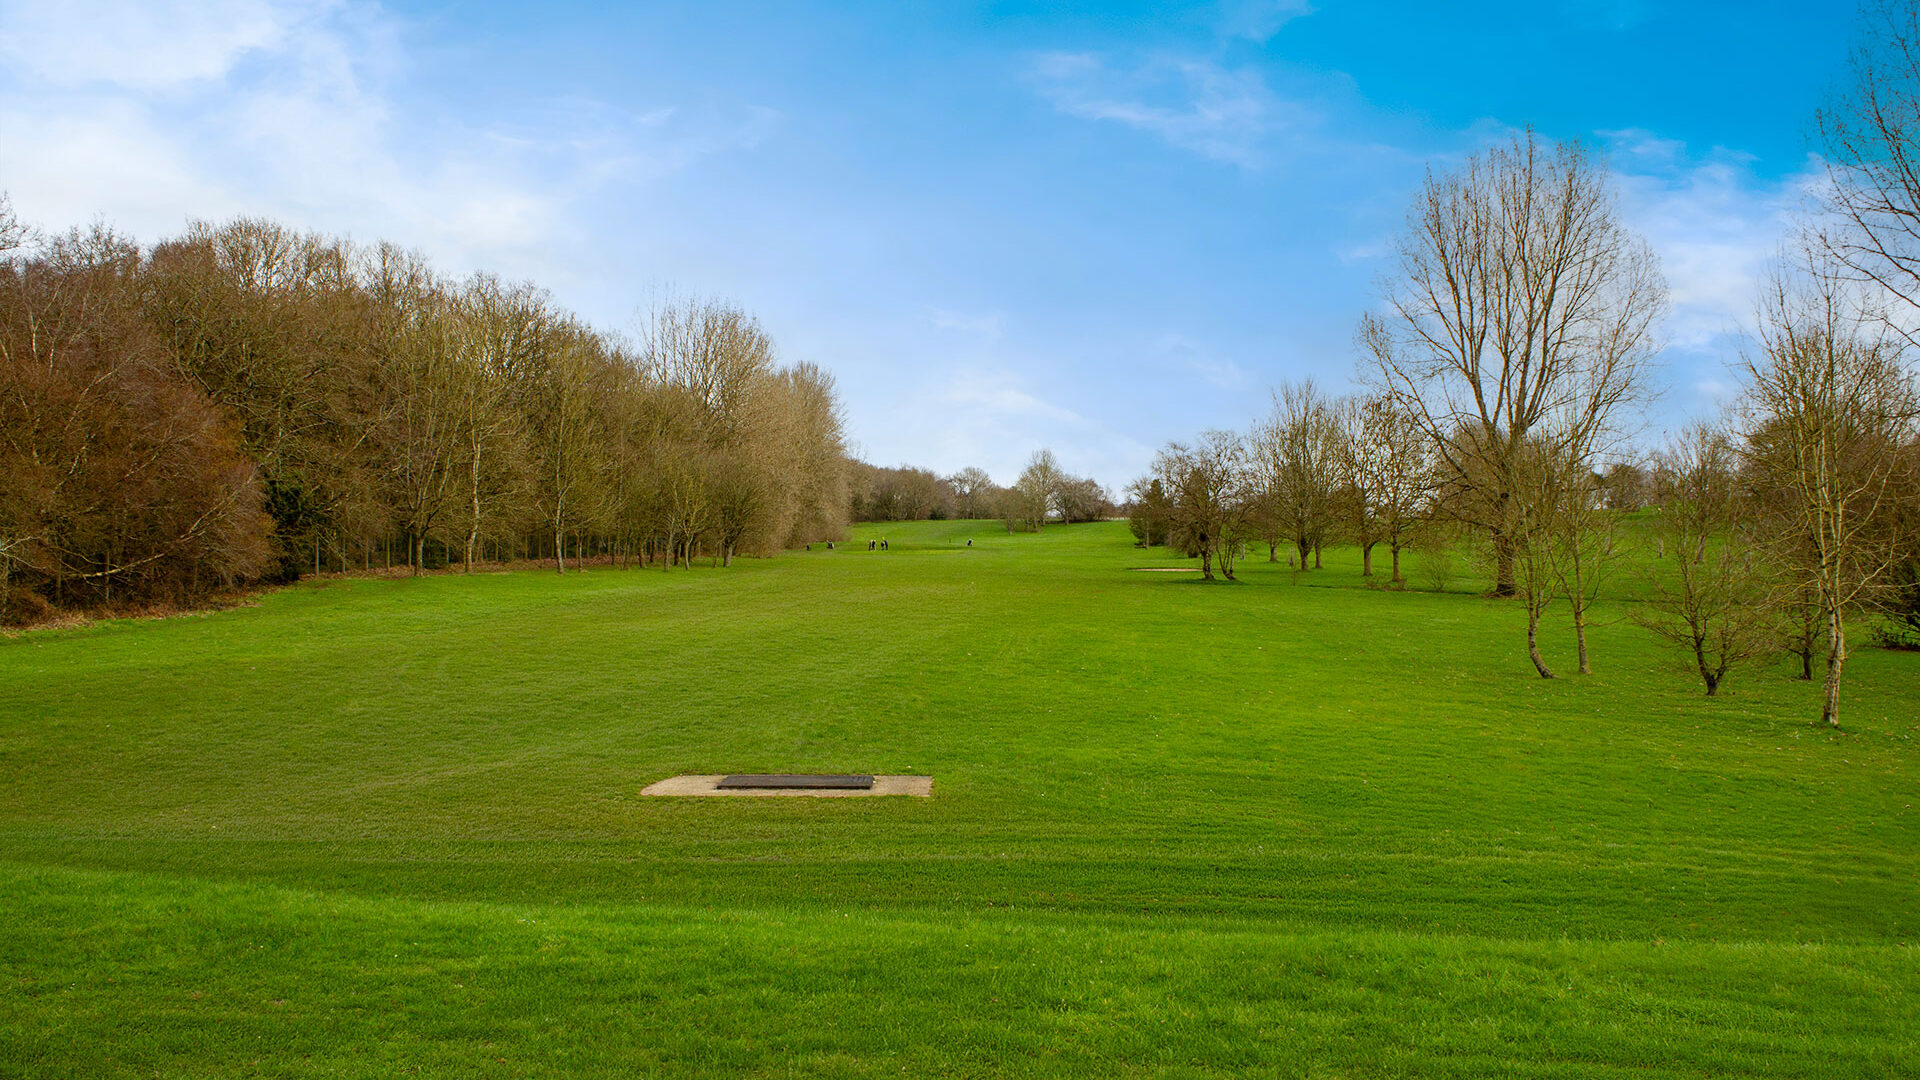
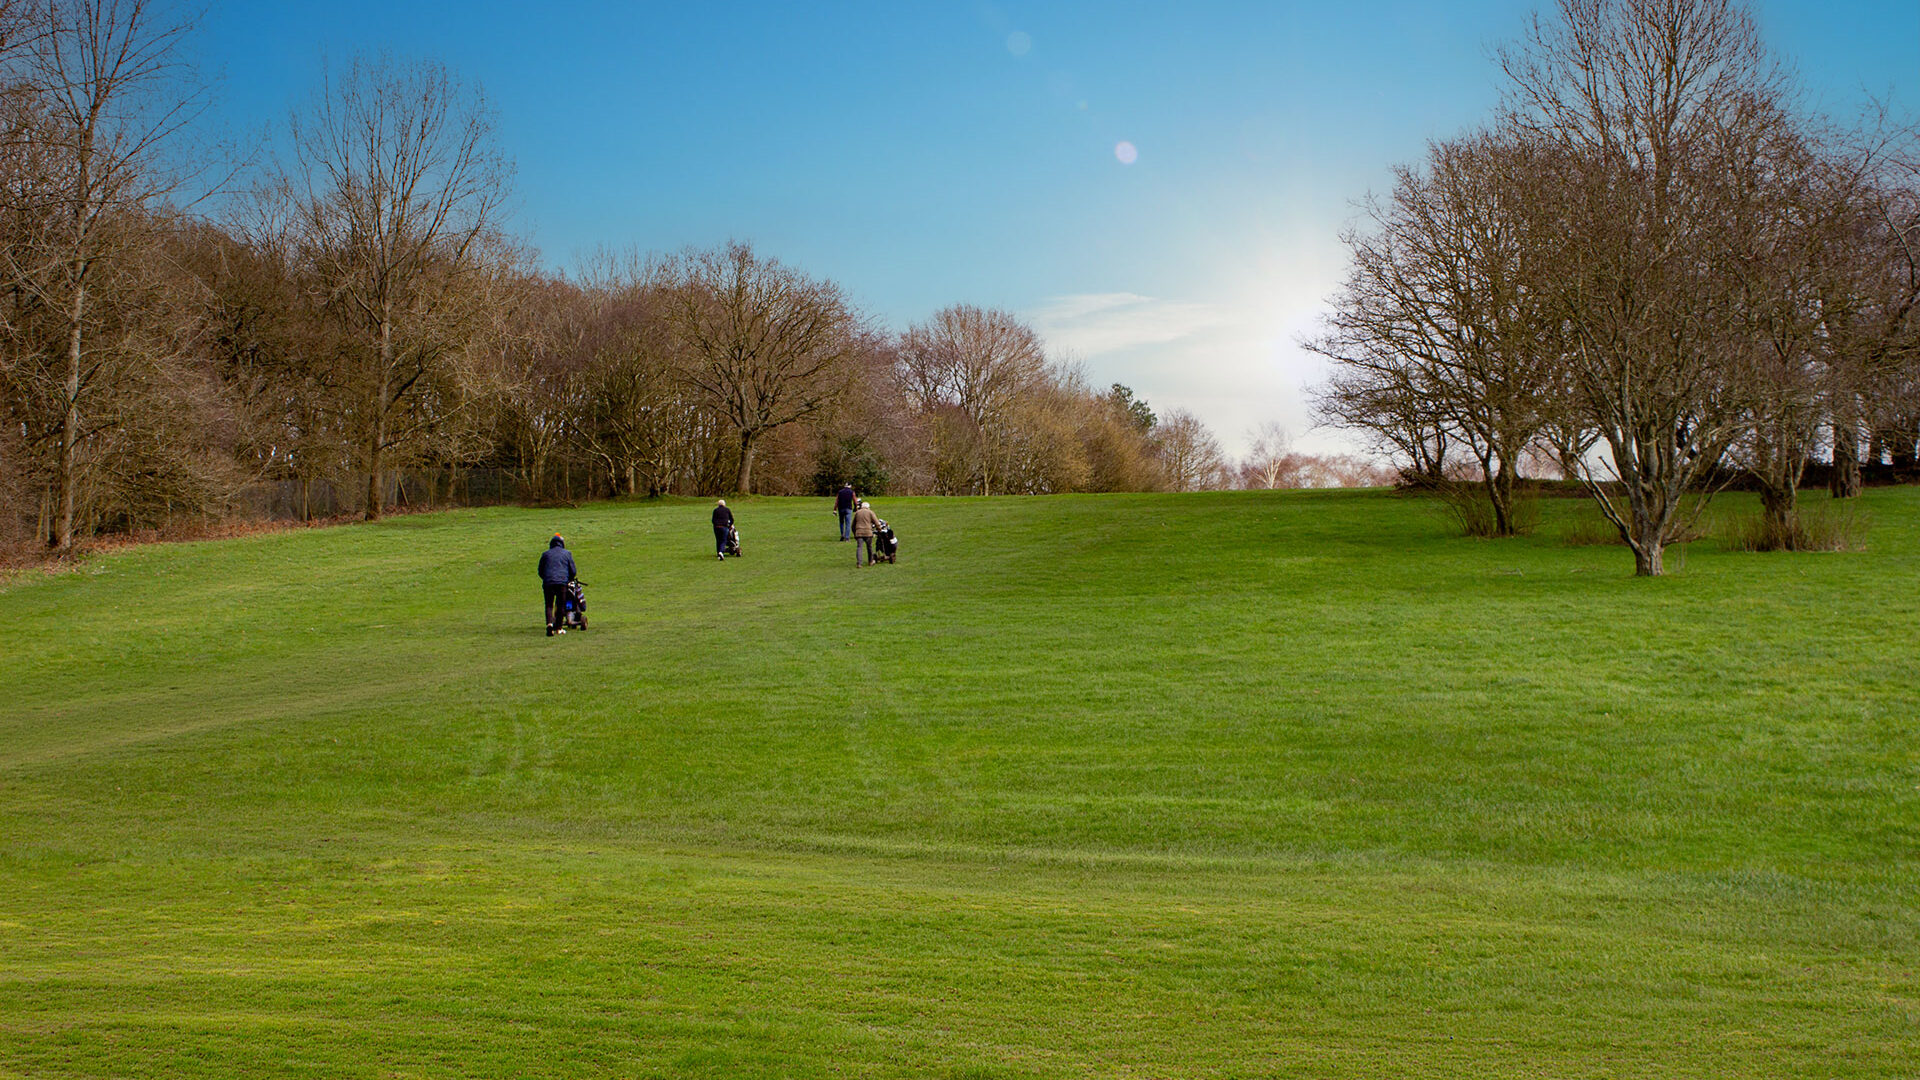
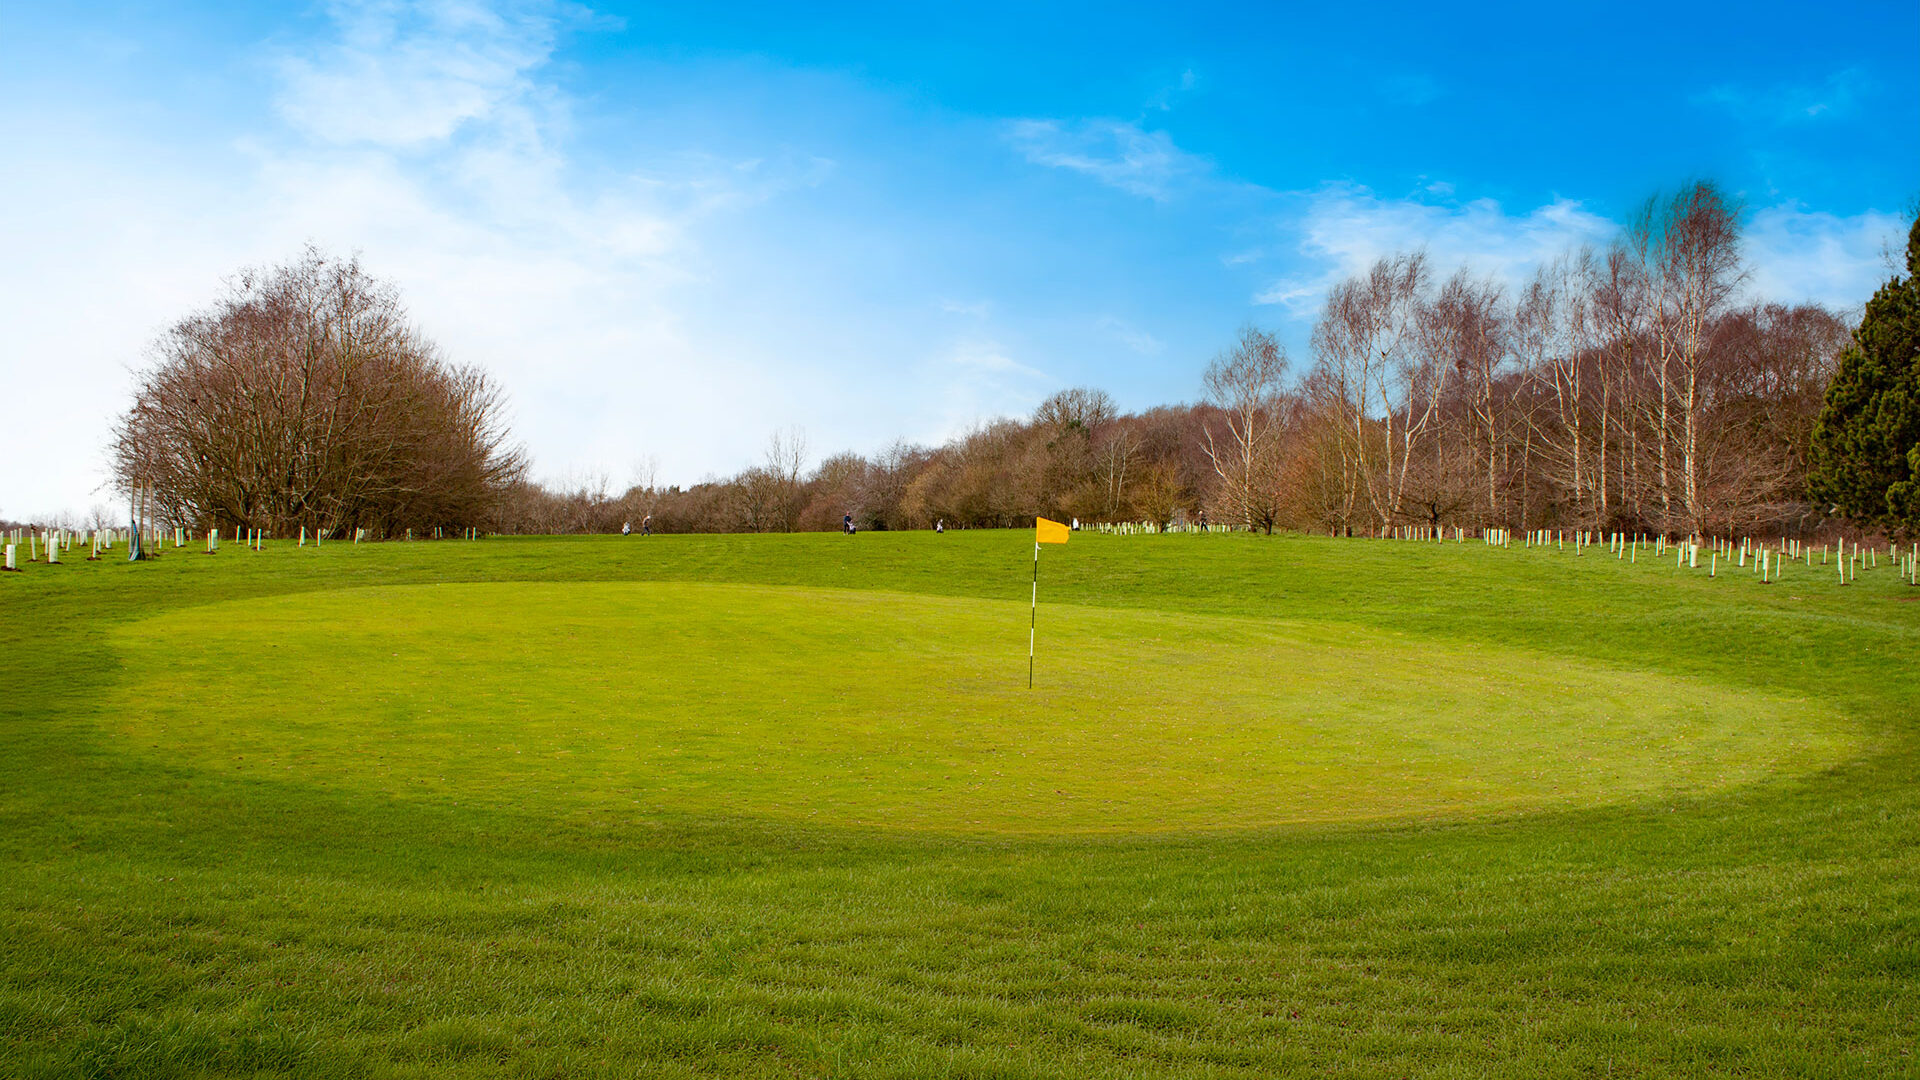
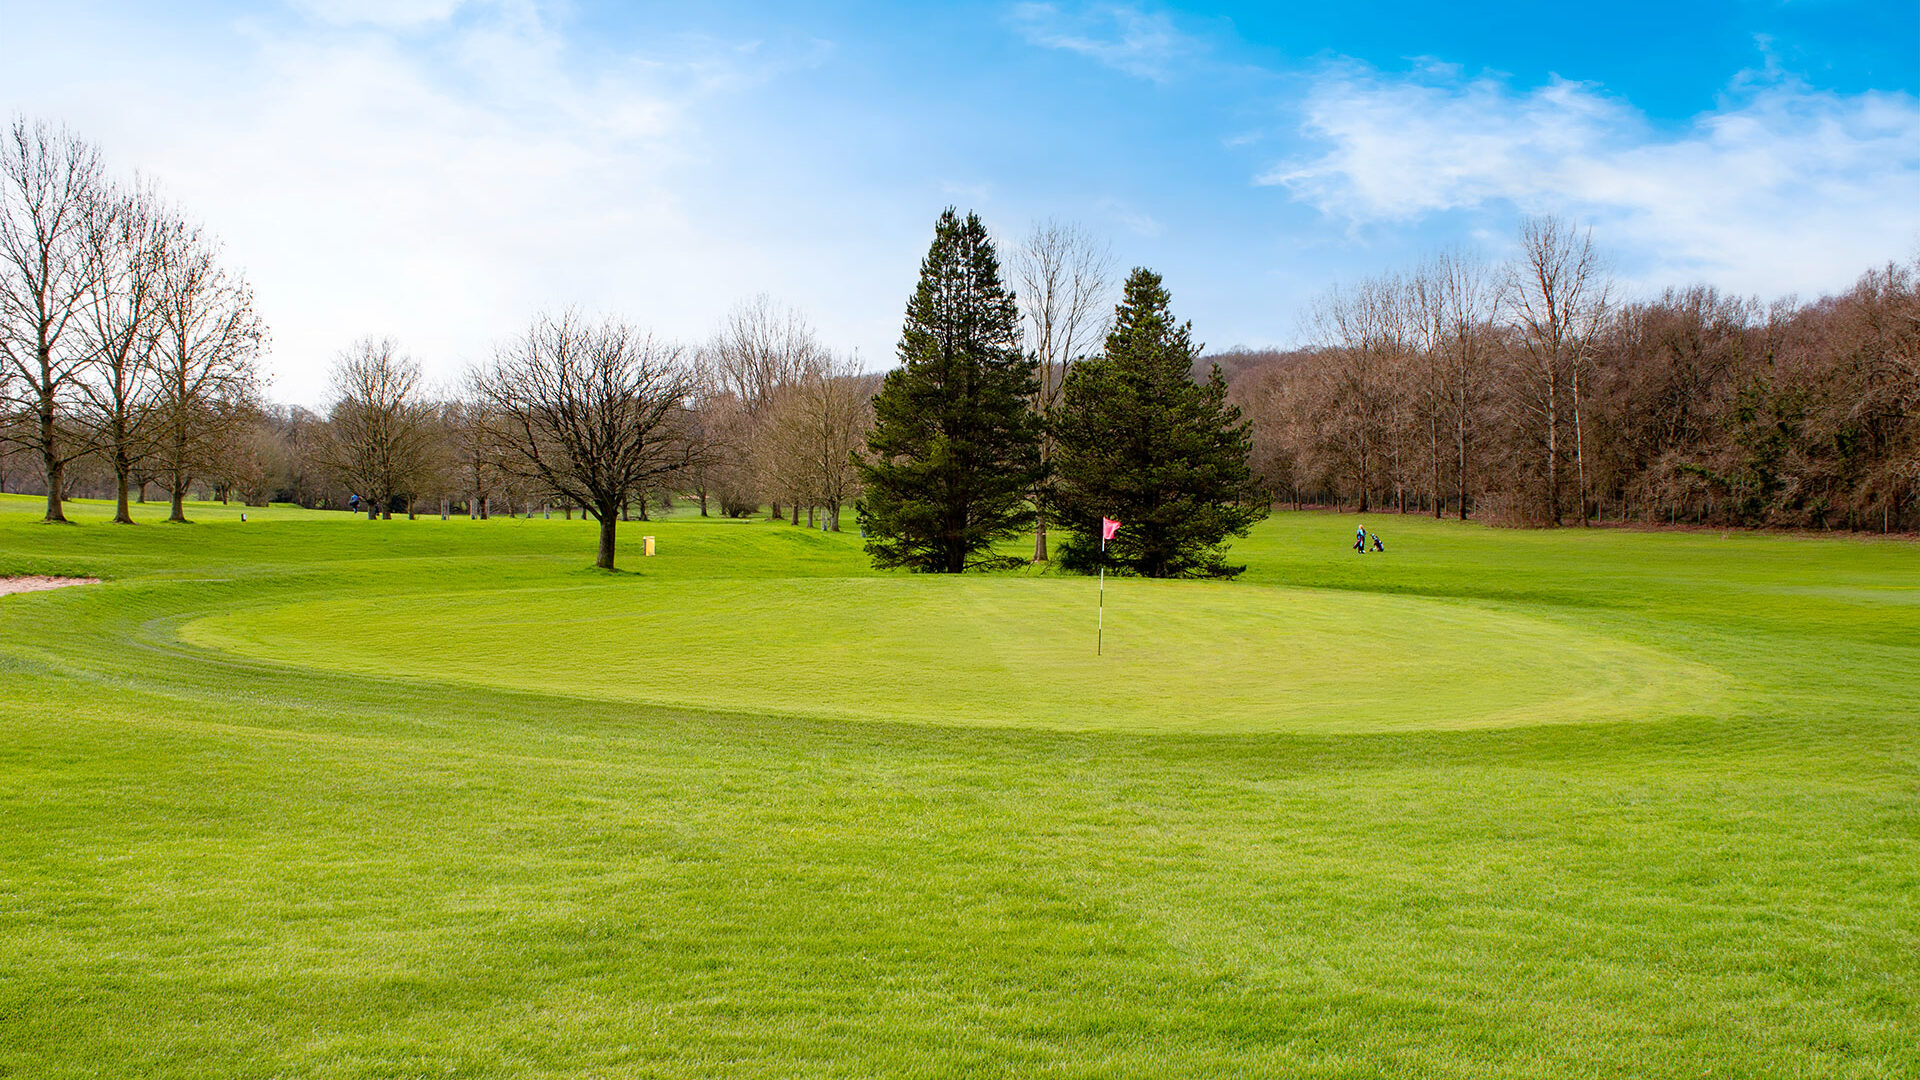
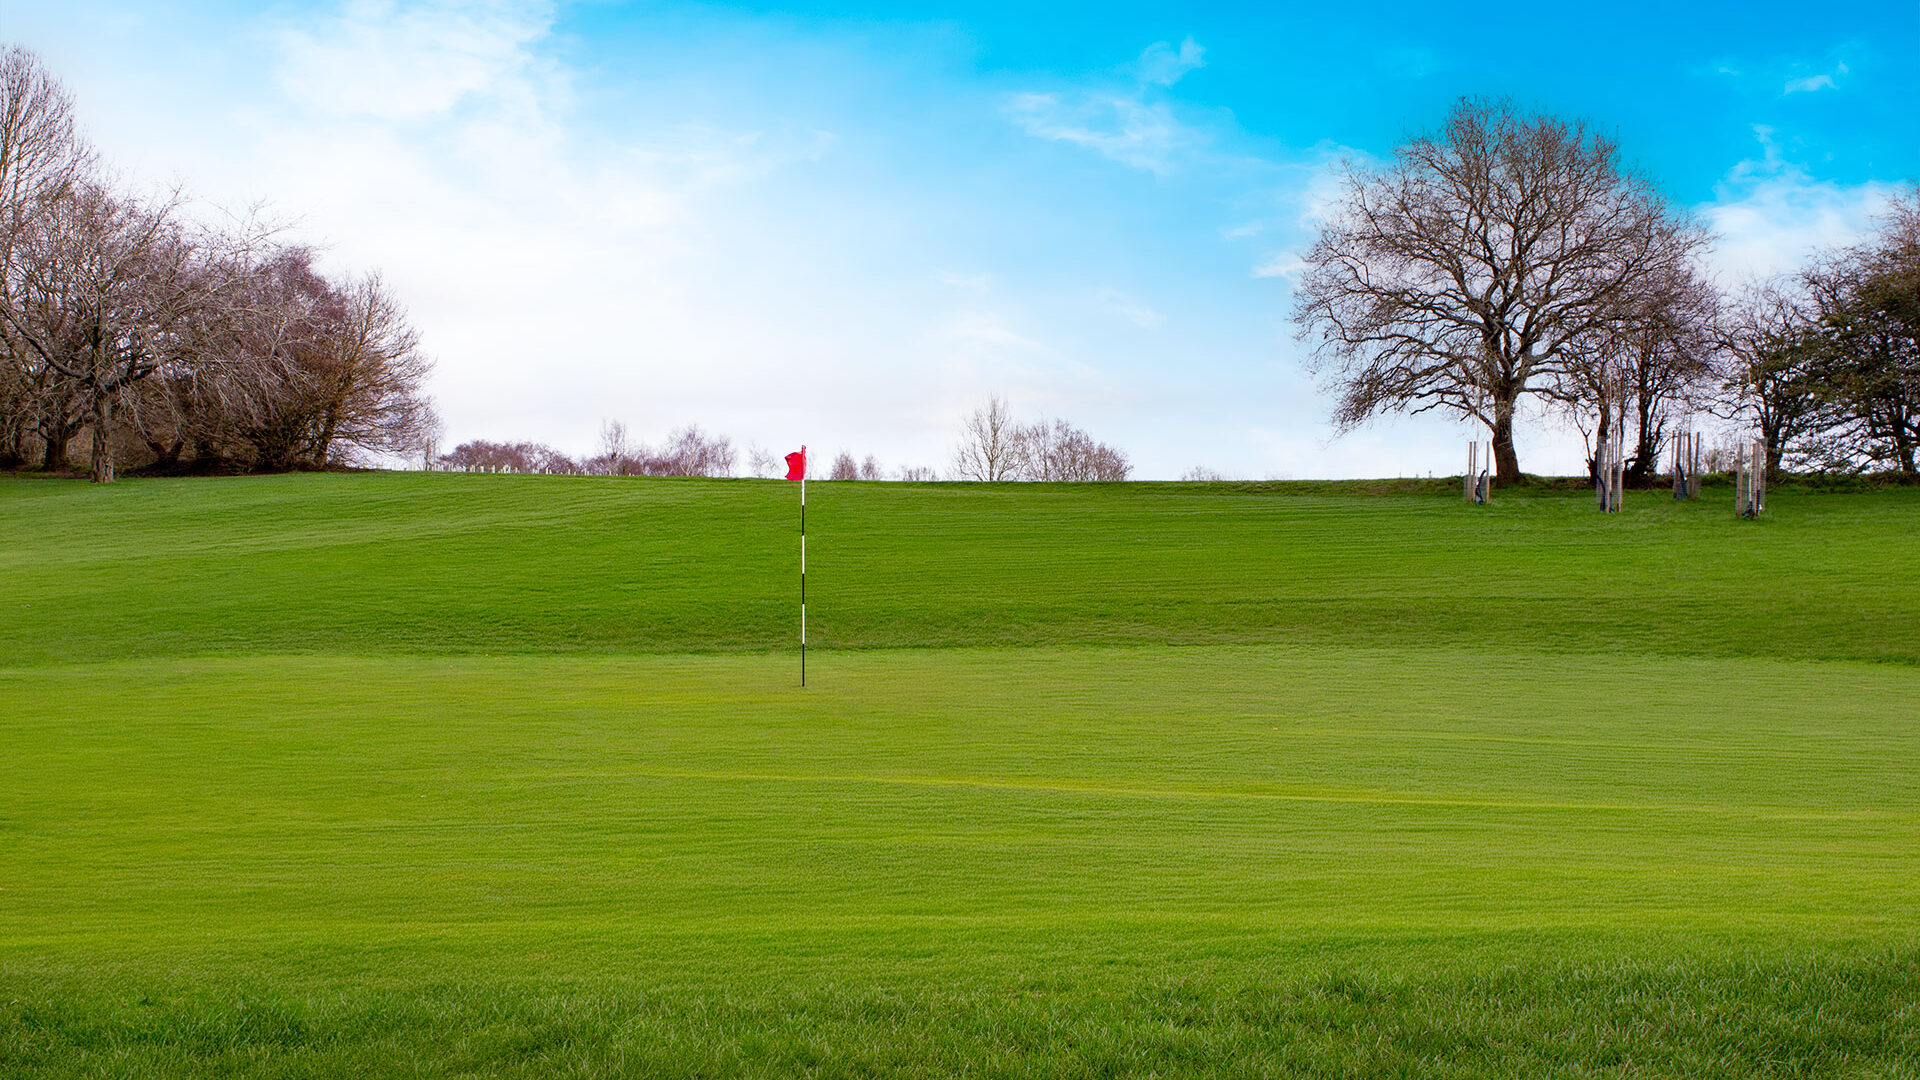
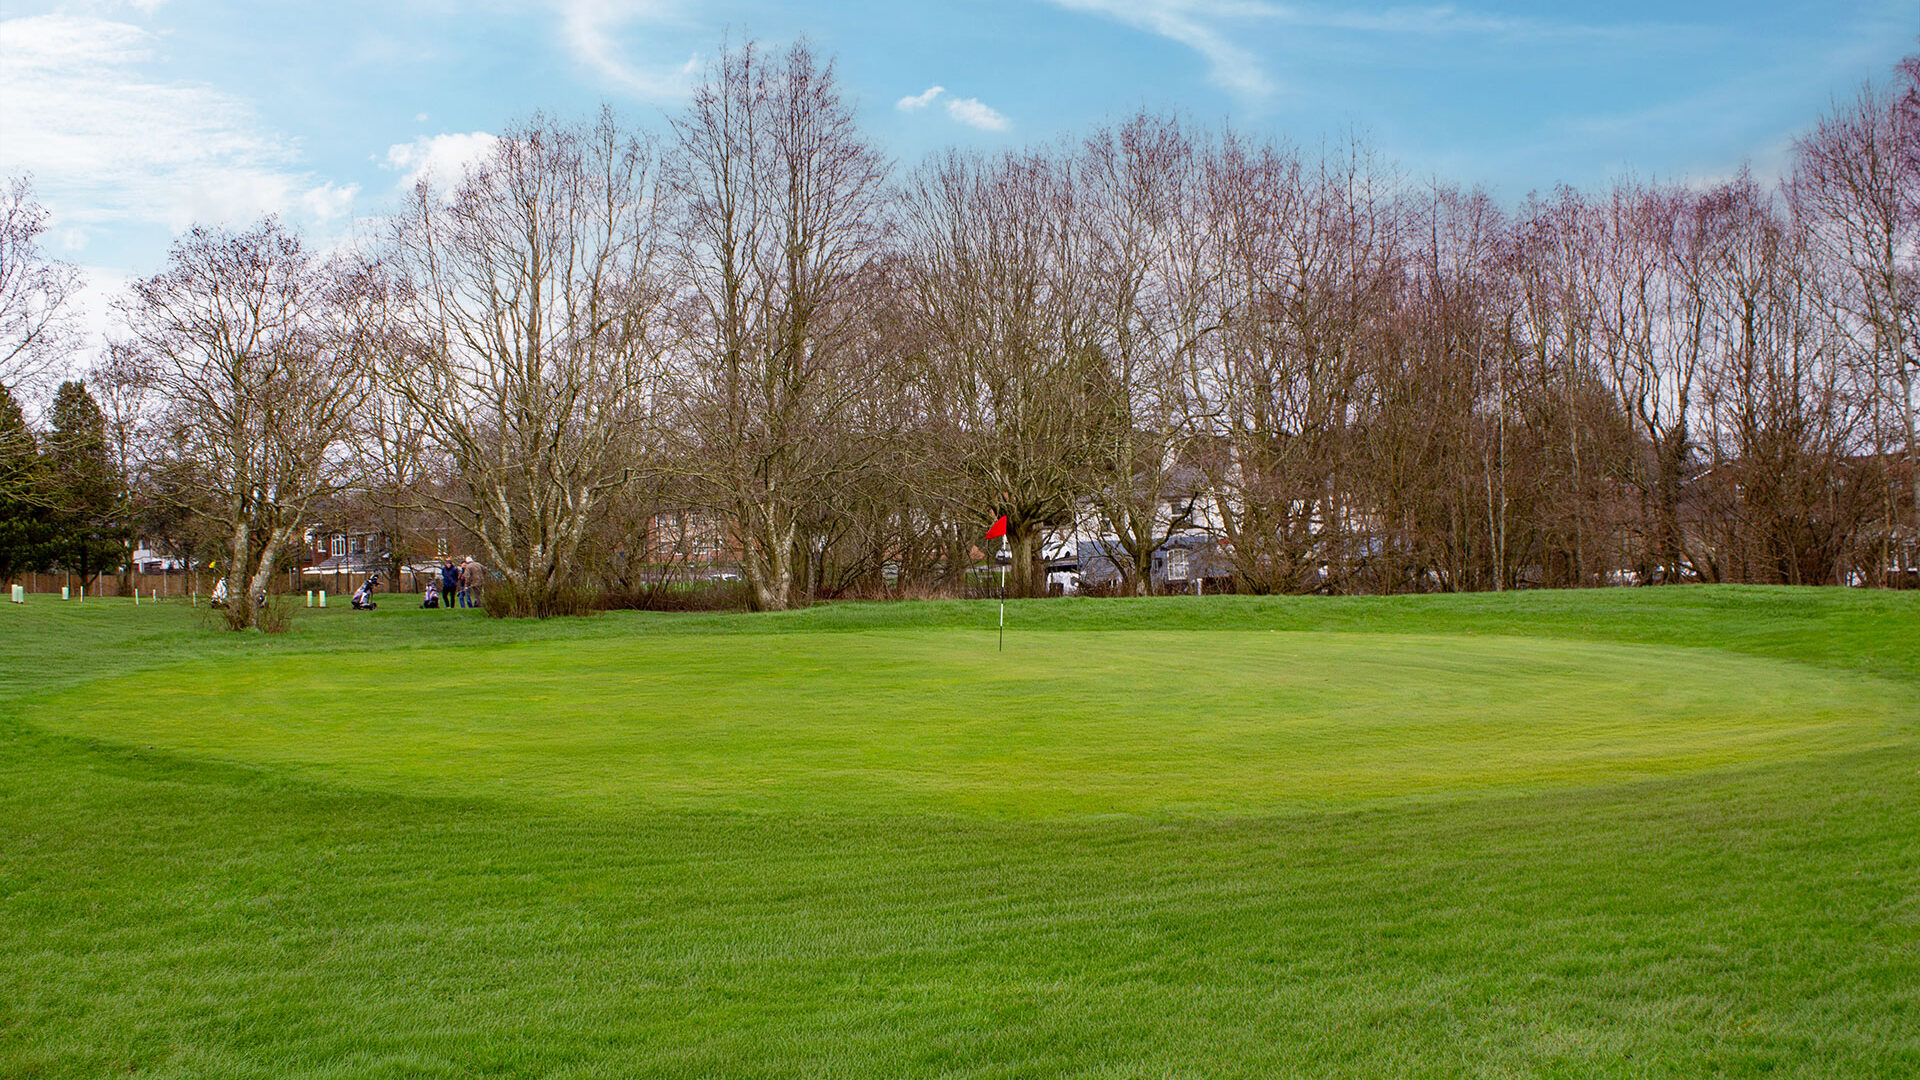
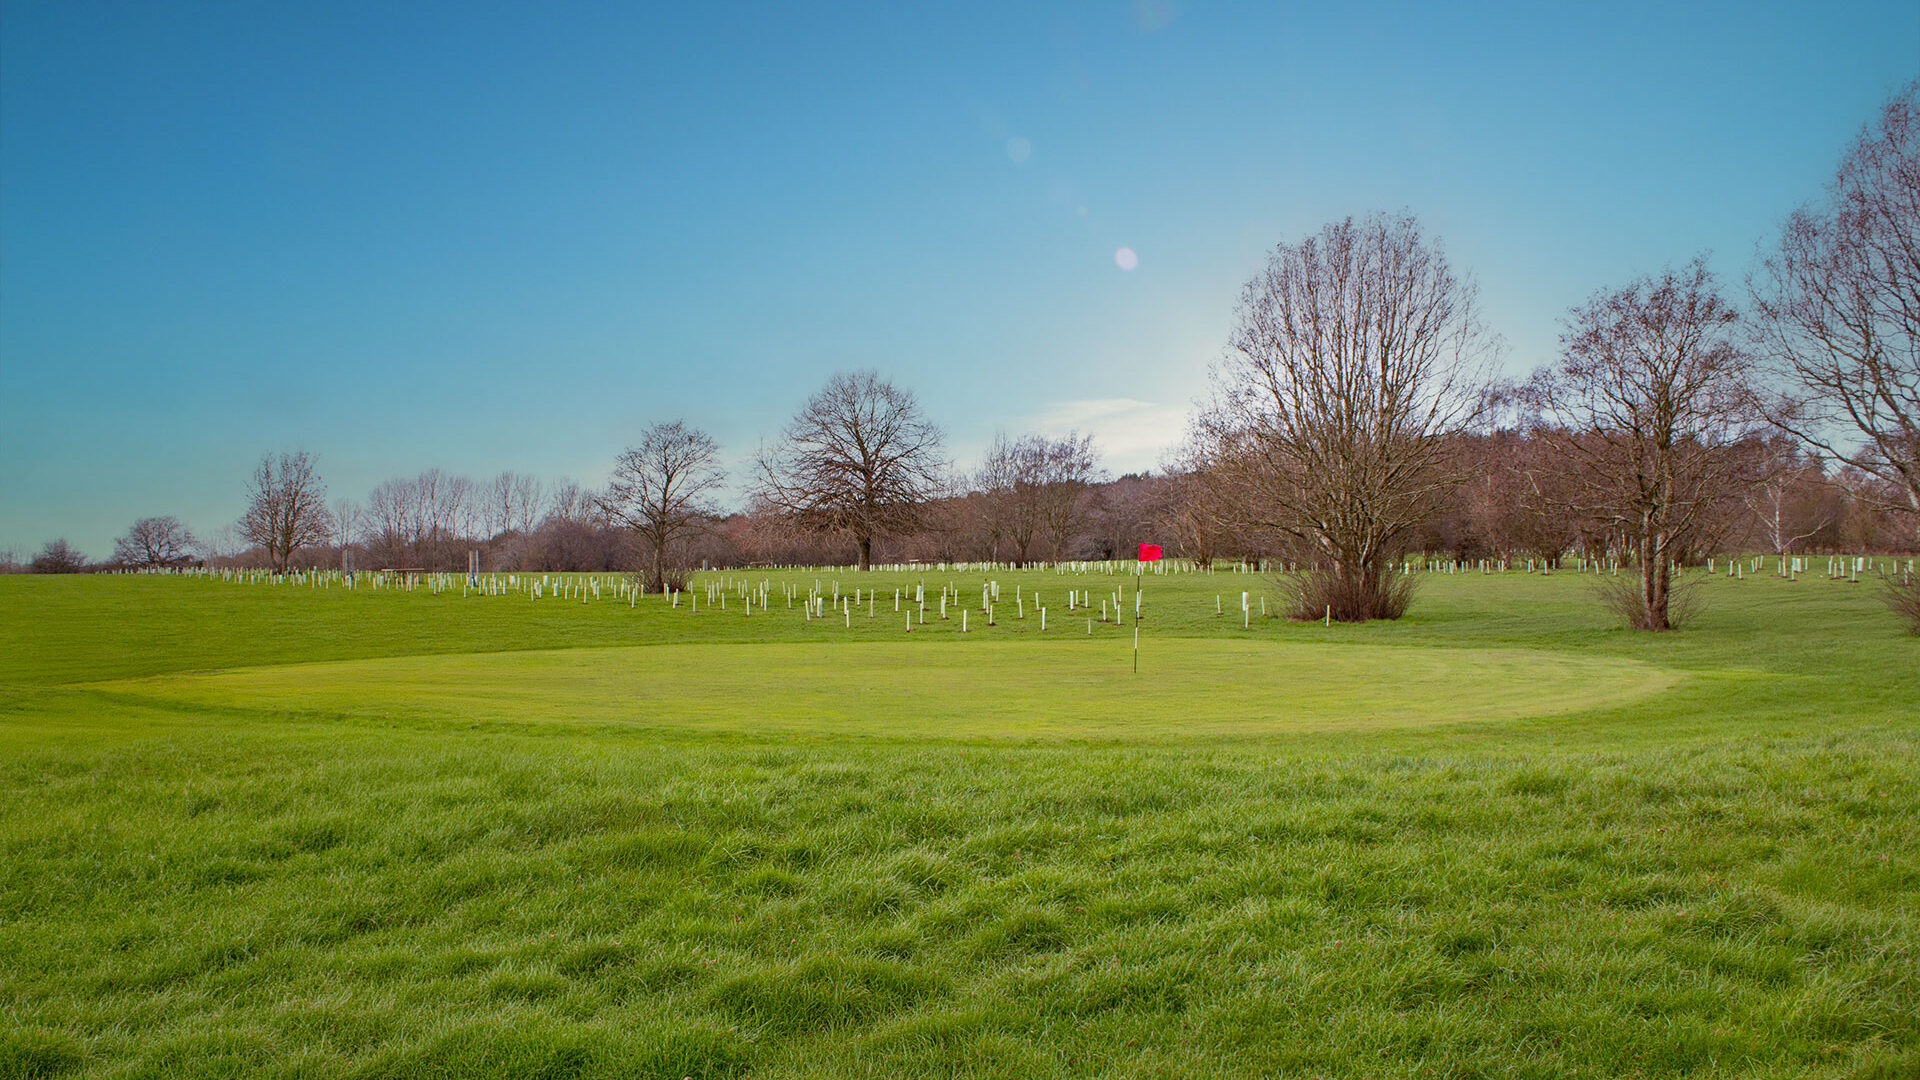
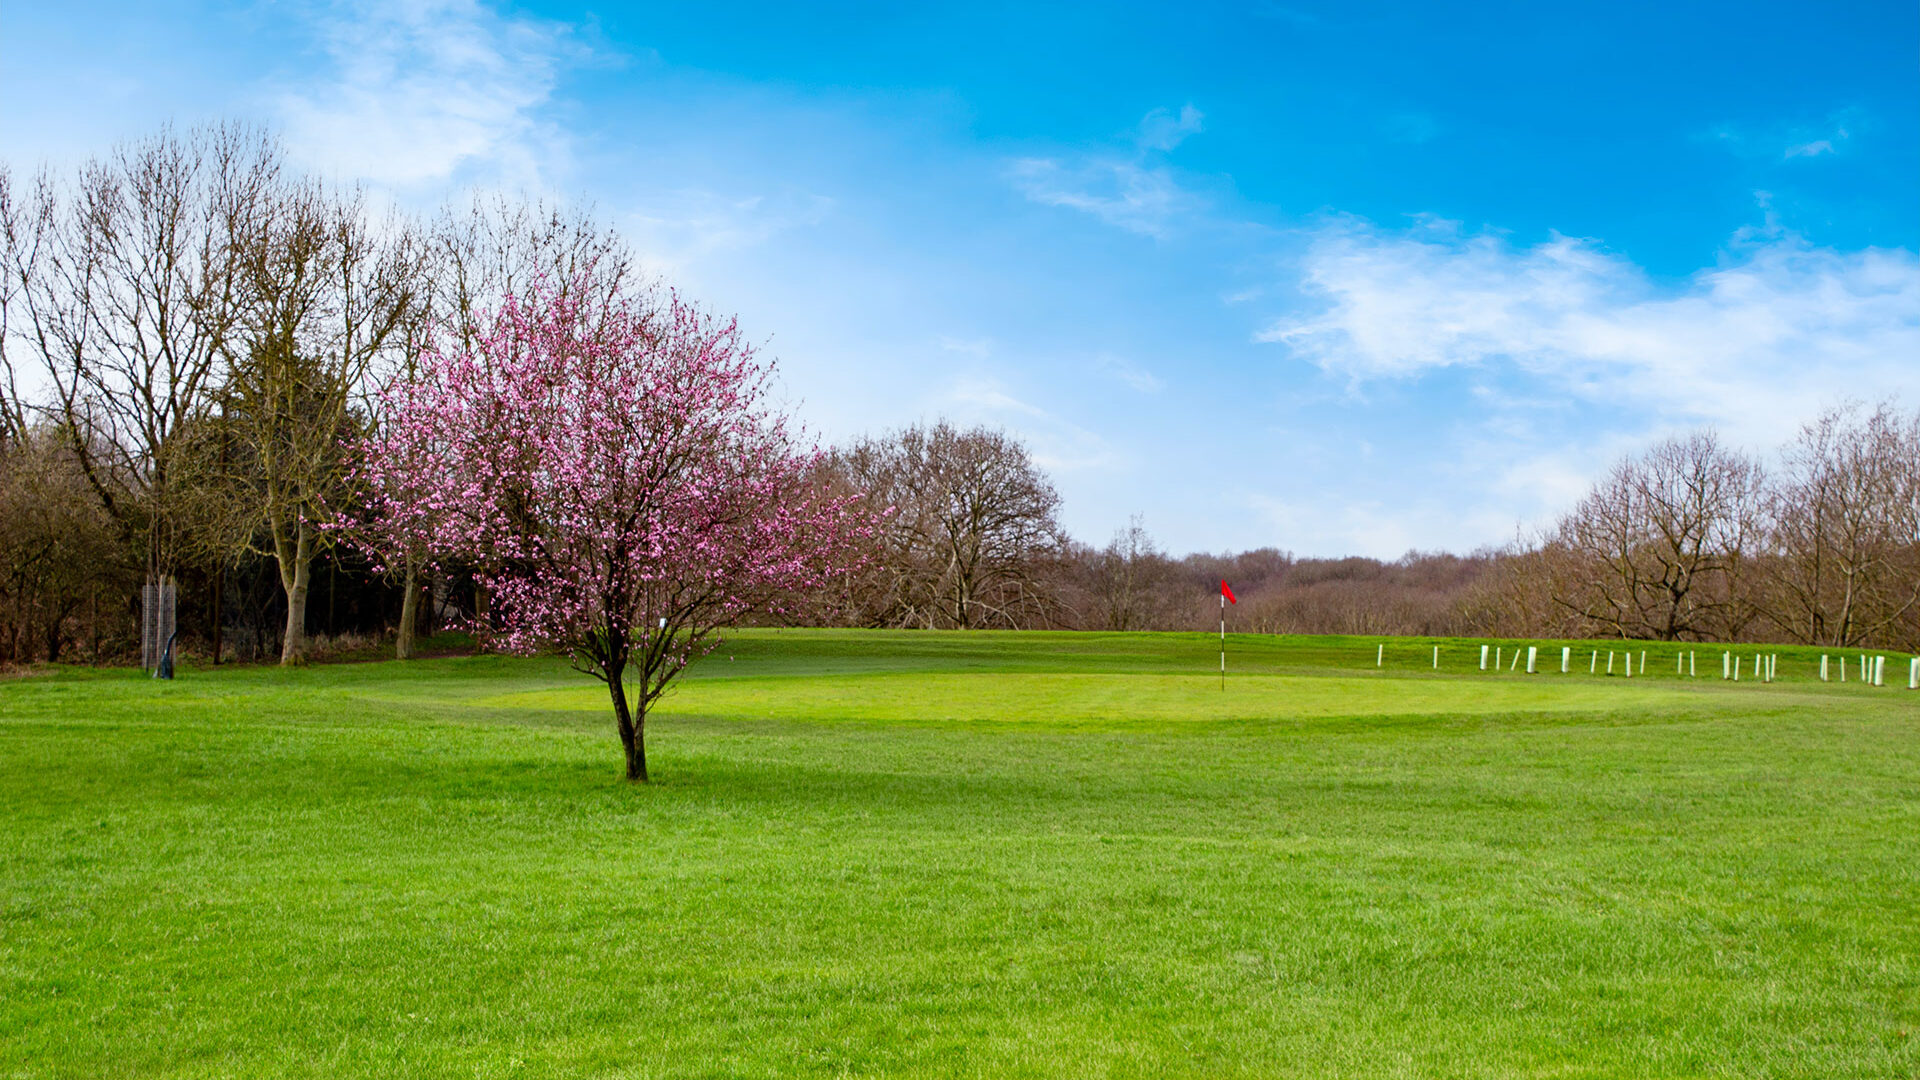
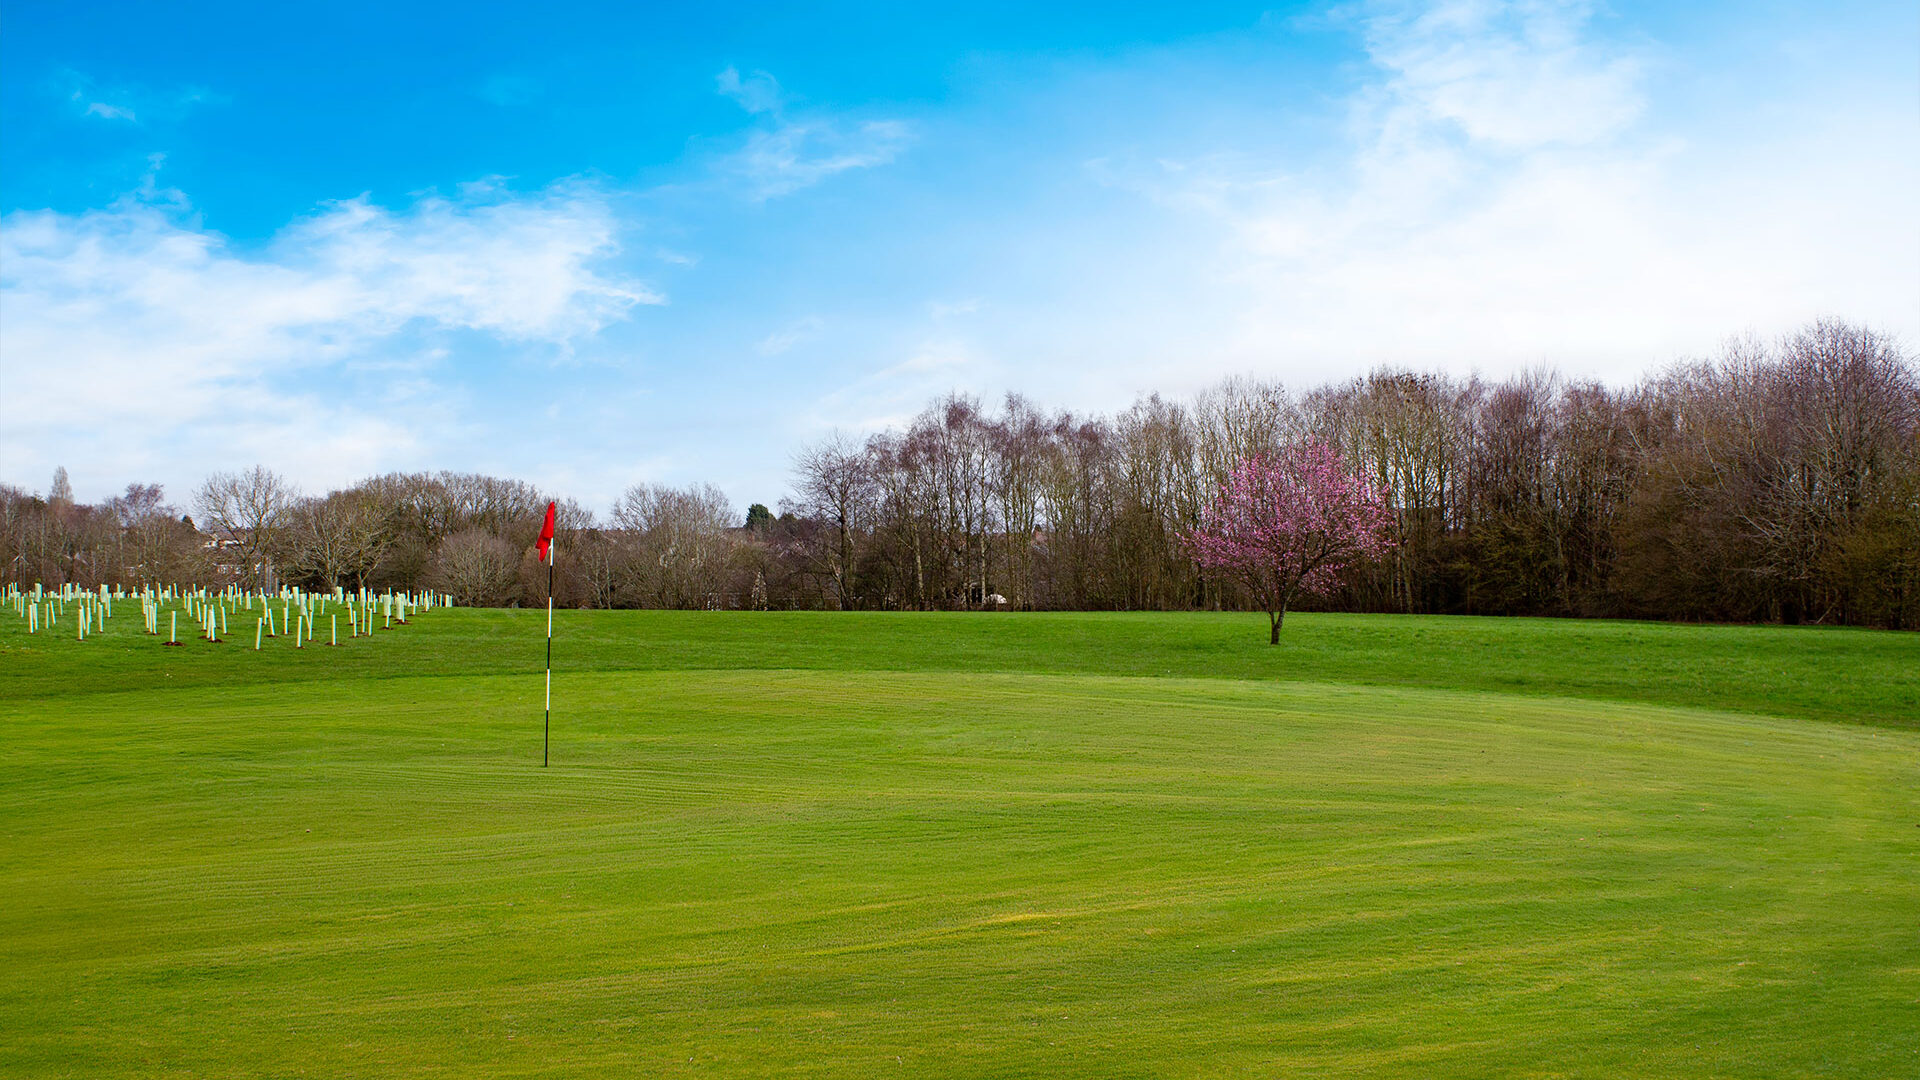
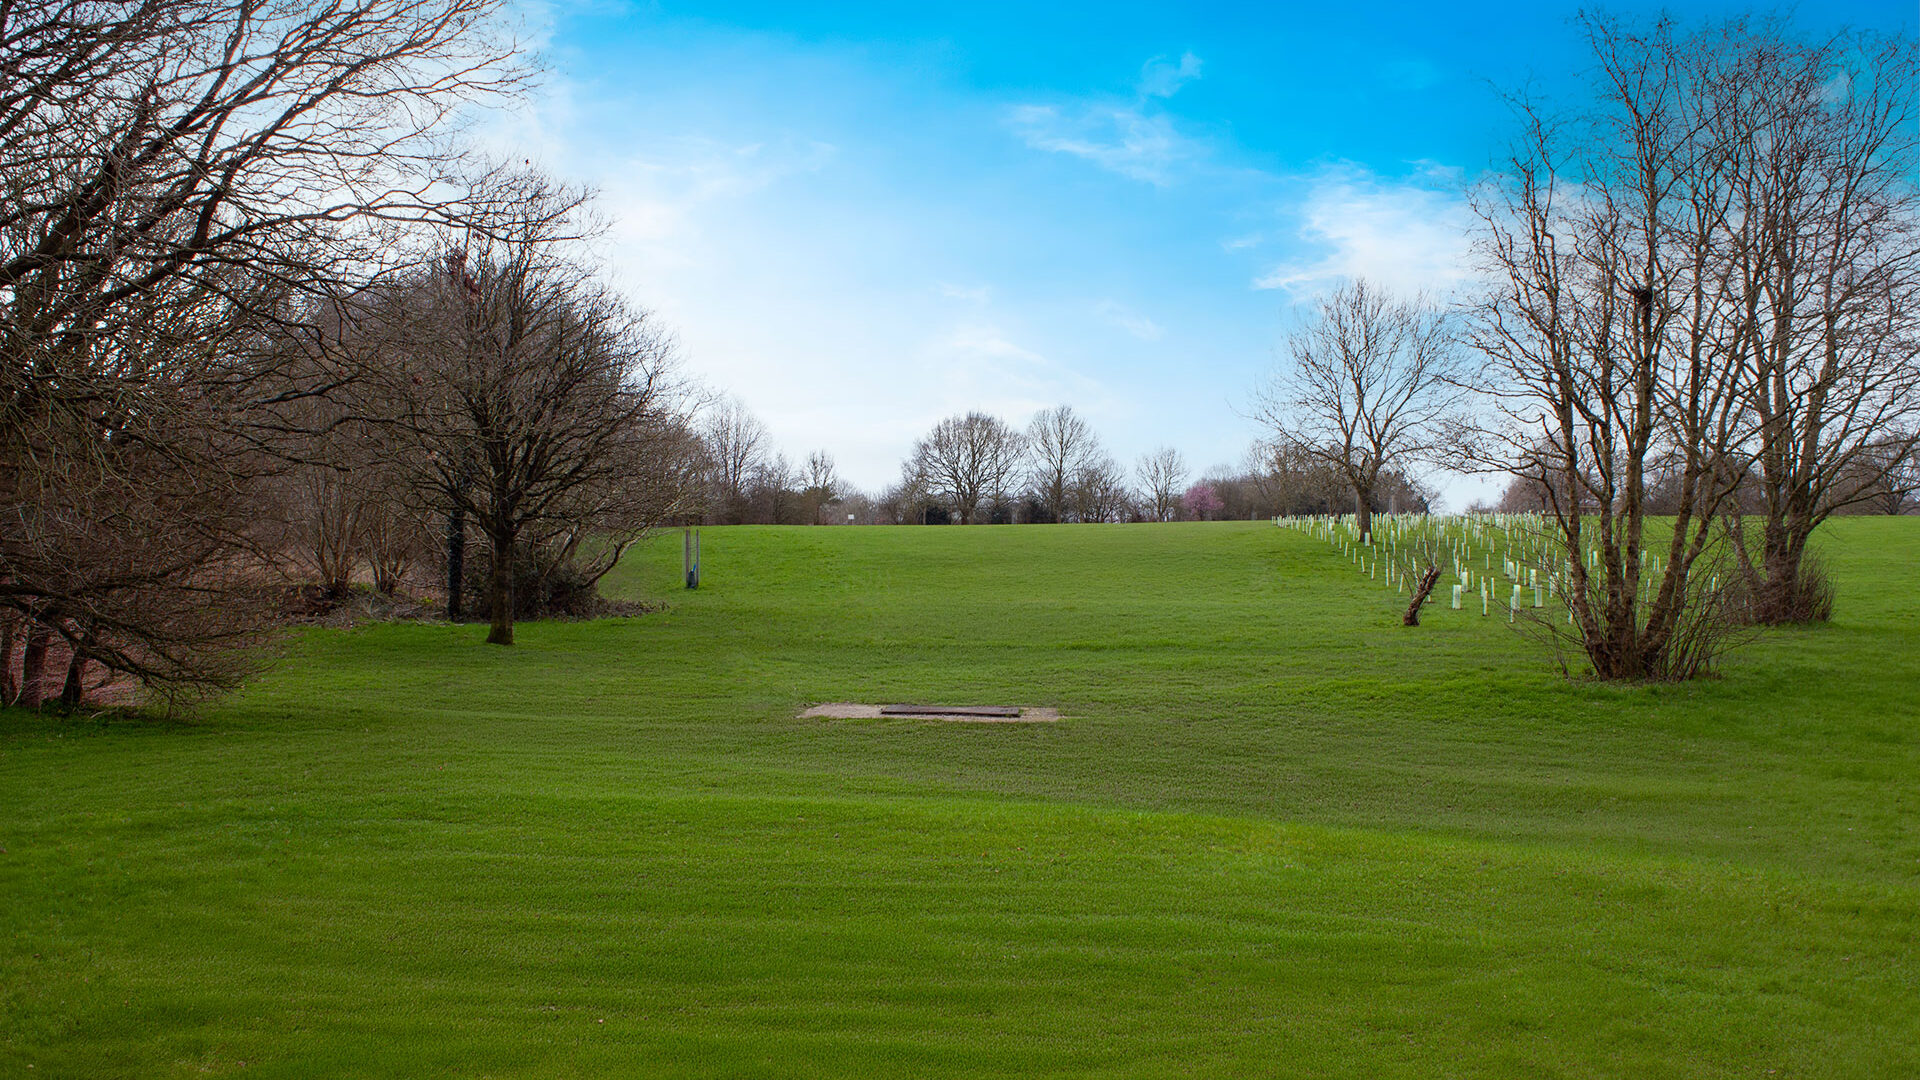
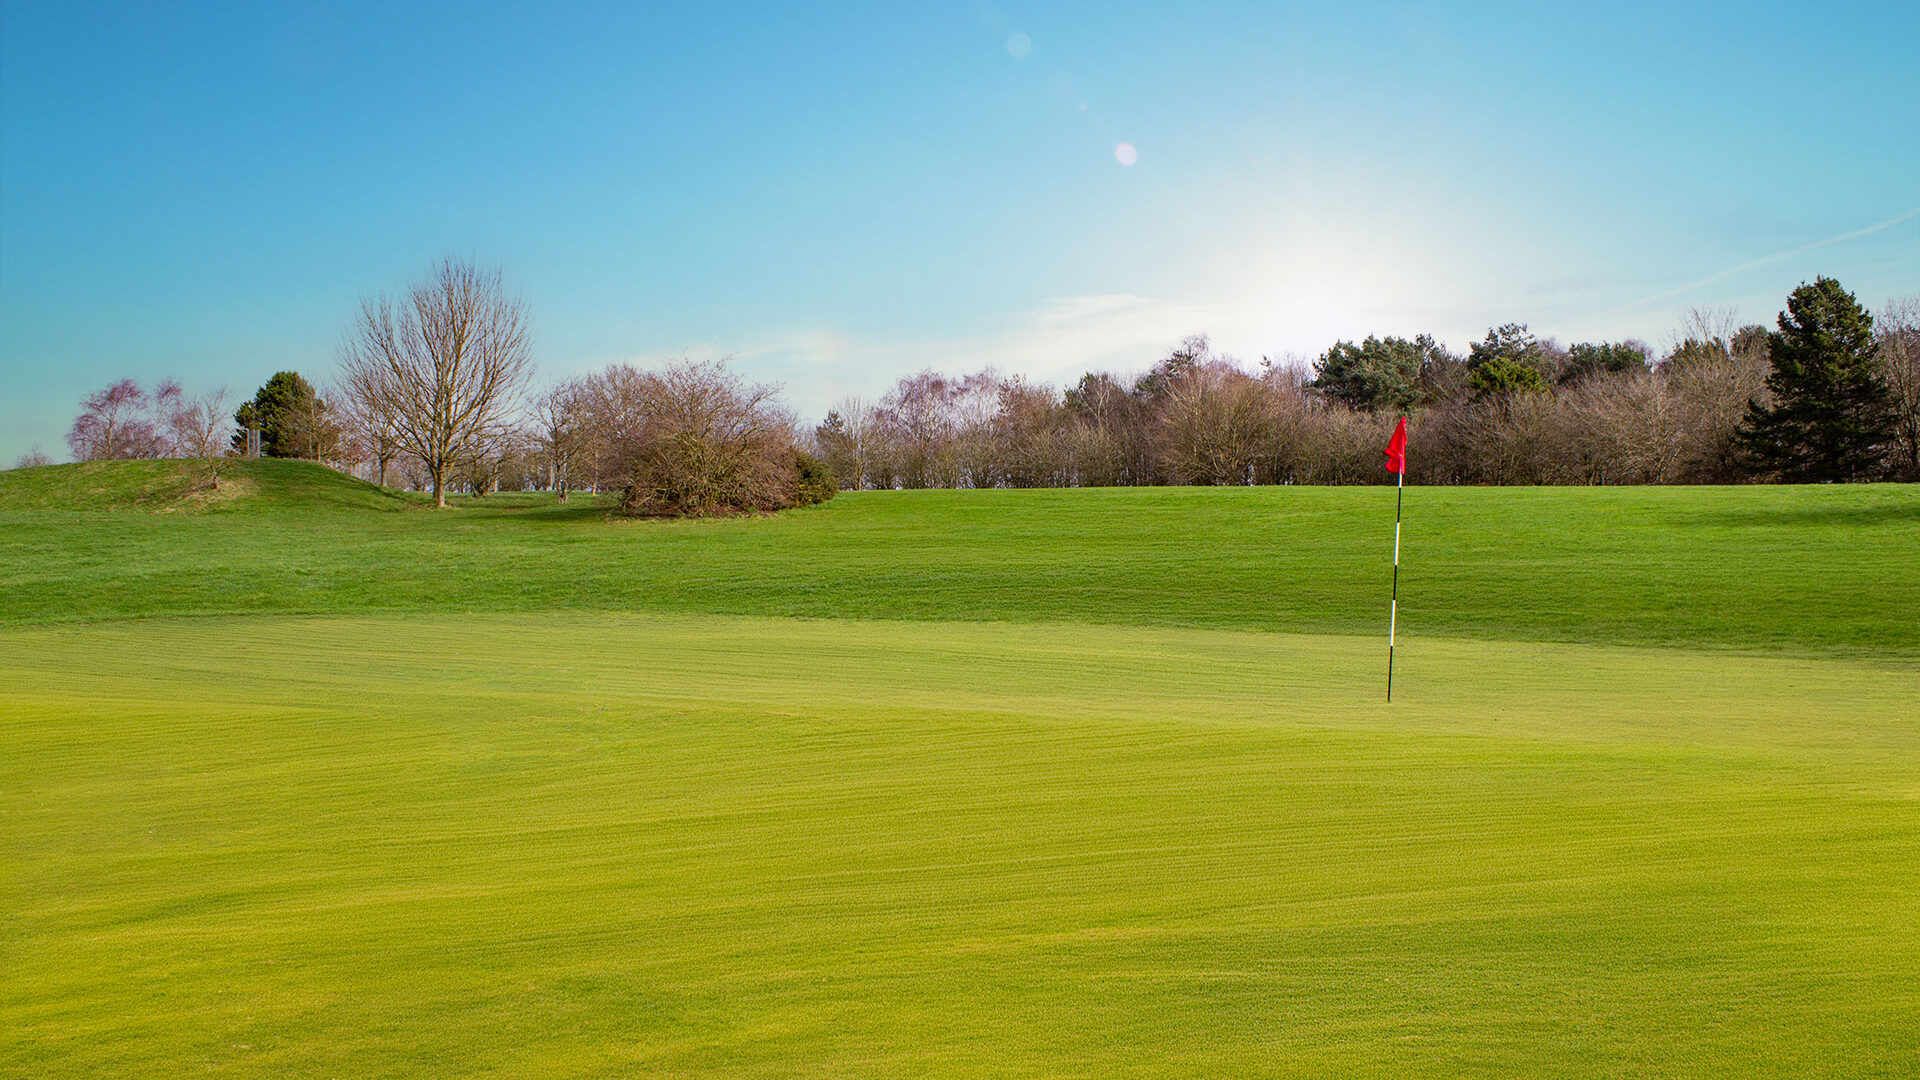
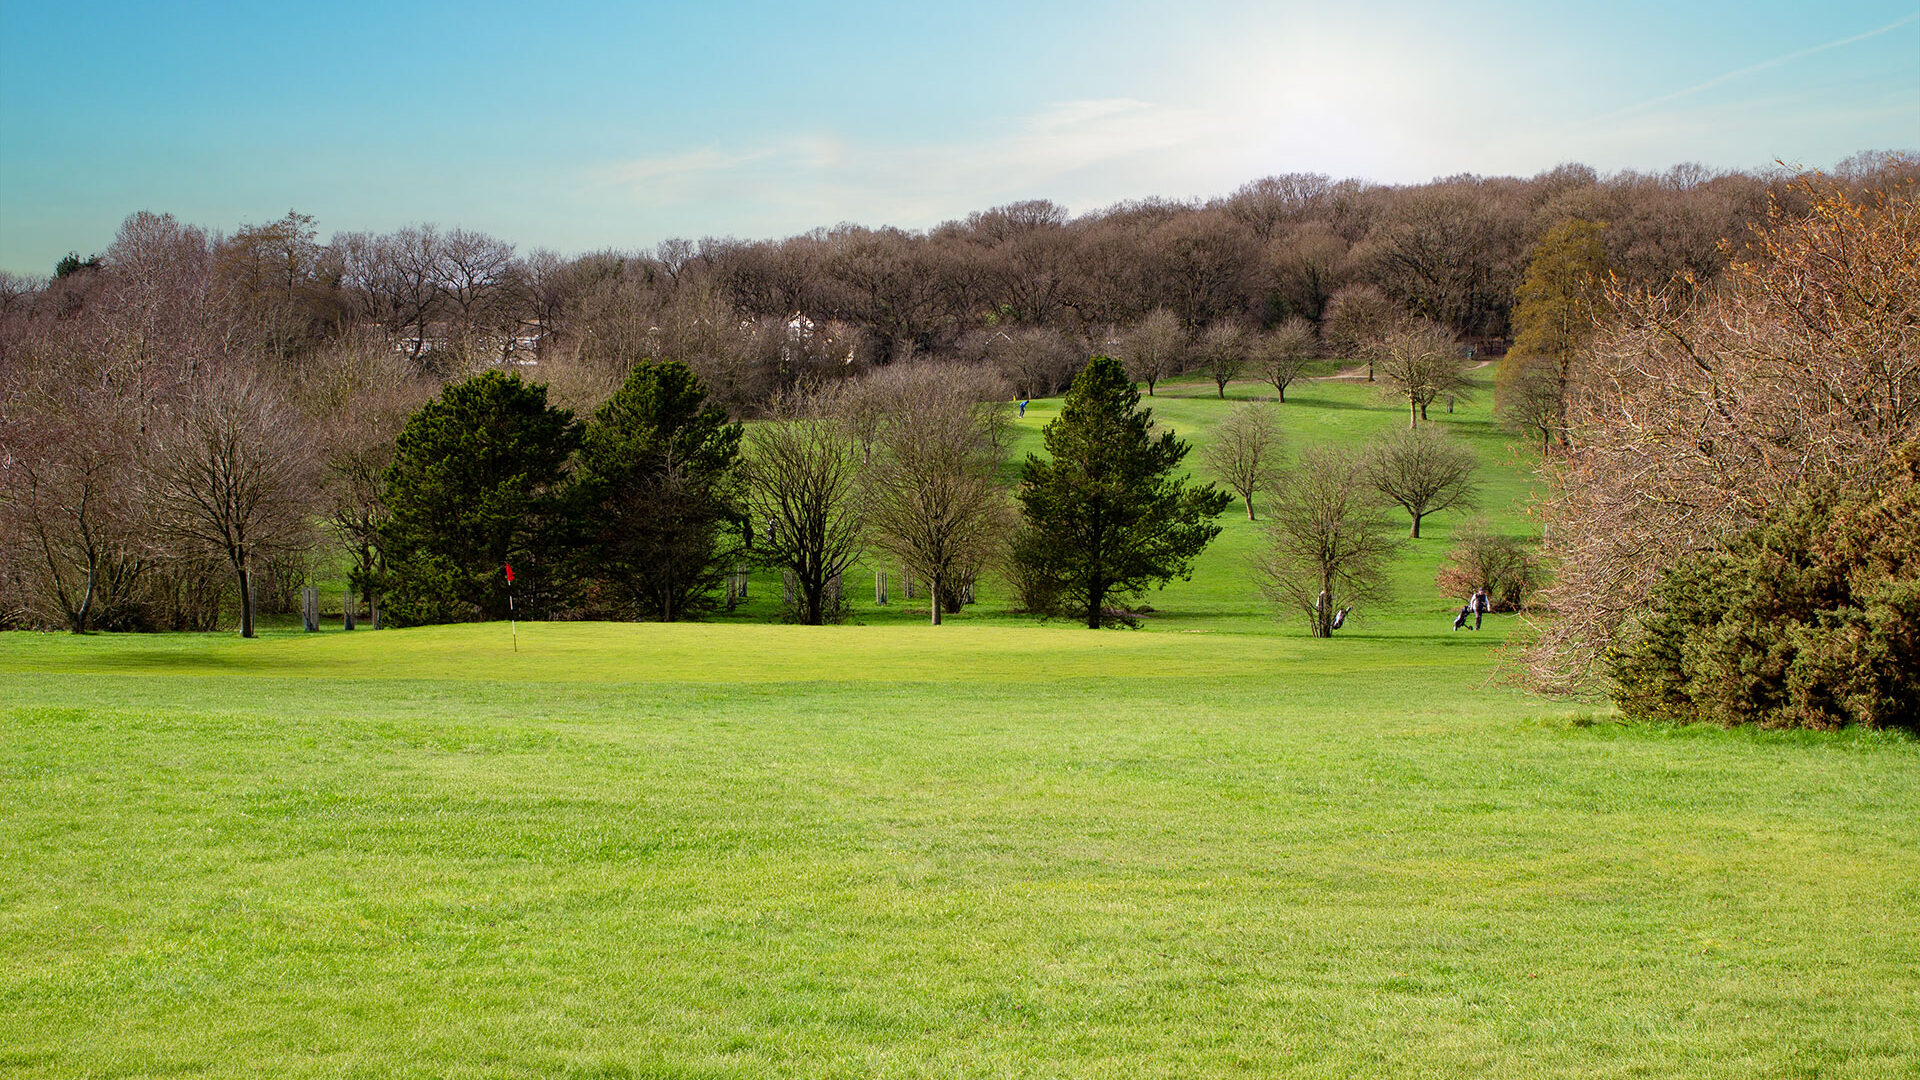
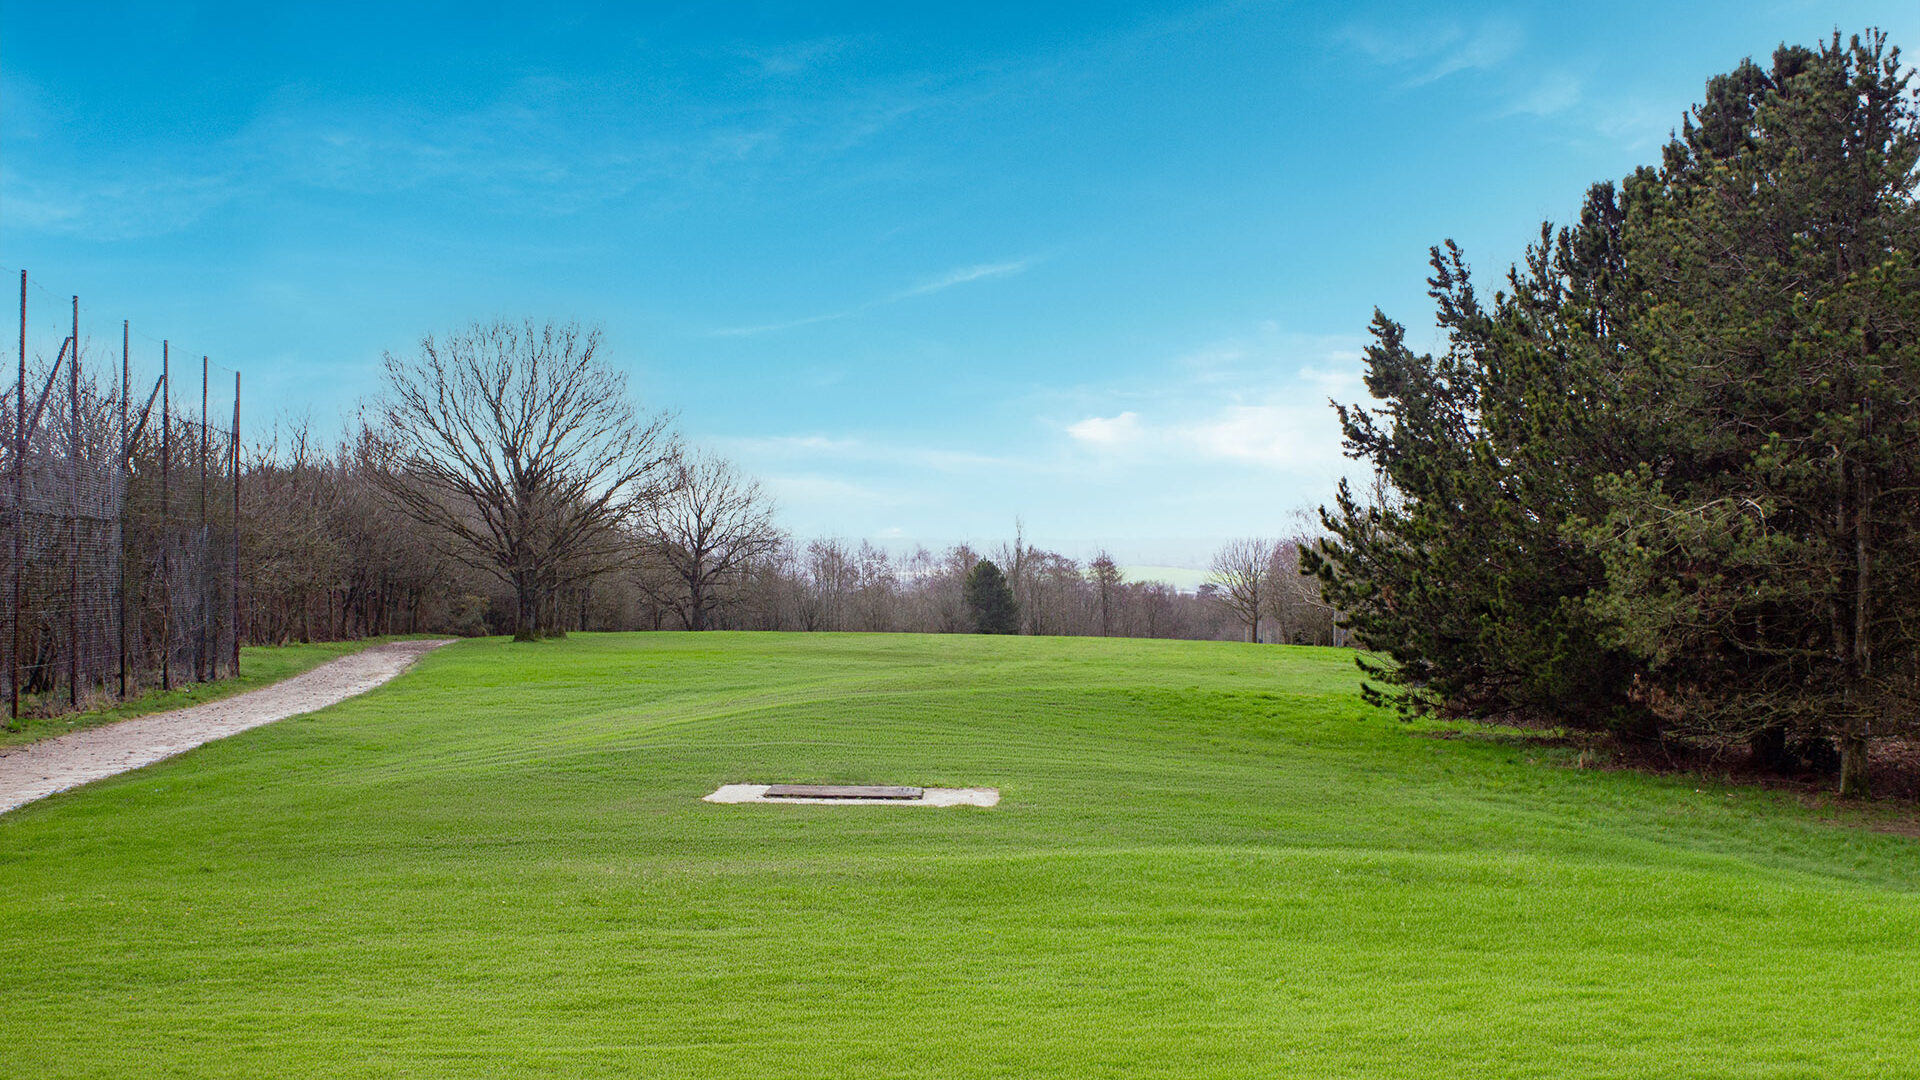
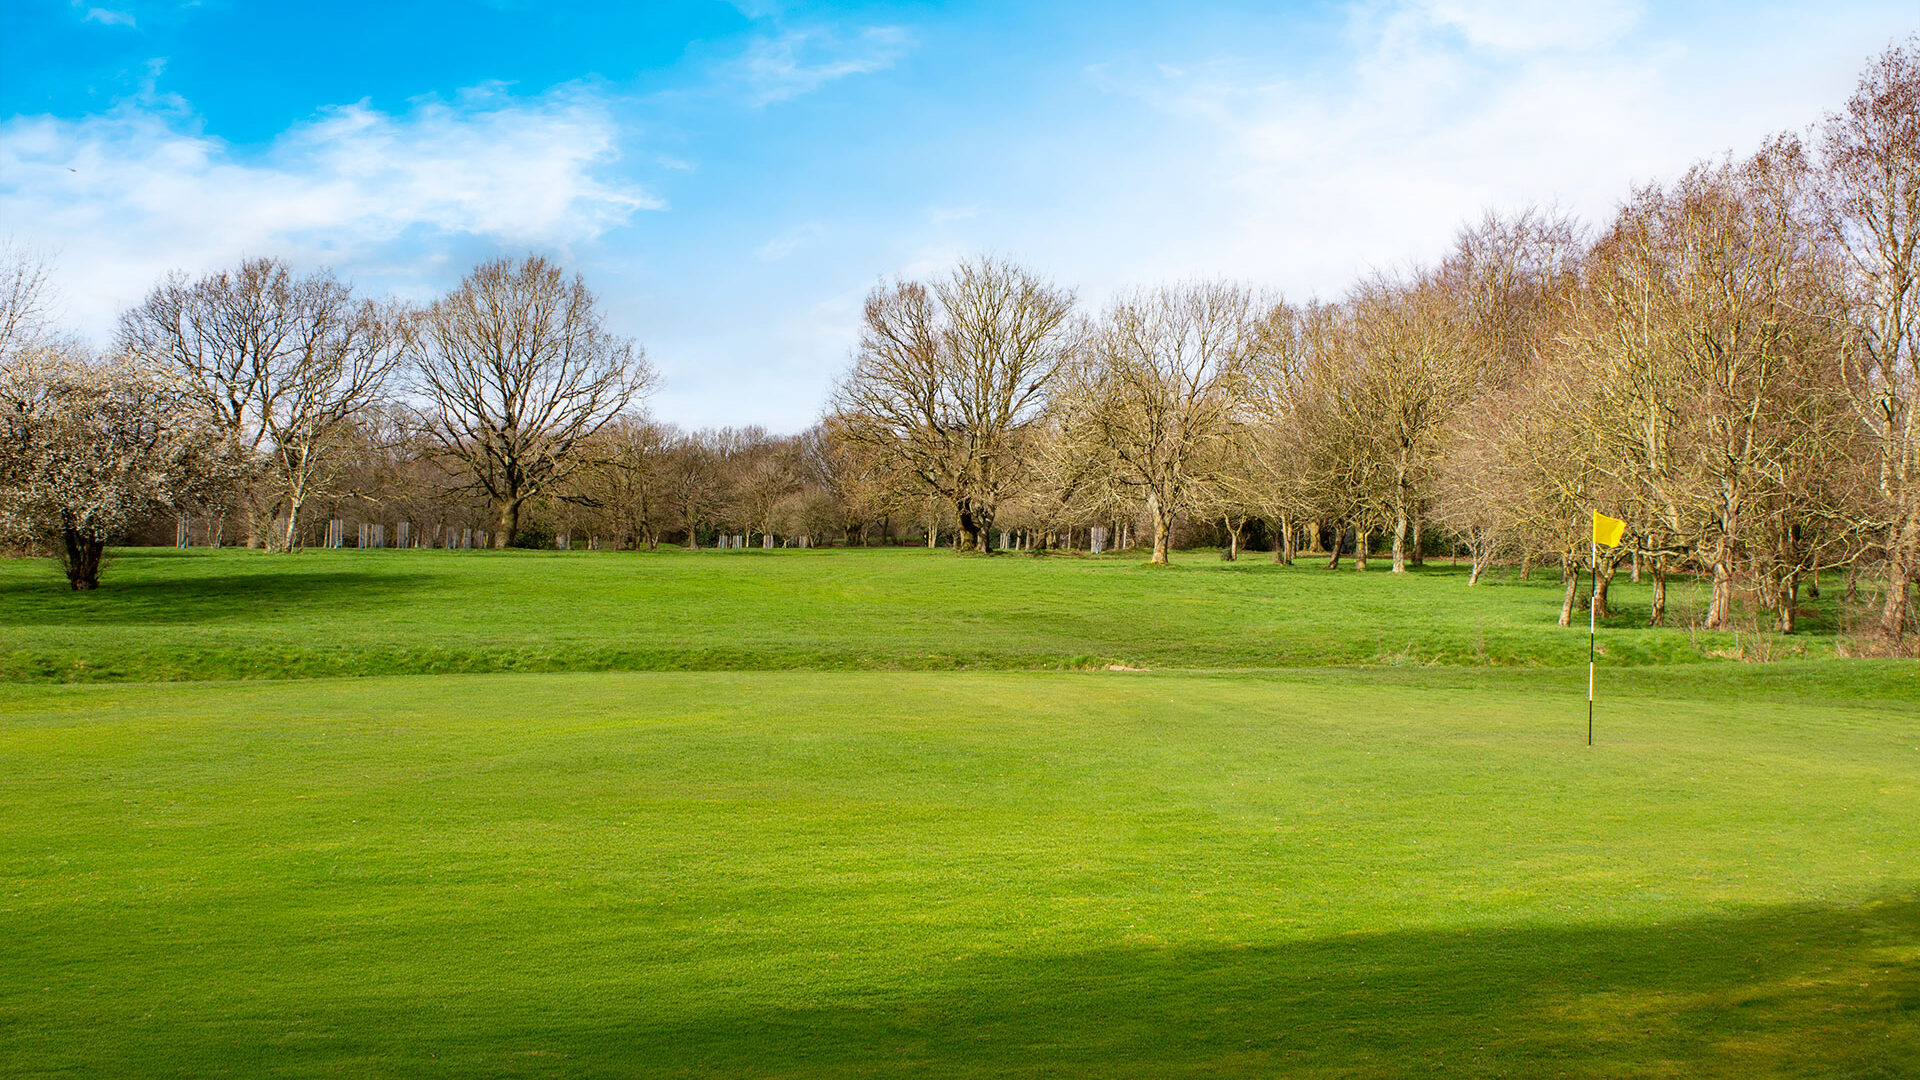
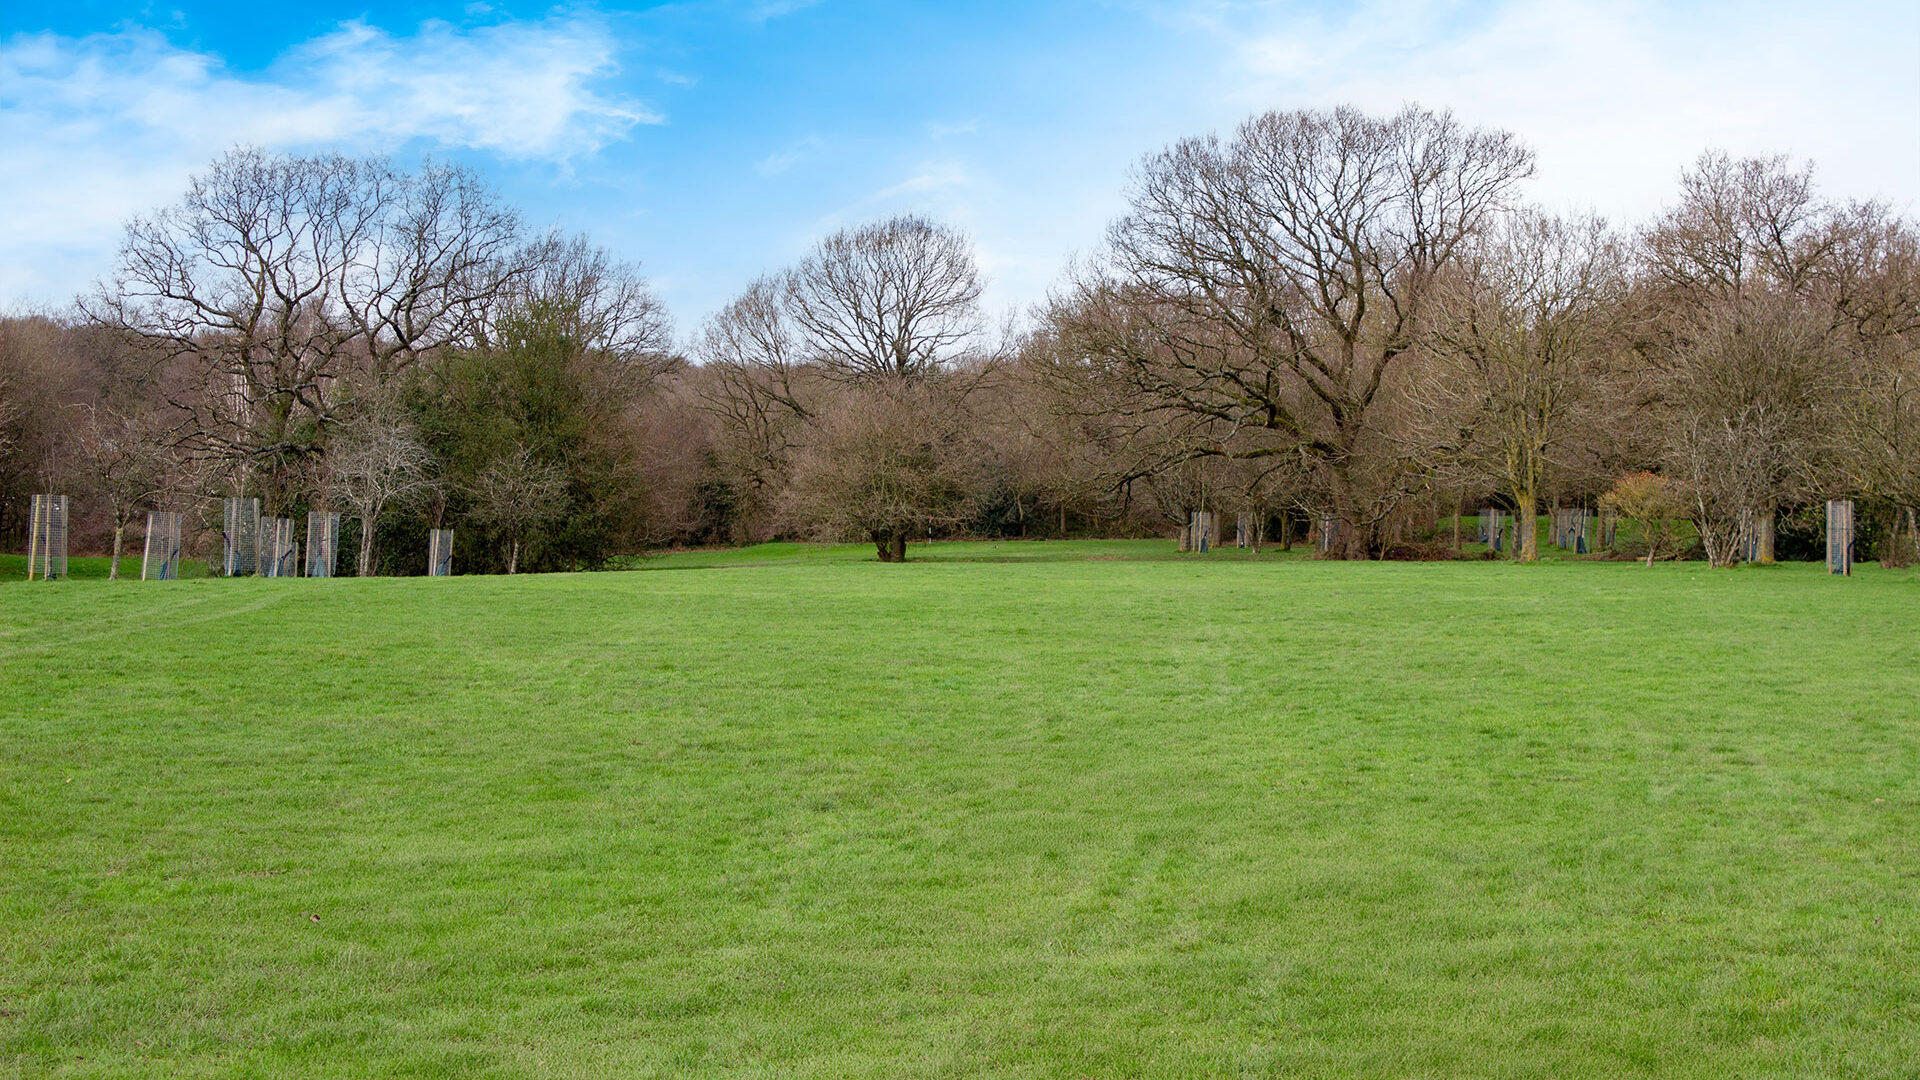
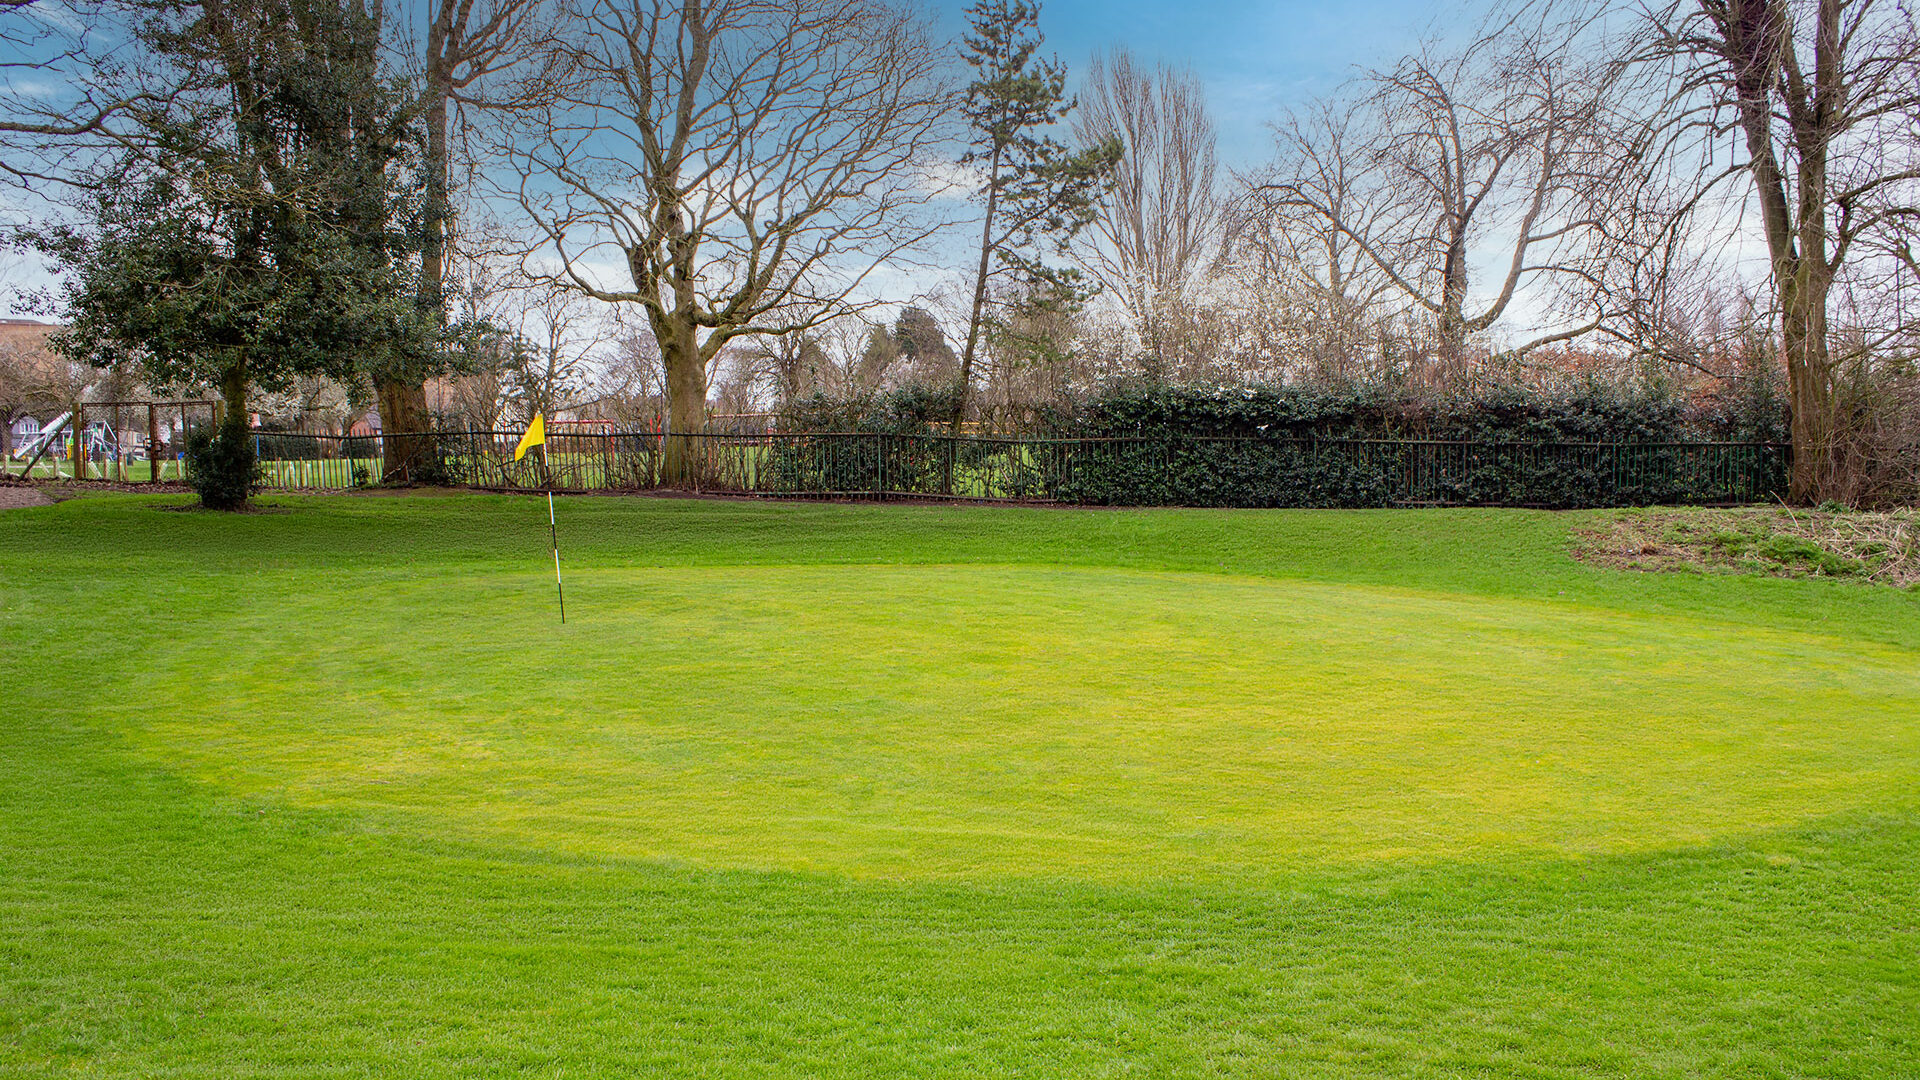
Our 18‑hole, par‑67 parkland course at Cannock offers a picturesque 5,102‑yard challenge. Blending natural scenery with well‑considered design, the course provides an enjoyable round with every hole presenting something different. Its varied contours and elevations deliver a unique experience throughout, offering a rewarding test even for seasoned golfers.
EXPLORE THE COURSE
Loading status...
YARDS
4958
White Tee
YARDS
4693
Yellow Tee
YARDS
4428
Red Tee
1 of 18
| PAR | YARDS | STROKE | |
|---|---|---|---|
| 4 | 264 | 7 | |
| 4 | 264 | 7 | |
| 4 | 264 | 7 |
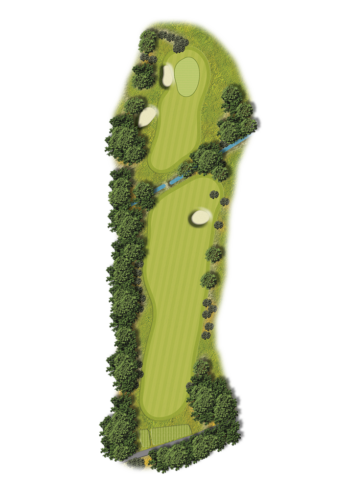
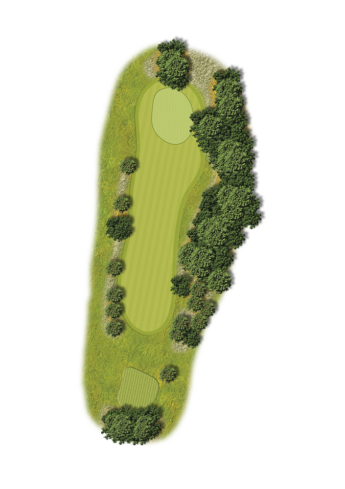
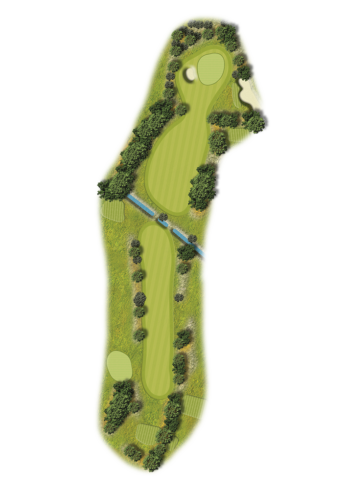
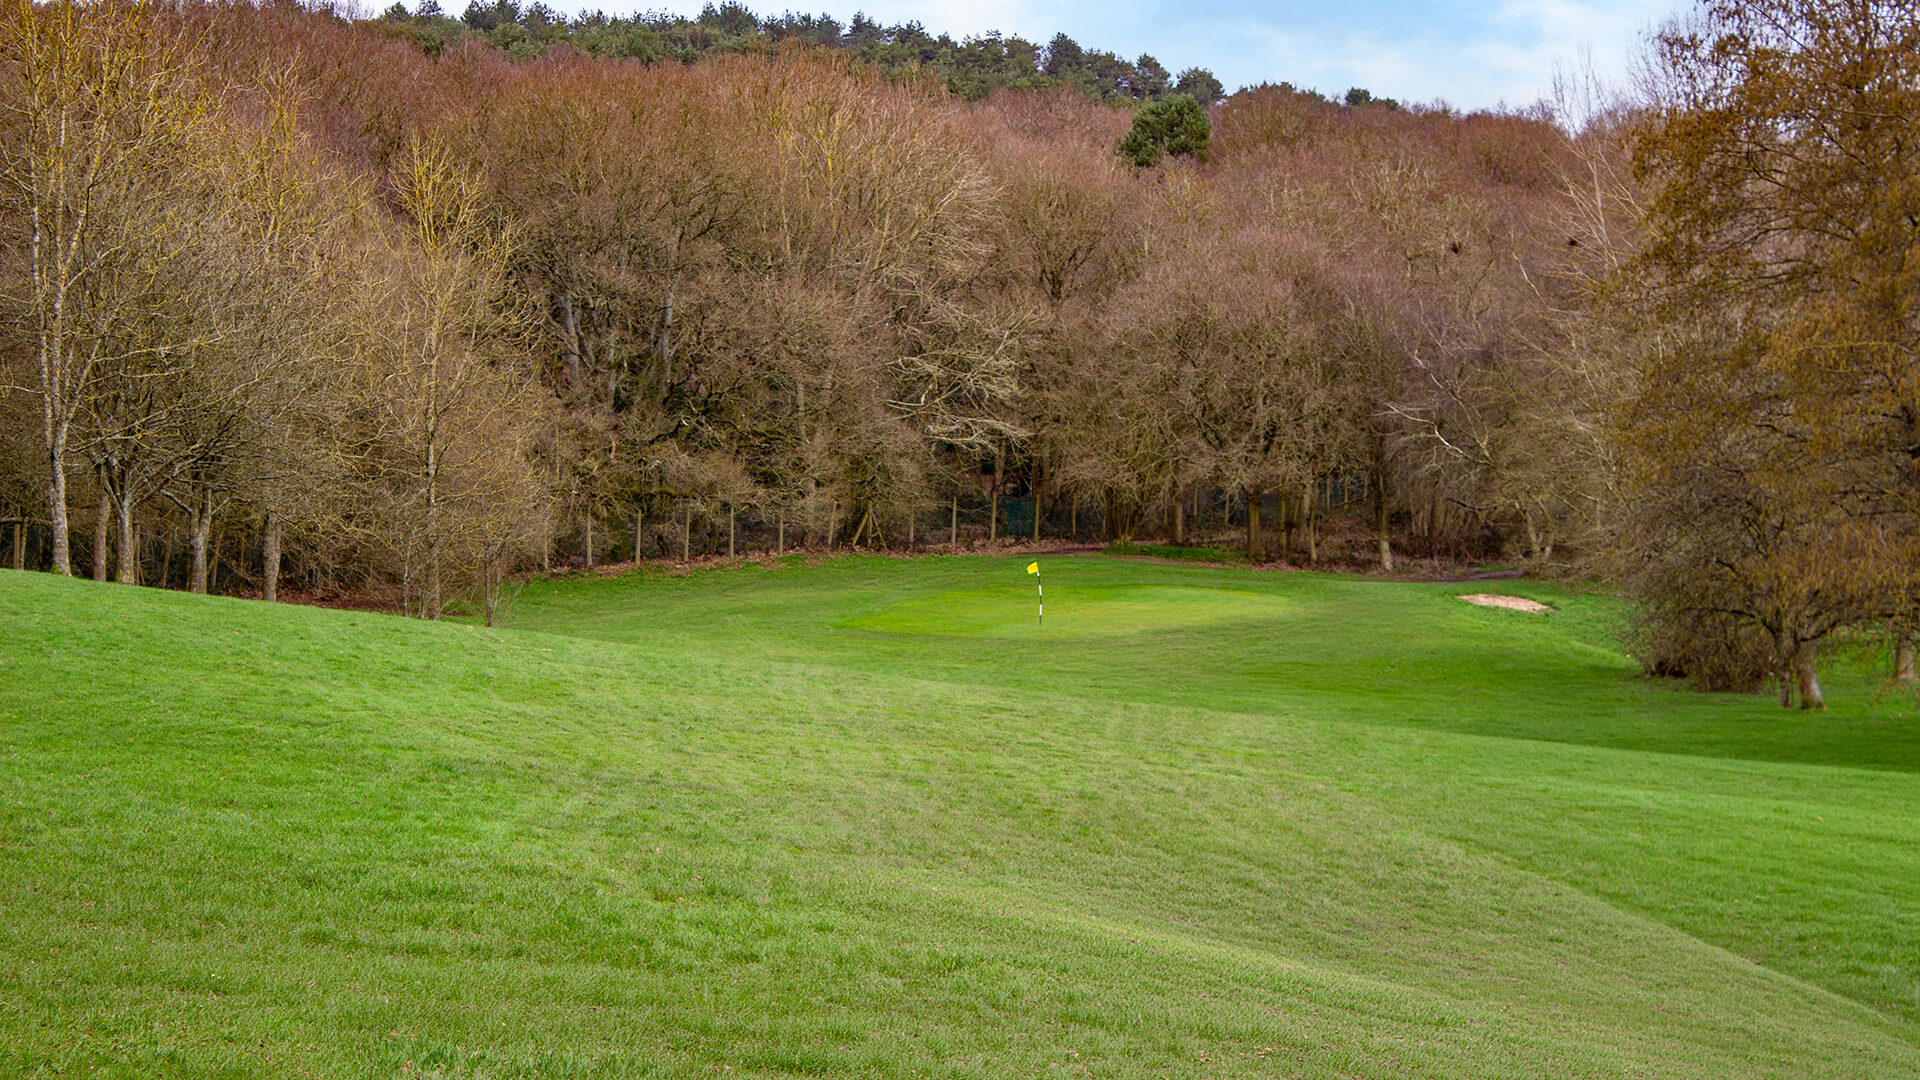
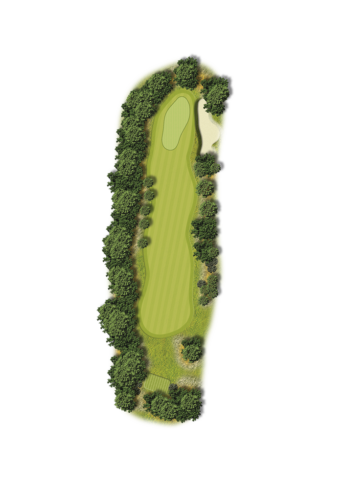
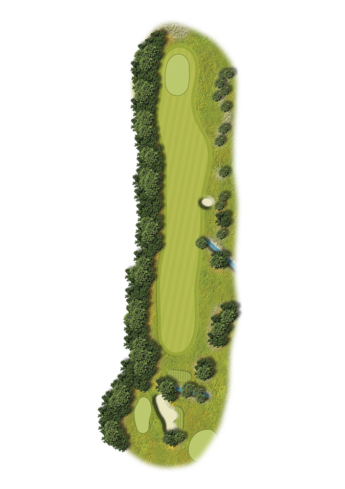
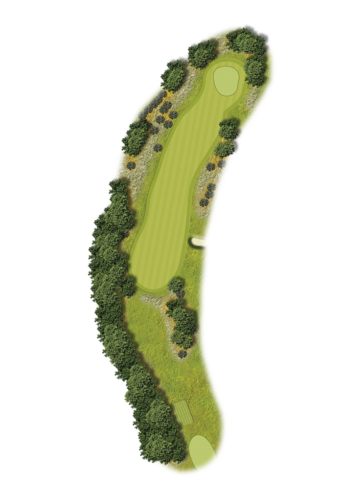
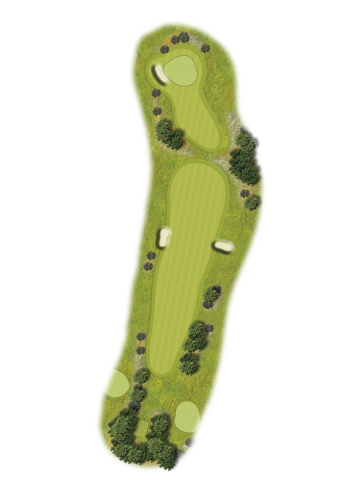
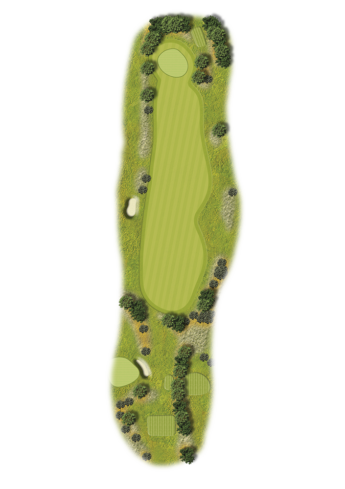
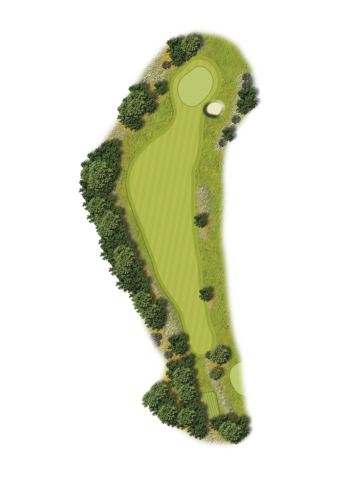
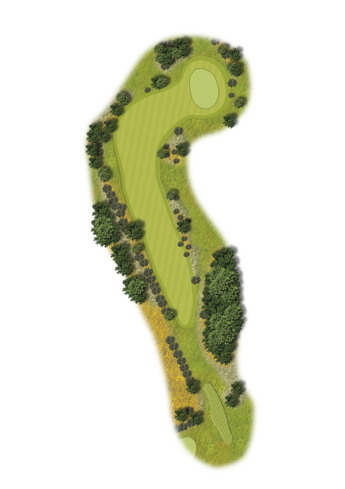
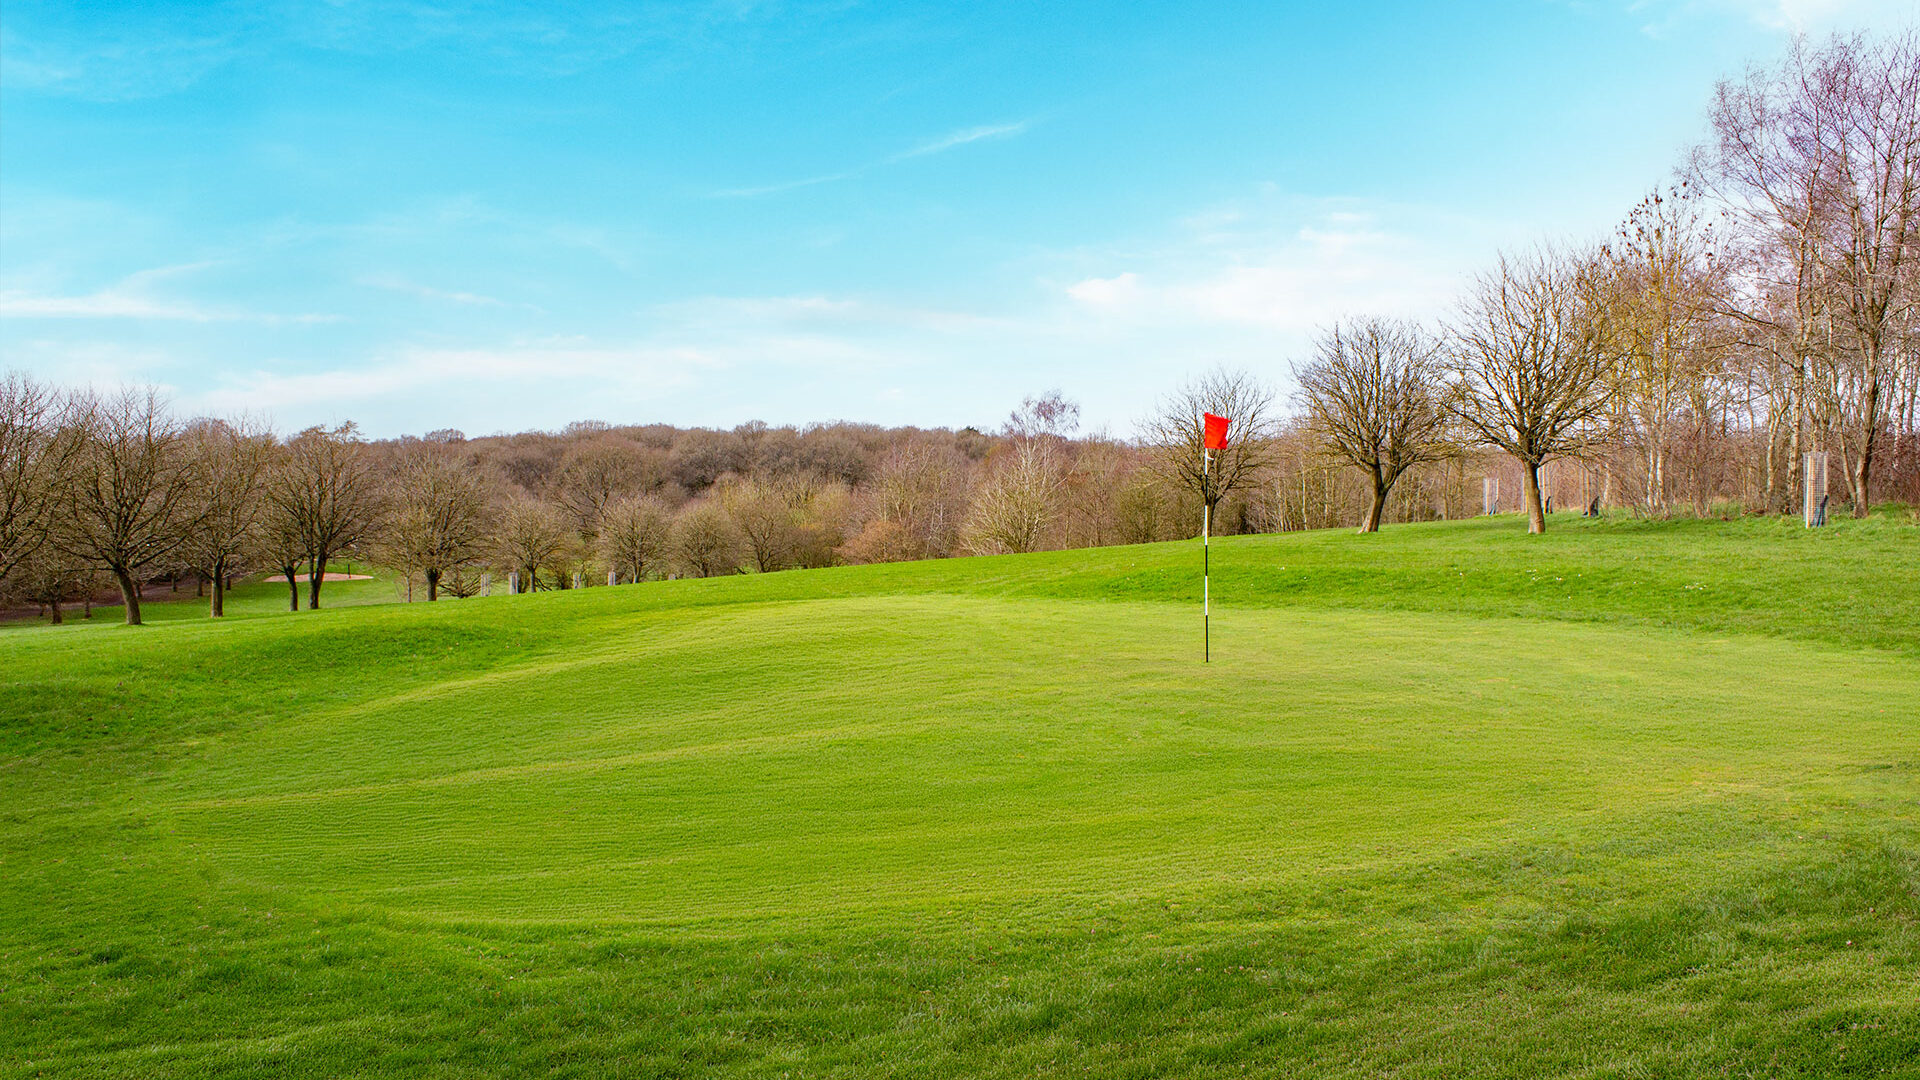
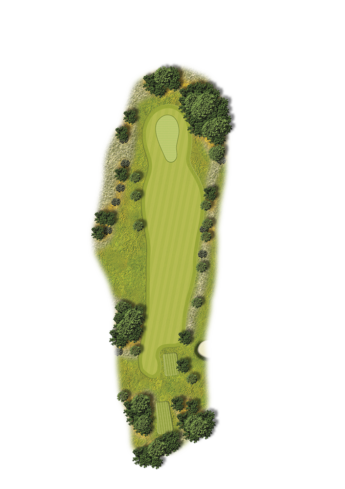
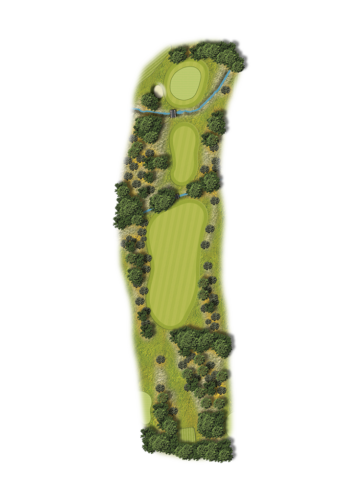
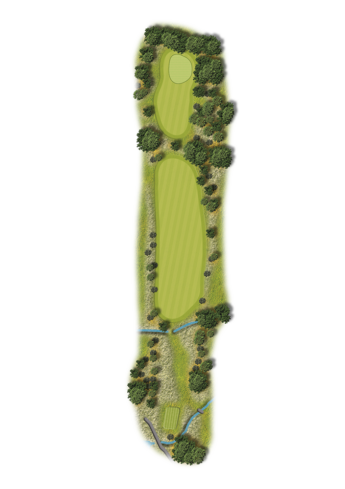
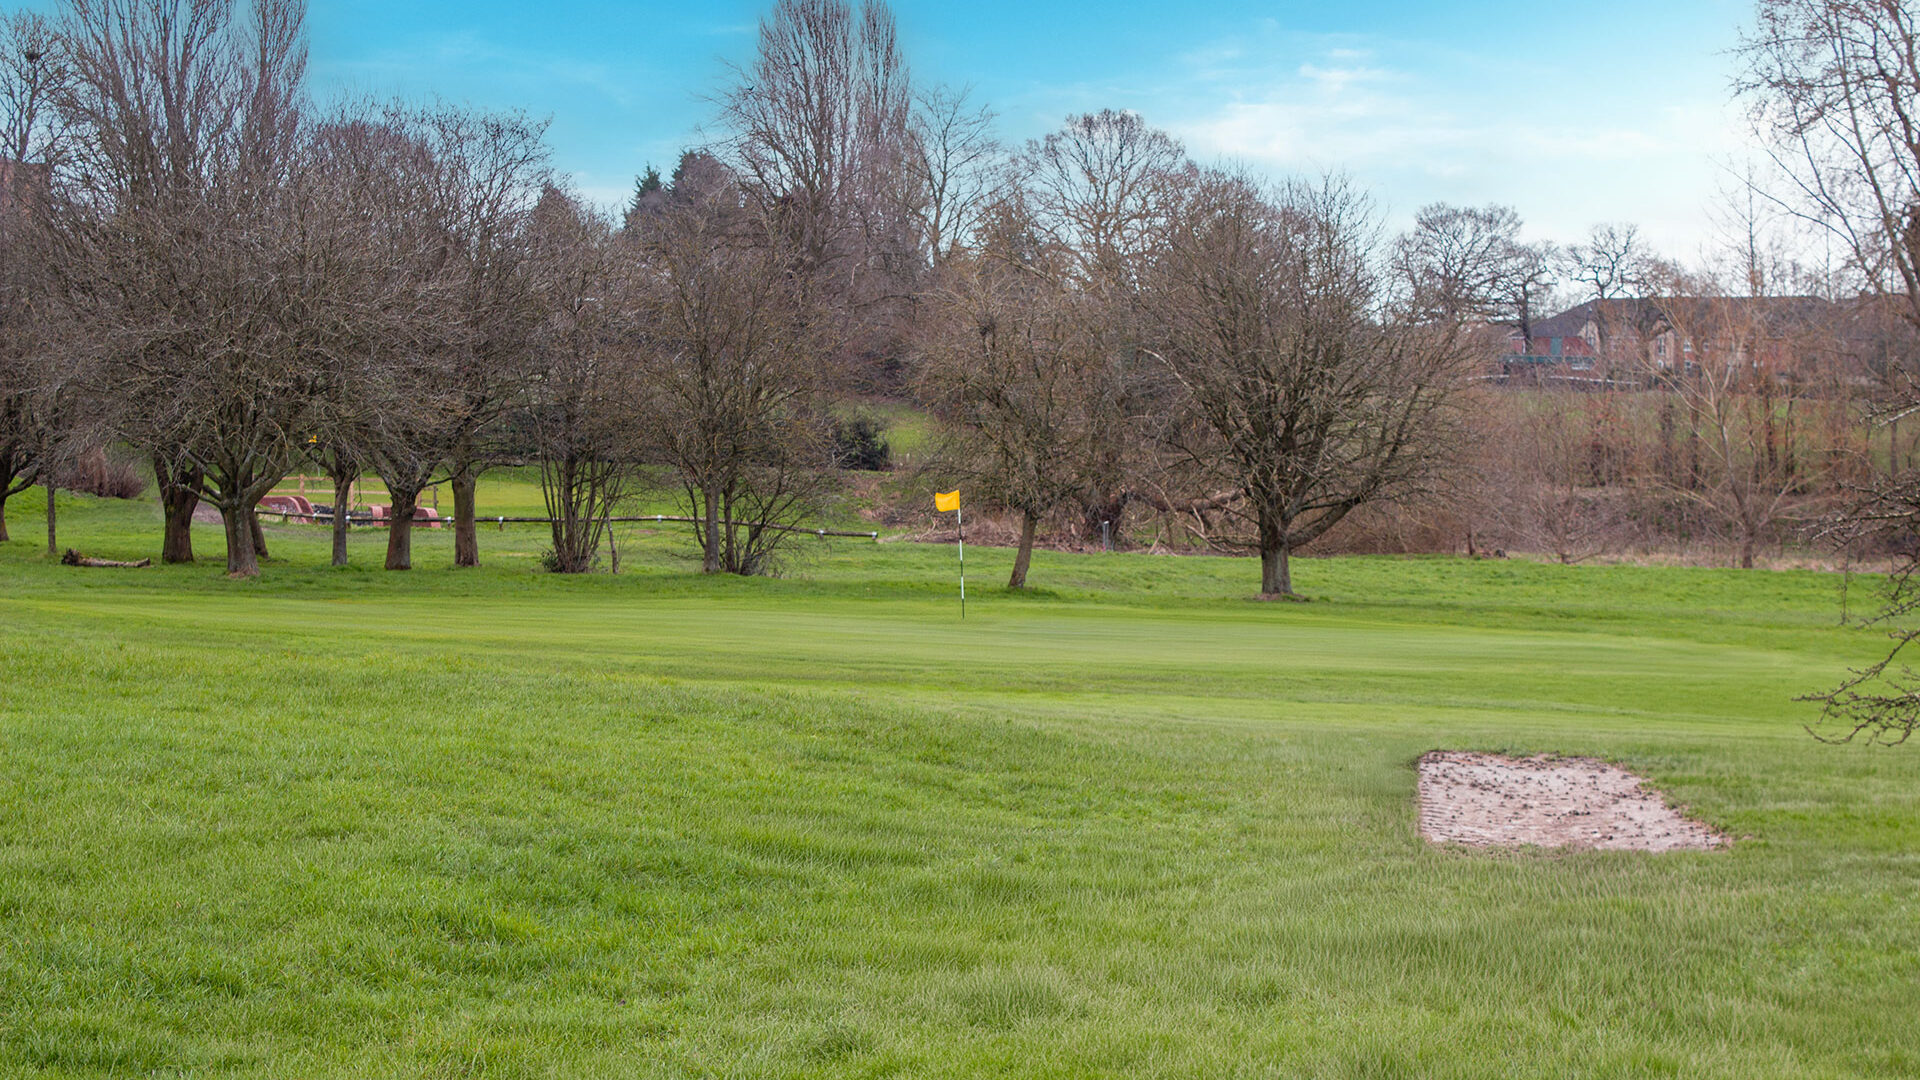
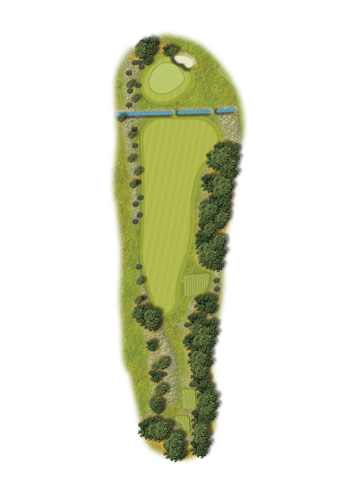
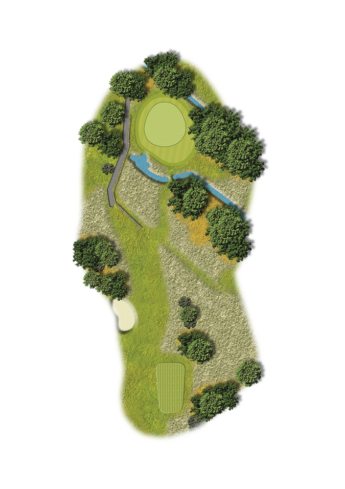
HOLE ONE
PAR 4, YARDS 264, STROKE INDEX 7
1 of 18
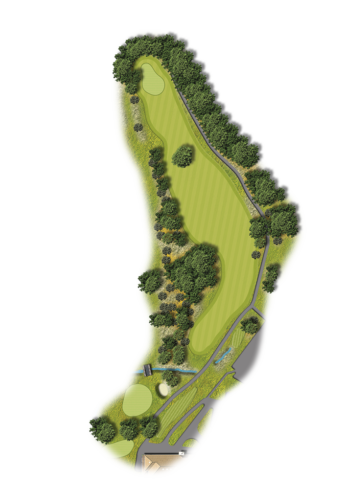
HOLE ONE
This now straight opening hole offers a relatively easy par 4 to begin your round. Playing from the updated tee box, the short 270‑yard fairway calls for a gentle fade either around or over the overhanging trees on the left. As you approach the green, be mindful of the lone tree that can obstruct your line and complicate your second shot.
| PAR | YARDS | STROKE | |
|---|---|---|---|
| 4 | 264 | 7 | |
| 4 | 264 | 7 | |
| 4 | 264 | 7 |
PRO TIP
Aim a gentle fade off the tee to clear the left-side trees and leave a clean angle past the lone guarding tree for an easy approach.
2 of 18
| PAR | YARDS | STROKE | |
|---|---|---|---|
| 4 | 308 | 15 | |
| 4 | 290 | 15 | |
| 4 | 279 | 15 |
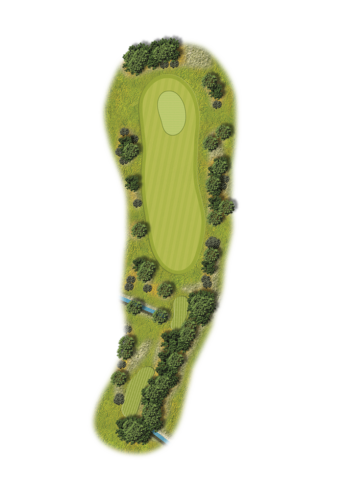
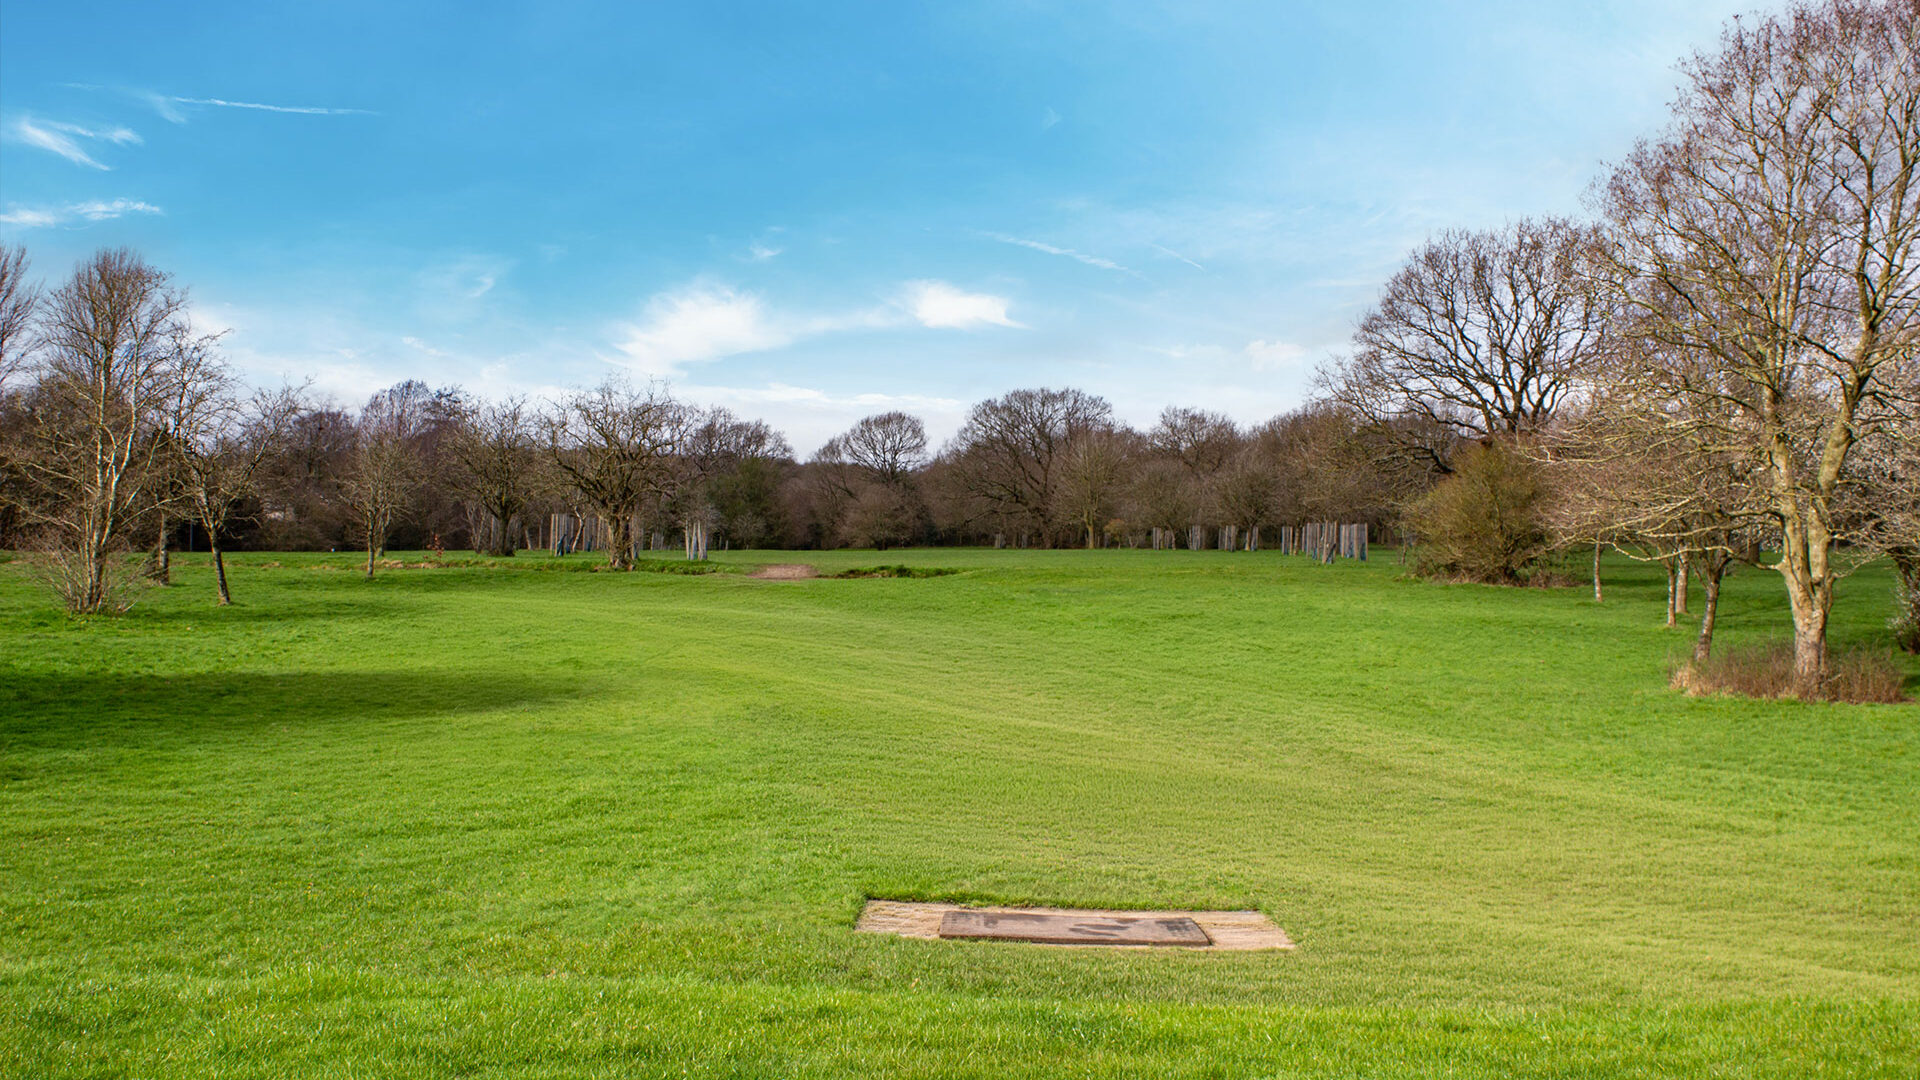
HOLE TWO
PAR 4, YARDS 308, STROKE INDEX 15
2 of 18
HOLE TWO
A straight, fairly open par 4 that still demands solid course management. A downhill tee shot to a narrow ditch that cuts across the fairway at around 210 yards. While a lone bunker and a high hedgerow down the right can punish any loose shots. The left side is guarded by a thick tree line, so accuracy is key from the tee. The green is welcoming, protected only by a single bunker on the left. This is a smart hole to play with back‑to‑back irons, removing unnecessary risk and keeping your scorecard clean.
| PAR | YARDS | STROKE | |
|---|---|---|---|
| 4 | 308 | 15 | |
| 4 | 290 | 15 | |
| 4 | 279 | 15 |
PRO TIP
No need for the big stick, two mid-iron shots will keep you out of trouble.
3 of 18
| PAR | YARDS | STROKE | |
|---|---|---|---|
| 4 | 312 | 3 | |
| 4 | 299 | 3 | |
| 4 | 283 | 3 |
HOLE THREE
PAR 4, YARDS 312, STROKE INDEX 3
3 of 18

HOLE THREE
The third is another straight par 4 with a ditch crossing the fairway at around 170 yards. A steep climb. this uphill tee shot will come up short, however the fairway opens up, offering a bit more forgiveness on either side. The approach, however, demands precision the two-tiered green is protected by a large single bunker positioned on the front‑right edge, ready to catch anything short or slightly pushed.
| PAR | YARDS | STROKE | |
|---|---|---|---|
| 4 | 312 | 3 | |
| 4 | 299 | 3 | |
| 4 | 283 | 3 |
PRO TIP
A steep hole that requires distance, make sure to club up as your shots will come up short.
4 of 18
| PAR | YARDS | STROKE | |
|---|---|---|---|
| 3 | 165 | 11 | |
| 3 | 157 | 11 | |
| 3 | 145 | 11 |
HOLE FOUR
PAR 3, YARDS 165, STROKE INDEX 11
4 of 18
HOLE FOUR
The first par 3 of the round, you are teeing into a large green, tightly guarded by trees. You can’t afford to miss long or right anything in that direction will leave you playing out from the trees.
| PAR | YARDS | STROKE | |
|---|---|---|---|
| 3 | 165 | 11 | |
| 3 | 157 | 11 | |
| 3 | 145 | 11 |
PRO TIP
This will come up shorter than your yardage. Ignore the pin position and aim for the left or centre of the green to steer clear of the surrounding hazards.
5 of 18
| PAR | YARDS | STROKE | |
|---|---|---|---|
| 4 | 365 | 1 | |
| 4 | 359 | 1 | |
| 4 | 354 | 1 |
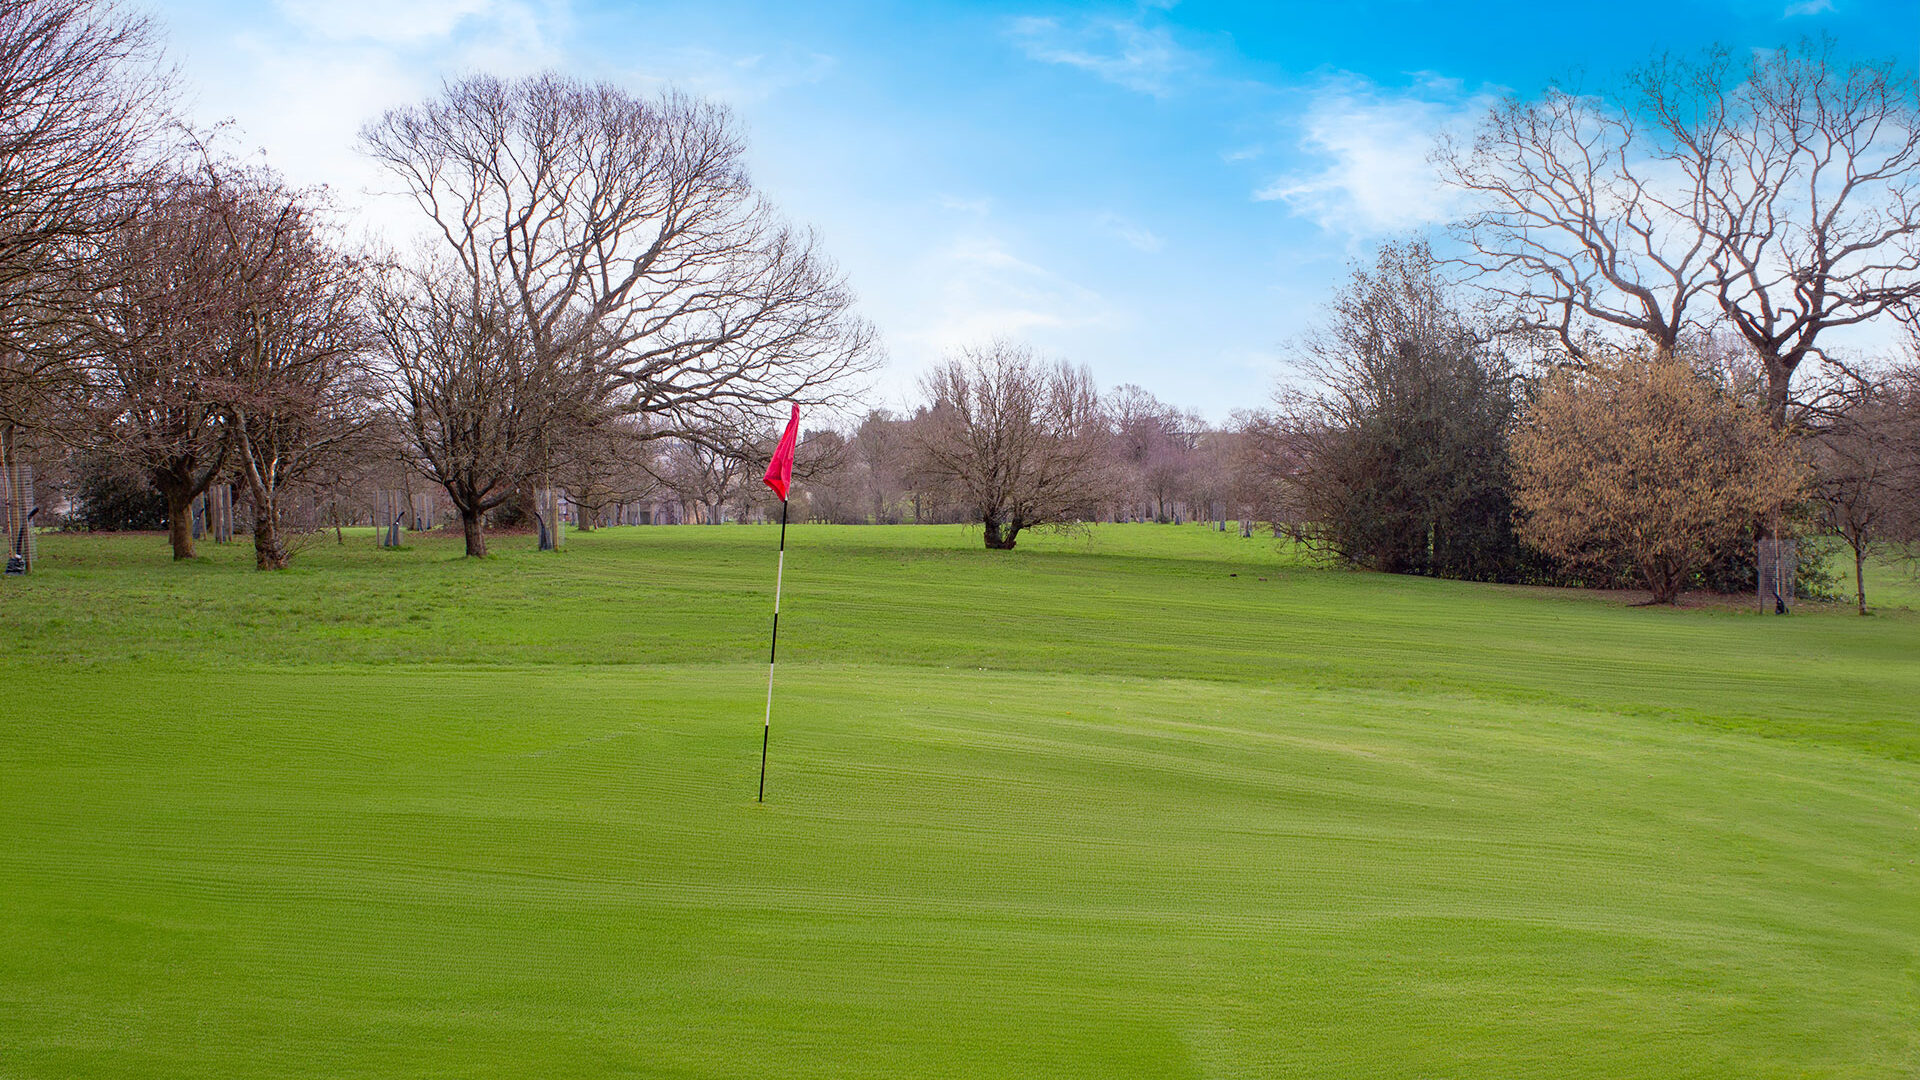
HOLE FIVE
PAR 4, YARDS 365, STROKE INDEX 1

5 of 18
HOLE FIVE
A long dog‑leg right par 4 that really favours the big hitters. Going back down hill, it will carry further. Carrying the hazardous ditch that cuts across the hole at around 205 yards sets up a far better approach, as the fairway opens up significantly beyond it. Laying up short of the ditch is safe, but it leaves you with a demanding second shot a long approach into a green that requires precise accuracy.
| PAR | YARDS | STROKE | |
|---|---|---|---|
| 4 | 365 | 1 | |
| 4 | 359 | 1 | |
| 4 | 354 | 1 |
PRO TIP
Accuracy is key whether you go try to carry the ditch or lay up short.
6 of 18
| PAR | YARDS | STROKE | |
|---|---|---|---|
| 3 | 197 | 9 | |
| 3 | 172 | 9 | |
| 3 | 137 | 9 |
HOLE SIX
PAR 3, YARDS 197, STROKE INDEX 9
6 of 18
HOLE SIX
A fairly long par 3 with an open green, but plenty to think about from the tee. You’ll be hitting over a narrow ditch and threading your shot through a small collection of trees just enough hazards to get into a golfer’s head. Keep the swing smooth, aim straight, and take enough club to comfortably carry the green, and you’ll walk away from this hole in good shape.
| PAR | YARDS | STROKE | |
|---|---|---|---|
| 3 | 197 | 9 | |
| 3 | 172 | 9 | |
| 3 | 137 | 9 |
PRO TIP
Ignore the ditch and the trees in front of the tee keep your focus on the open green ahead.
7 of 18
| PAR | YARDS | STROKE | |
|---|---|---|---|
| 3 | 168 | 13 | |
| 3 | 162 | 13 | |
| 3 | 154 | 13 |
HOLE SEVEN
PAR 3, YARDS 168, STROKE INDEX 13
7 of 18
HOLE SEVEN
The easier of the two back‑to‑back par 3s, teeing from higher ground, this is a straightforward hole played to a long green. A single, elongated bunker runs alongside the tree line on the right, waiting to catch anything that drifts that way. Otherwise, it’s a simple, no‑nonsense tee shot—find the putting surface and you’re in great shape.
| PAR | YARDS | STROKE | |
|---|---|---|---|
| 3 | 168 | 13 | |
| 3 | 162 | 13 | |
| 3 | 154 | 13 |
PRO TIP
Play to the centre of the green and avoid flirting with the right side.
8 of 18
| PAR | YARDS | STROKE | |
|---|---|---|---|
| 4 | 334 | 17 | |
| 4 | 291 | 17 | |
| 4 | 285 | 17 |
HOLE EIGHT
PAR 4, YARDS 334, STROKE INDEX 17
8 of 18
HOLE EIGHT
A short but strategic par 4 that rewards accuracy over brute force. The fairway runs tight along a tree line on the left, while a lone fairway bunker and scattered trees on the right wait to catch anything drifting offline. A well‑placed tee shot to the centre-left of the fairway sets up a comfortable approach of around 80–100 yards. The green is small and slightly protected by subtle slopes around its edges, so distance control on the second shot is key. Play this hole smartly and it’s a great birdie opportunity.
| PAR | YARDS | STROKE | |
|---|---|---|---|
| 4 | 334 | 17 | |
| 4 | 291 | 17 | |
| 4 | 285 | 17 |
PRO TIP
Don’t be tempted to overpower the hole a controlled tee shot is far more valuable than chasing the green.
9 of 18
| PAR | YARDS | STROKE | |
|---|---|---|---|
| 4 | 337 | 5 | |
| 4 | 329 | 5 | |
| 4 | 322 | 5 |
HOLE NINE
PAR 4, YARDS 337, STROKE INDEX 5
9 of 18
HOLE NINE
A mid‑length par 4 that turns right around the trees. A blind tee shot to the corner. The safe line is centre‑left off the tee to open the angle; anything pushed right brings the fairway bunkers and trees into play, making the approach awkward. From a solid position you’ll have a clean look into a slightly raised green that rewards precise distance control.
| PAR | YARDS | STROKE | |
|---|---|---|---|
| 4 | 337 | 5 | |
| 4 | 329 | 5 | |
| 4 | 322 | 5 |
PRO TIP
Aim centre‑left from a blind tee and resist cutting the corner unless you can carry the trees position beats length here.
10 of 18
| PAR | YARDS | STROKE | |
|---|---|---|---|
| 4 | 337 | 14 | |
| 4 | 332 | 14 | |
| 4 | 302 | 14 |
HOLE TEN
PAR 4, YARDS 337, STROKE INDEX 14
10 of 18
HOLE TEN
A straightaway par 4 where the challenge comes from smart positioning rather than shaping shots. The fairway is generous, but the bunkers on both sides punish anything drifting offline. A solid tee shot up the middle leaves a manageable approach of around 90–110 yards into a green protected by a left‑side bunker and subtle slopes. Keep it straight, keep it controlled, and this hole sets up nicely for a good score.
| PAR | YARDS | STROKE | |
|---|---|---|---|
| 4 | 337 | 14 | |
| 4 | 332 | 14 | |
| 4 | 302 | 14 |
PRO TIP
Take a club that finds the centre of the fairway and avoids the bunkers position is everything for a simple wedge into the green.
11 of 18
| PAR | YARDS | STROKE | |
|---|---|---|---|
| 4 | 341 | 8 | |
| 4 | 335 | 8 | |
| 4 | 295 | 8 |
HOLE ELEVEN
PAR 4, YARDS 341, STROKE INDEX 8
11 of 18
HOLE ELEVEN
A straight and spacious par 4 that invites you to open the shoulders, playing into an unsighted landing still demands accuracy. The fairway is generous, yet bunkers left and right wait to catch anything drifting offline. A well‑struck drive leaves a short approach of around 80–100 yards into a slightly elevated green framed by trees and subtle slopes. Play it sensibly from tee to green and this hole offers a real scoring chance.
| PAR | YARDS | STROKE | |
|---|---|---|---|
| 4 | 341 | 8 | |
| 4 | 335 | 8 | |
| 4 | 295 | 8 |
PRO TIP
Favour the centre of the fairway and ignore the bunkers keep it straight and you’ll have a simple wedge into the green.
12 of 18
| PAR | YARDS | STROKE | |
|---|---|---|---|
| 4 | 267 | 18 | |
| 4 | 262 | 18 | |
| 4 | 232 | 18 |
HOLE TWELVE
PAR 4, YARDS 267, STROKE INDEX 18
12 of 18
HOLE TWELVE
A short, inviting par 4 that tempts longer hitters to have a go but accuracy is still crucial. The fairway is open, but anything pulled left can cling to the rough, while the right side subtly narrows toward the green. A controlled tee shot leaves a simple wedge into a small, slightly raised green guarded by a front‑right bunker. With good distance management, this is one of the best birdie opportunities on the course.
| PAR | YARDS | STROKE | |
|---|---|---|---|
| 4 | 267 | 18 | |
| 4 | 262 | 18 | |
| 4 | 232 | 18 |
PRO TIP
Favour the left centre of the fairway to avoid the bunker and set up a comfortable wedge into the green.
13 of 18
| PAR | YARDS | STROKE | |
|---|---|---|---|
| 4 | 351 | 4 | |
| 4 | 339 | 4 | |
| 4 | 303 | 4 |
HOLE THIRTEEN
PAR 4, YARDS 351, STROKE INDEX 4
13 of 18
HOLE THIRTEEN
A gentle dogleg right that rewards a well‑placed tee shot. The fairway opens up after the corner, but anything pushed too far right risks getting tangled in trees or rough. Aim for the left side of the fairway to create a clear angle into a green protected by a front‑right bunker and small surrounding mounds. A solid positional drive makes the approach straightforward.
| PAR | YARDS | STROKE | |
|---|---|---|---|
| 4 | 351 | 4 | |
| 4 | 339 | 4 | |
| 4 | 303 | 4 |
PRO TIP
Favour the left half of the fairway to avoid the right‑side trouble and open up the best angle into the green.
14 of 18
| PAR | YARDS | STROKE | |
|---|---|---|---|
| 3 | 178 | 12 | |
| 3 | 170 | 12 | |
| 3 | 136 | 12 |
HOLE FOURTEEN
PAR 3, YARDS 178, STROKE INDEX 12
14 of 18
HOLE FOURTEEN
A straightforward but demanding par 3 playing around 170 yards. The green is slightly elevated and tightly framed by trees on both sides, making accuracy essential. Anything short risks catching the upslope, while a miss left or right leaves a tricky recovery. Commit to your club selection and focus on a solid, straight strike to find the putting surface.
| PAR | YARDS | STROKE | |
|---|---|---|---|
| 3 | 178 | 12 | |
| 3 | 170 | 12 | |
| 3 | 136 | 12 |
PRO TIP
Take enough club and aim for the heart of the green centre‑green safety beats chasing pins here.
15 of 18
| PAR | YARDS | STROKE | |
|---|---|---|---|
| 4 | 349 | 2 | |
| 4 | 340 | 2 | |
| 4 | 330 | 2 |
HOLE FIFTEEN
PAR 4, YARDS 349, STROKE INDEX 2
15 of 18
HOLE FIFTEEN
A challenging par 4 that demands a precise tee shot from the start. The fairway is lined with trees on both sides, making accuracy more important than distance. A solid drive up the centre leaves a mid‑to‑short approach into a green protected by a front‑left bunker and subtle slopes around the edges. With careful placement on both shots, this hole can be very rewarding but any mistake off the tee quickly makes things difficult.
| PAR | YARDS | STROKE | |
|---|---|---|---|
| 4 | 349 | 2 | |
| 4 | 340 | 2 | |
| 4 | 330 | 2 |
PRO TIP
Prioritise a straight tee shot find the fairway and you’ll have a comfortable look at the green.
16 of 18
| PAR | YARDS | STROKE | |
|---|---|---|---|
| 4 | 329 | 6 | |
| 4 | 324 | 6 | |
| 4 | 318 | 6 |
HOLE SIXTEEN
PAR 4, YARDS 329, STROKE INDEX 6
16 of 18
HOLE SIXTEEN
A straight par 4 that rewards accuracy and distance control. The fairway is bordered by trees and bushes on both sides, narrowing slightly as you approach the ideal landing area. A solid drive up the middle leaves a manageable approach of around 100 yards into a green framed by trees and subtle slopes. As long as you keep the tee shot straight, this hole sets up nicely for a good look at par or better.
| PAR | YARDS | STROKE | |
|---|---|---|---|
| 4 | 329 | 6 | |
| 4 | 324 | 6 | |
| 4 | 318 | 6 |
PRO TIP
Focus on a straight tee shot to the centre of the fairway hit it clean and the approach becomes simple.
17 of 18
| PAR | YARDS | STROKE | |
|---|---|---|---|
| 4 | 279 | 10 | |
| 4 | 274 | 10 | |
| 4 | 270 | 10 |
HOLE SEVENTEEN
PAR 4, YARDS 279, STROKE INDEX 10
17 of 18
HOLE SEVENTEEN
A very short par 4 that plays more like a long par 3 but still requires precision. At just 185 yards, the green is well within reach, yet anything offline brings the surrounding trees and the front‑right bunker into play. The putting surface is slightly elevated and slopes gently, so landing the ball on the correct tier is key. Hit a controlled, accurate tee shot and this hole becomes a prime birdie opportunity.
| PAR | YARDS | STROKE | |
|---|---|---|---|
| 4 | 279 | 10 | |
| 4 | 274 | 10 | |
| 4 | 270 | 10 |
PRO TIP
Favour a controlled shot to the centre of the green accuracy beats power on this short par 4.
18 of 18
| PAR | YARDS | STROKE | |
|---|---|---|---|
| 3 | 132 | 16 | |
| 3 | 125 | 16 | |
| 3 | 117 | 16 |
HOLE EIGHTEEN
PAR 3, YARDS 132, STROKE INDEX 16

18 of 18
HOLE EIGHTEEN
A short finishing par 3 that demands a precise final swing. At around 125 yards, the hole looks inviting, but the green is slightly elevated and well‑protected, with a bunker long‑left and slopes that can kick anything offline. With trees flanking both sides and trouble long, distance control is the key to walking off the course on a high note.
| PAR | YARDS | STROKE | |
|---|---|---|---|
| 3 | 132 | 16 | |
| 3 | 125 | 16 | |
| 3 | 117 | 16 |
PRO TIP
Take a steady swing and aim for the centre of the green solid contact and good distance control make this a great closing birdie chance.
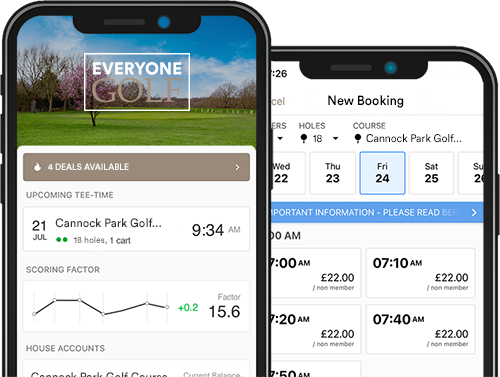
BOOK ANYTIME, ANYWHERE WITH
OUR APP
OUR APP
Easy to use and saves you time. Book with our mobile app. Available on iOS & Android.