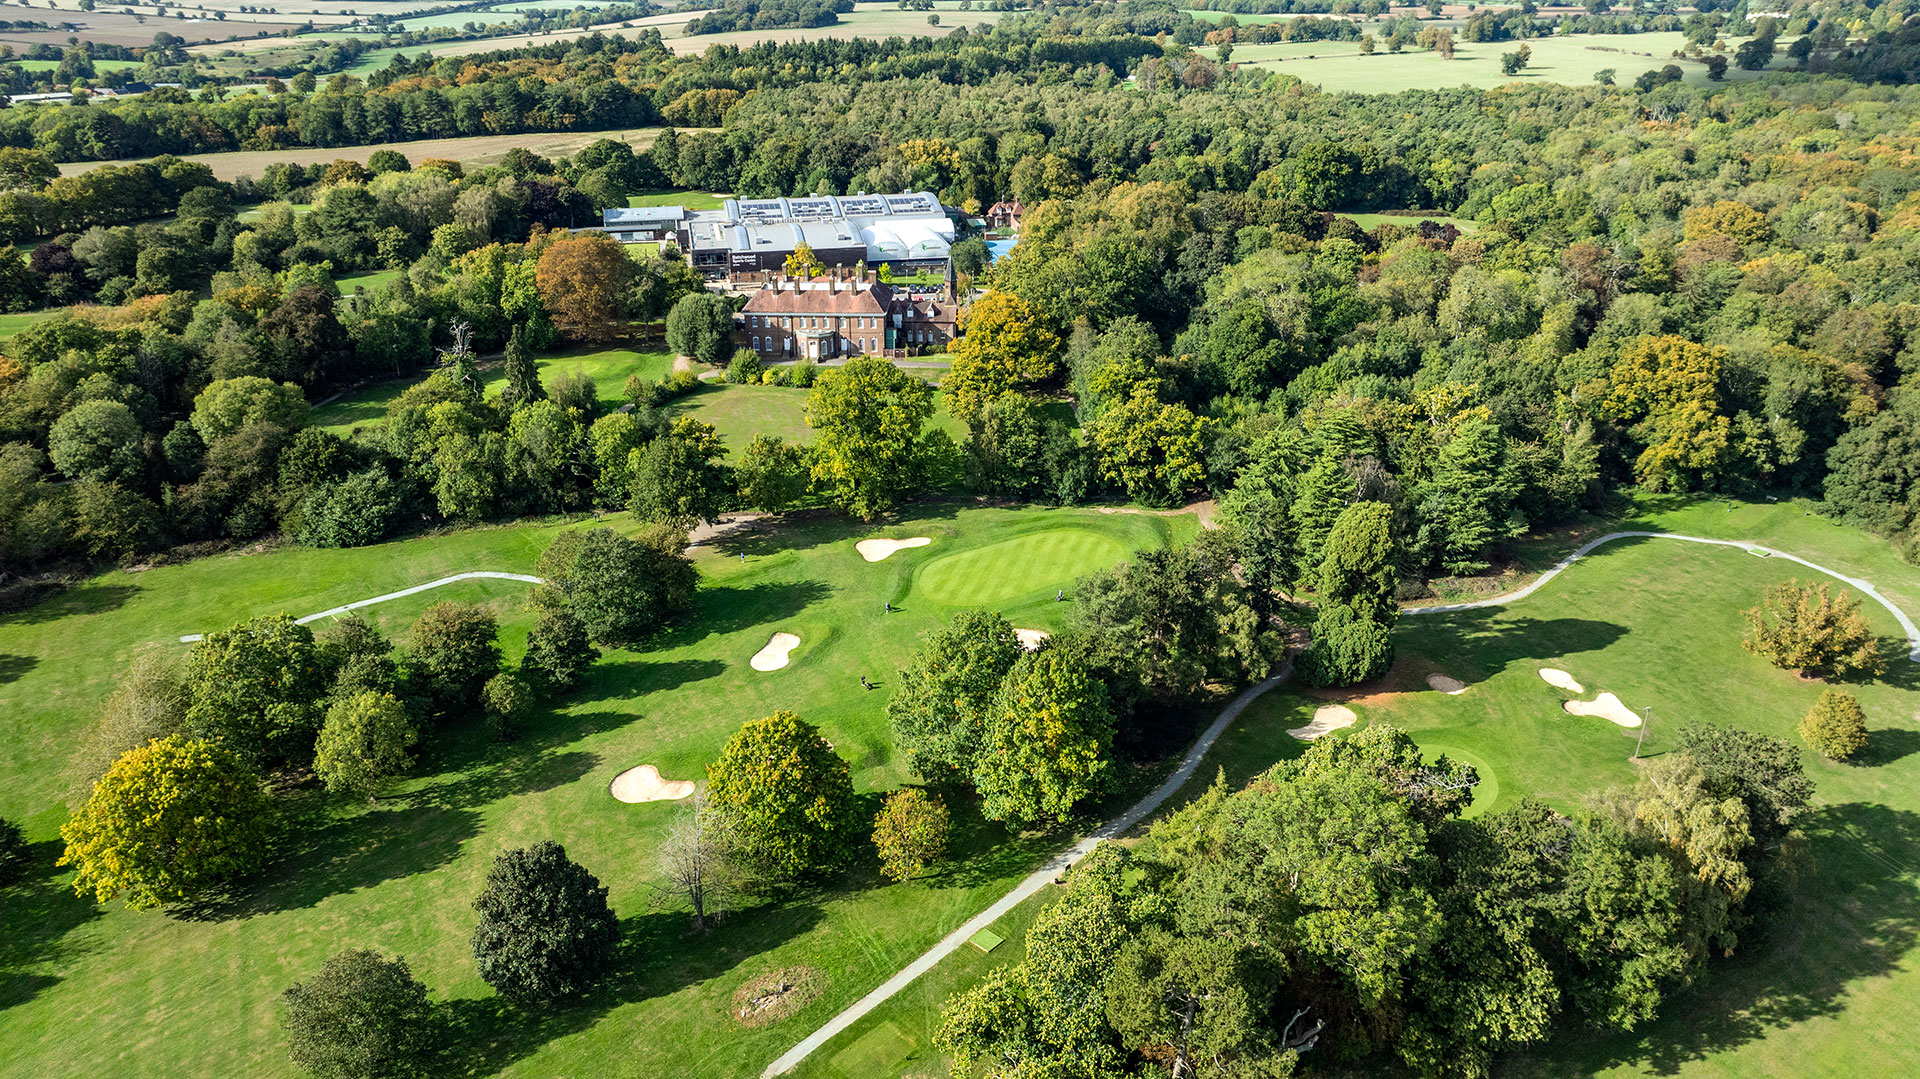

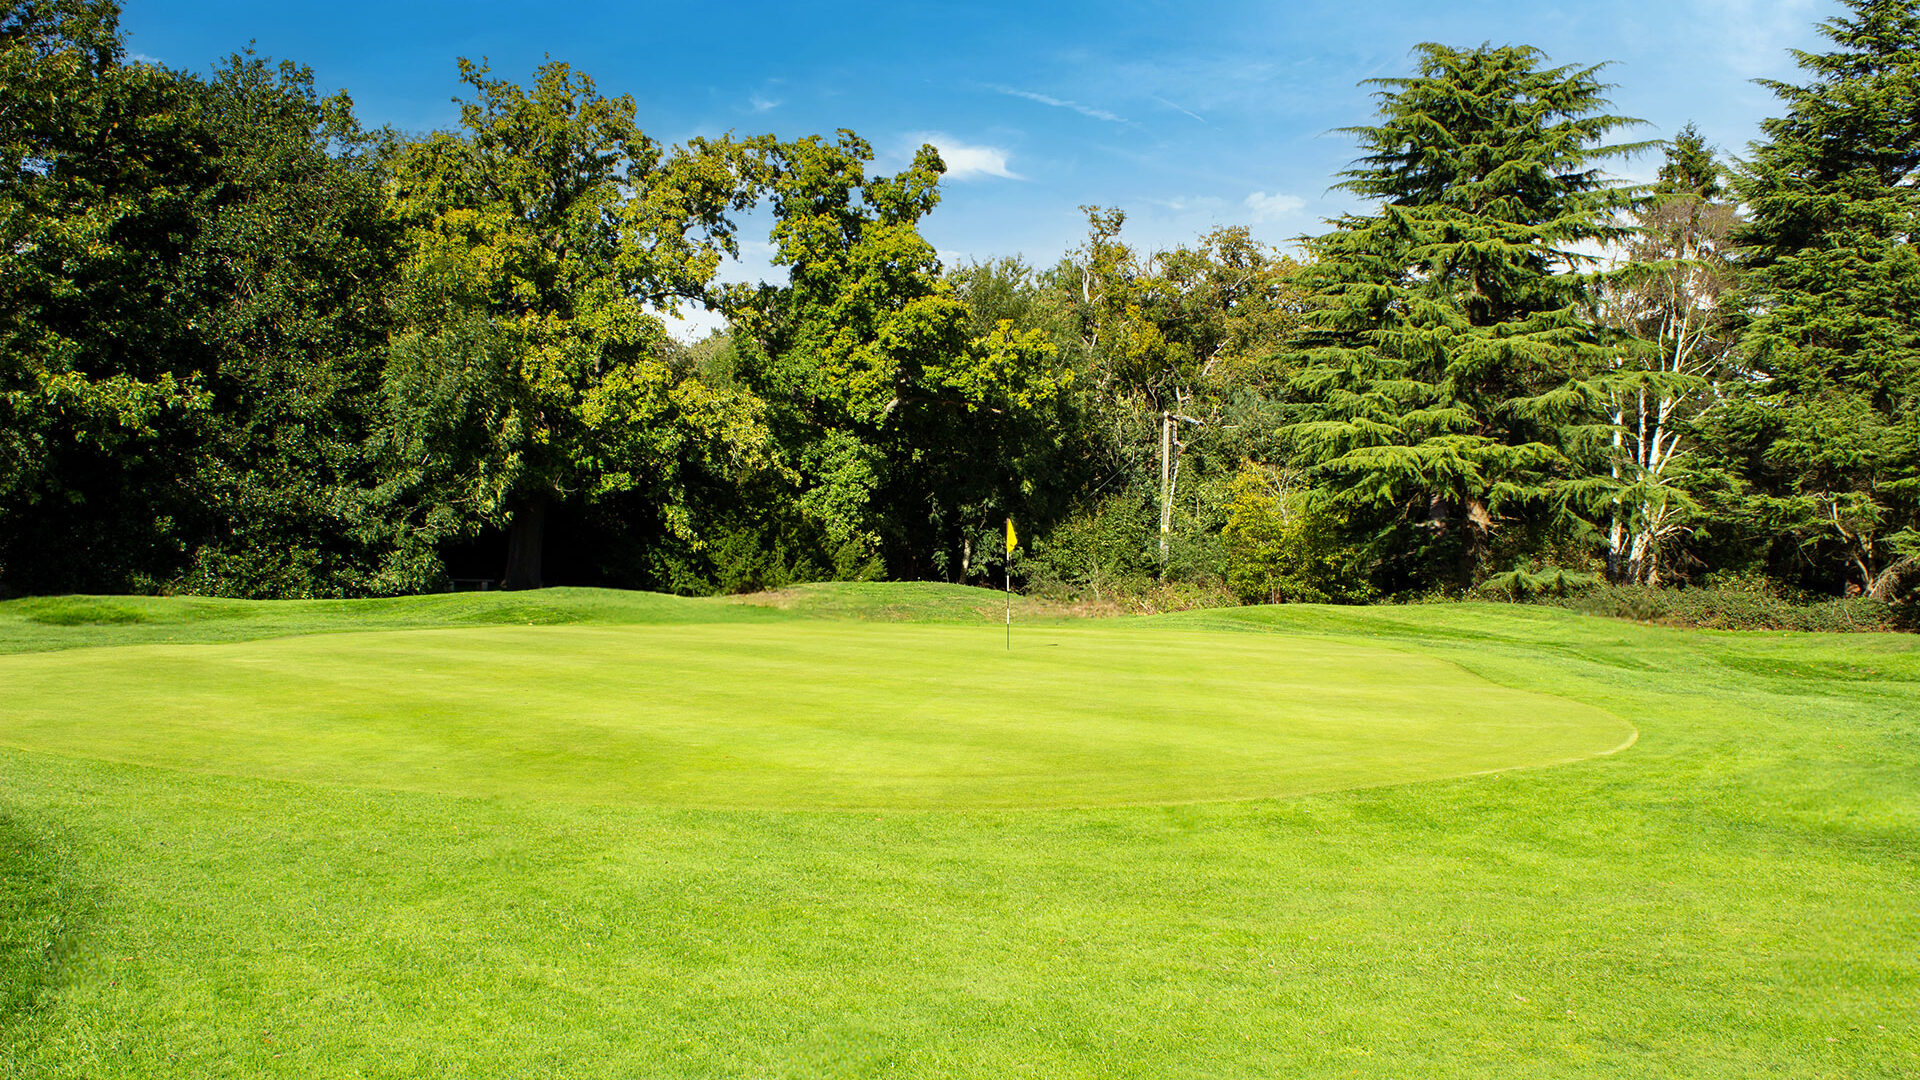
From the moment you arrive at Batchwood, you're welcomed by a verdant panorama of meticulously maintained fairways, surrounded by the natural beauty of St Albans. The course boasts a rich history and a reputation for its inviting ambiance, inviting golfers of all levels to partake in its unique charms.
EXPLORE THE COURSE
Loading status...
YARDS
6229
White Tee
YARDS
6045
Yellow Tee
YARDS
5660
Red Tee
1 of 18
| PAR | YARDS | STROKE | |
|---|---|---|---|
| White Tee | 5 | 480 | 16 |
| Yellow Tee | 5 | 461 | 16 |
| Red Tee | 5 | 406 | 12 |
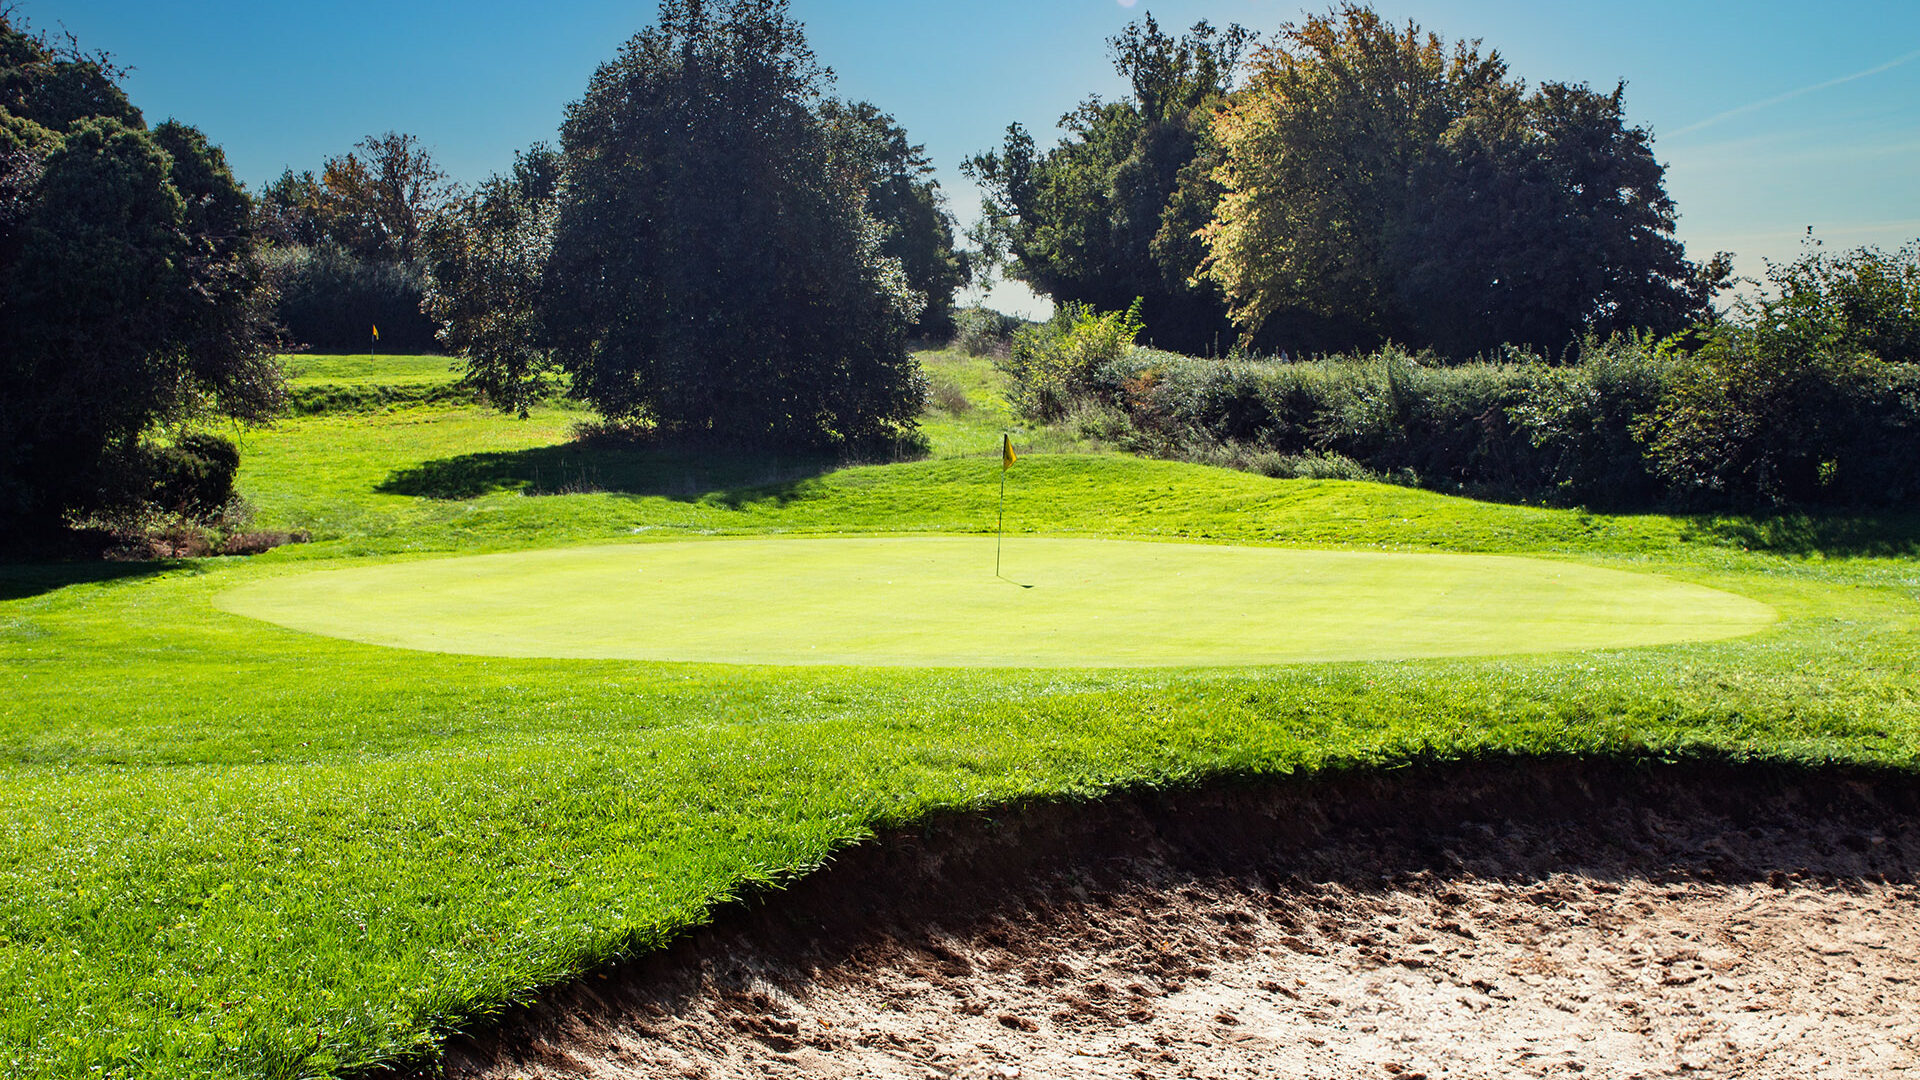
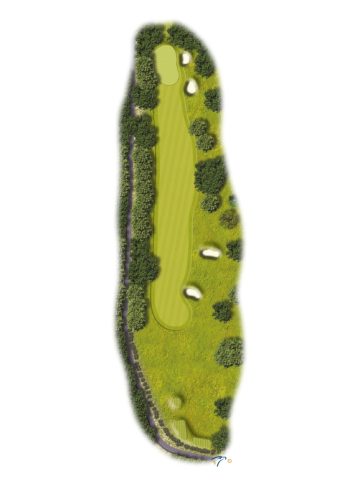
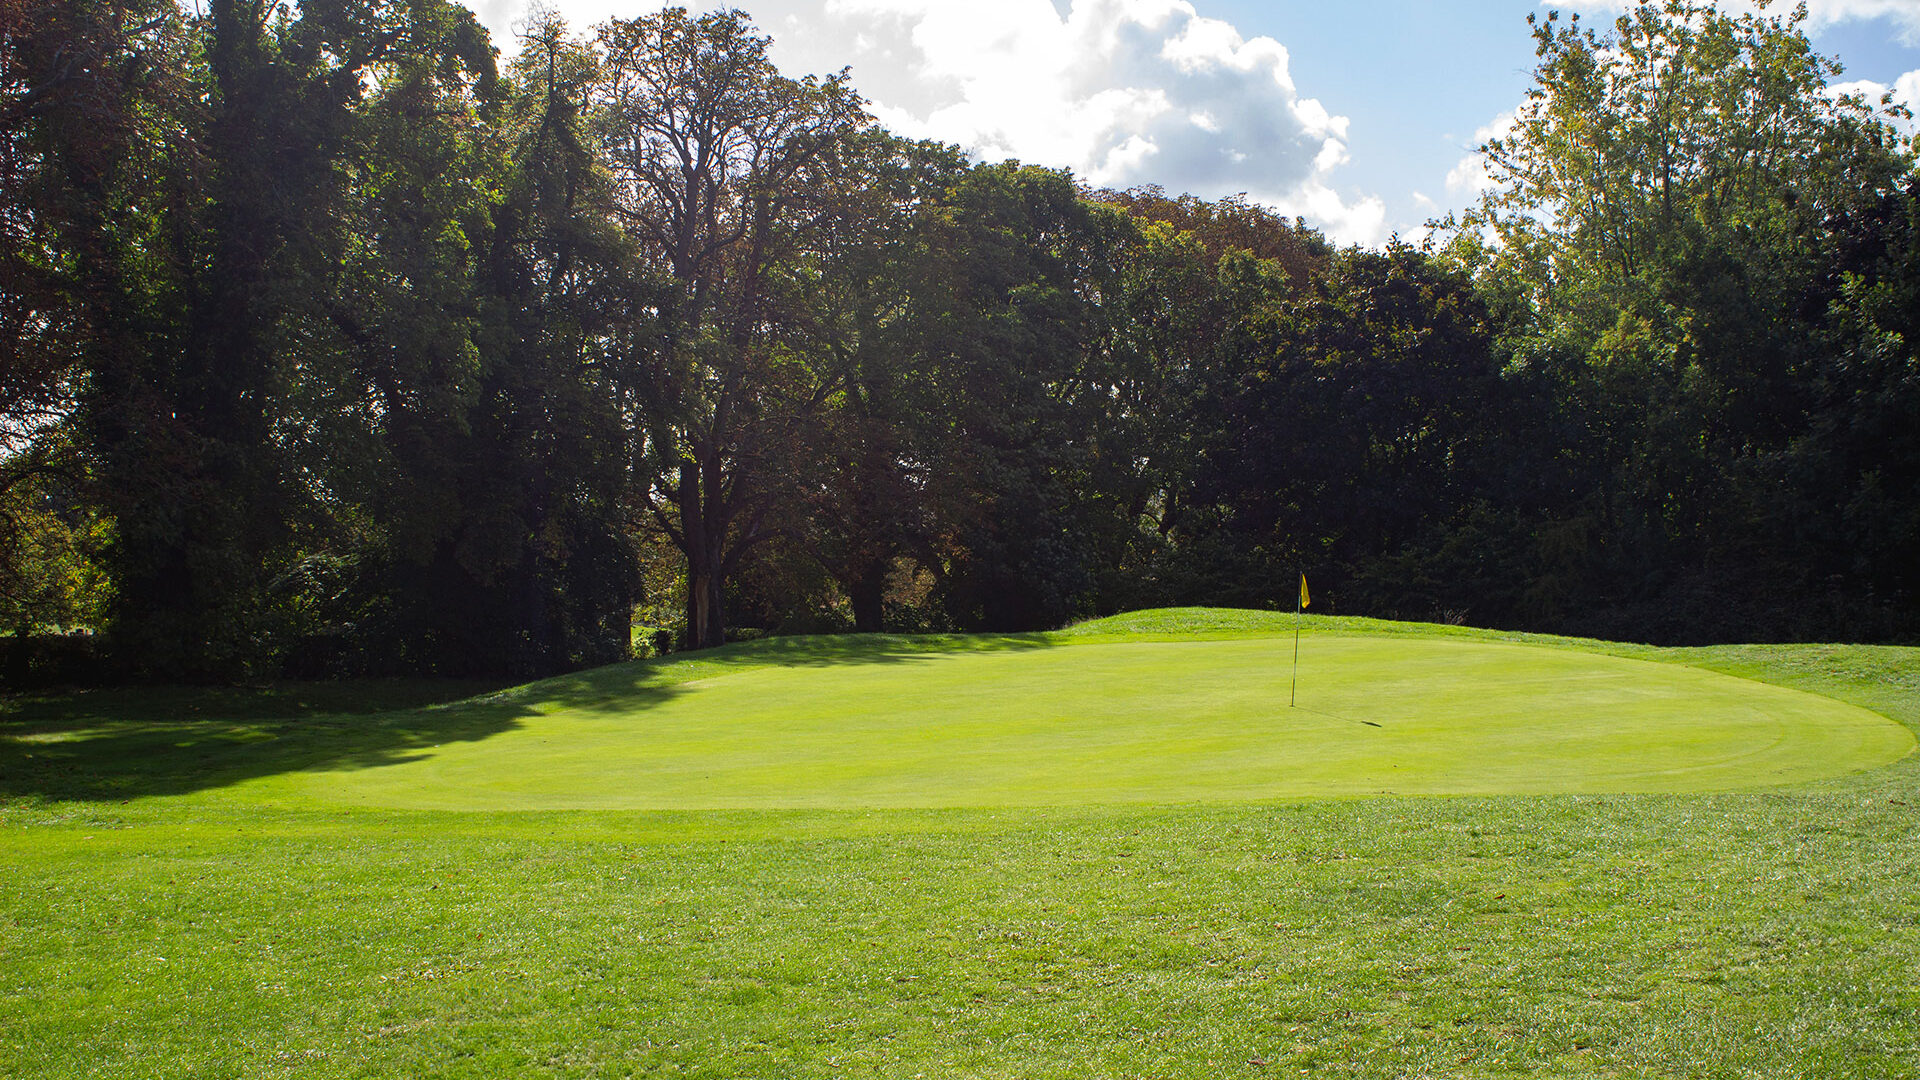
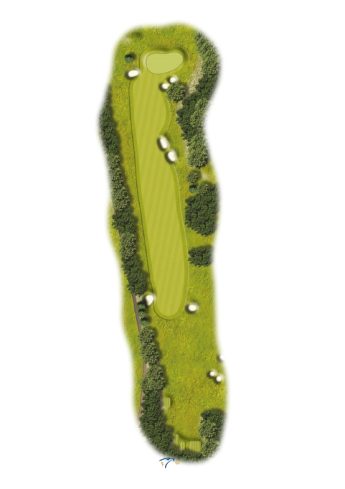
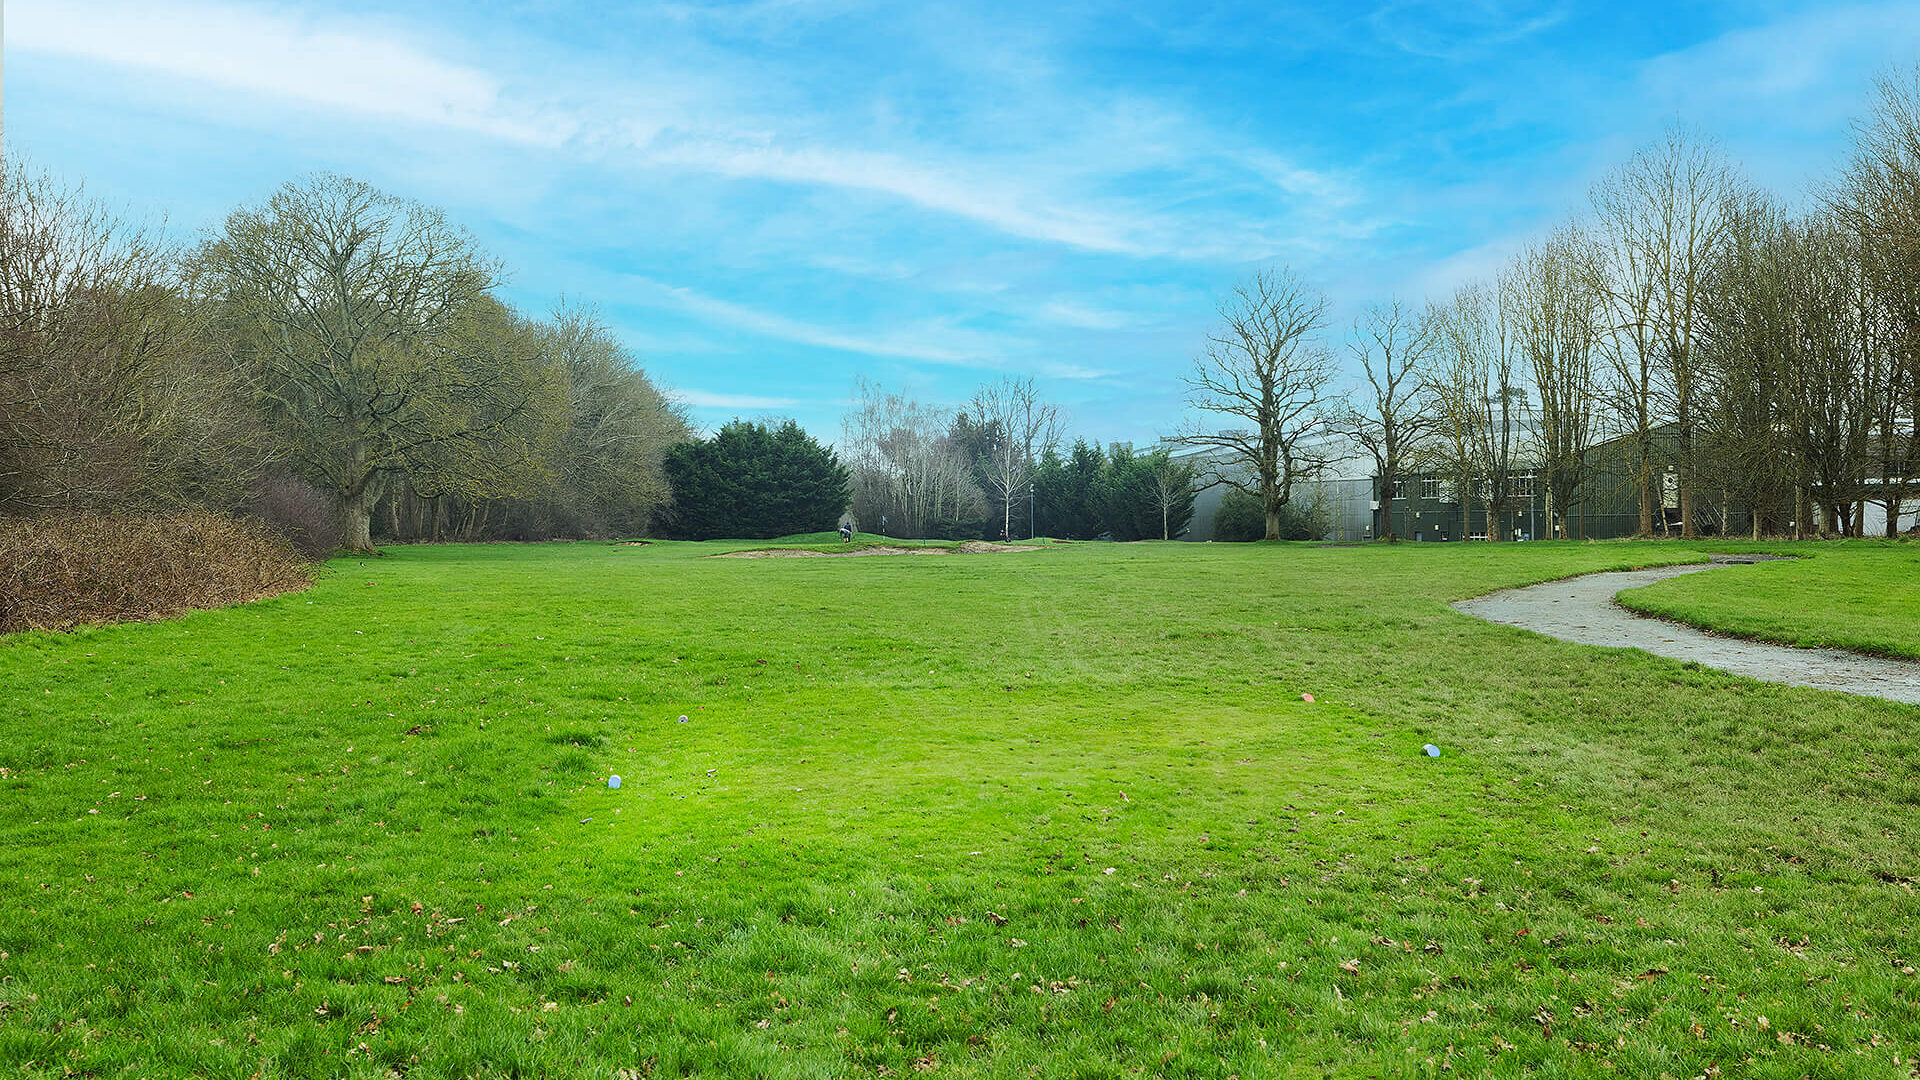
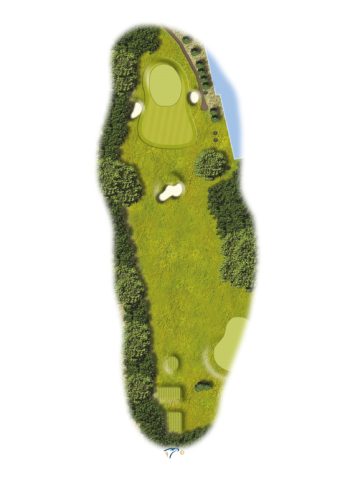
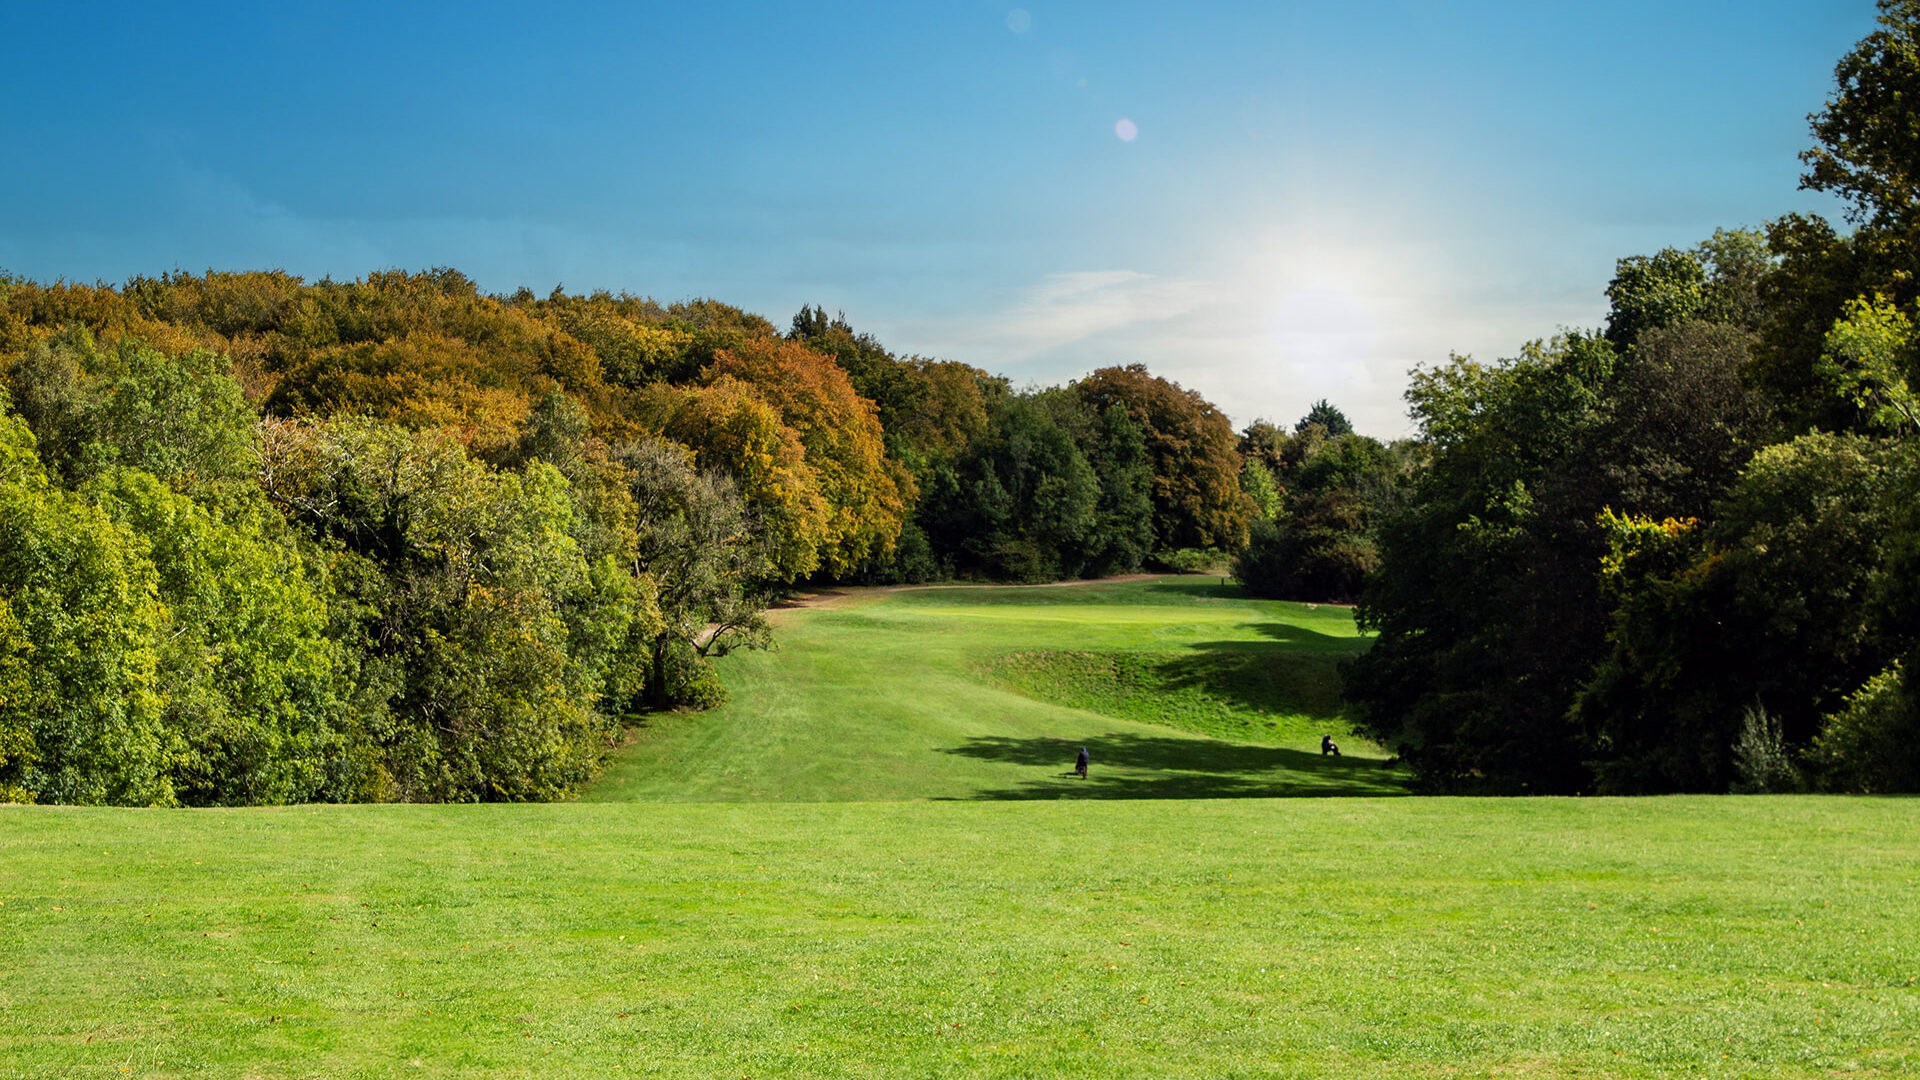
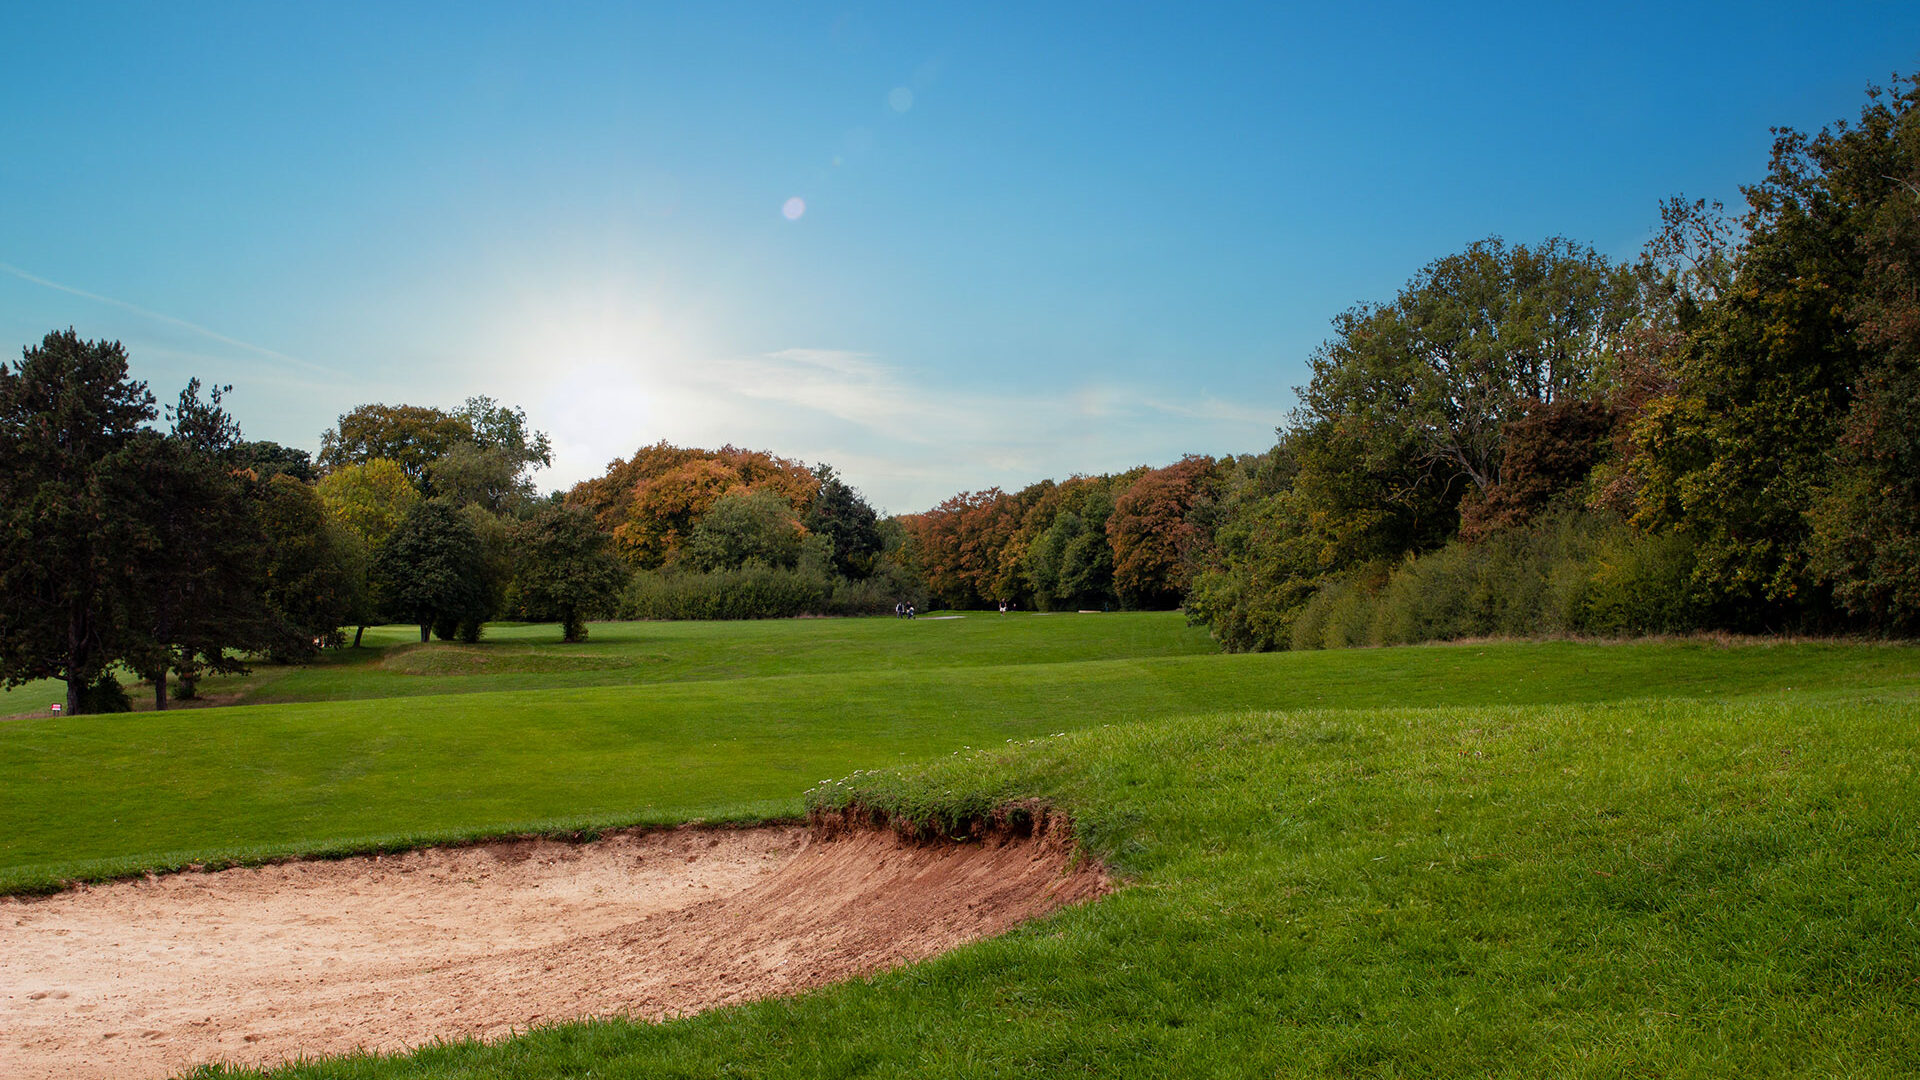
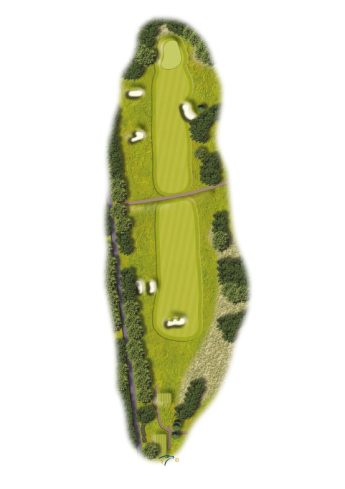
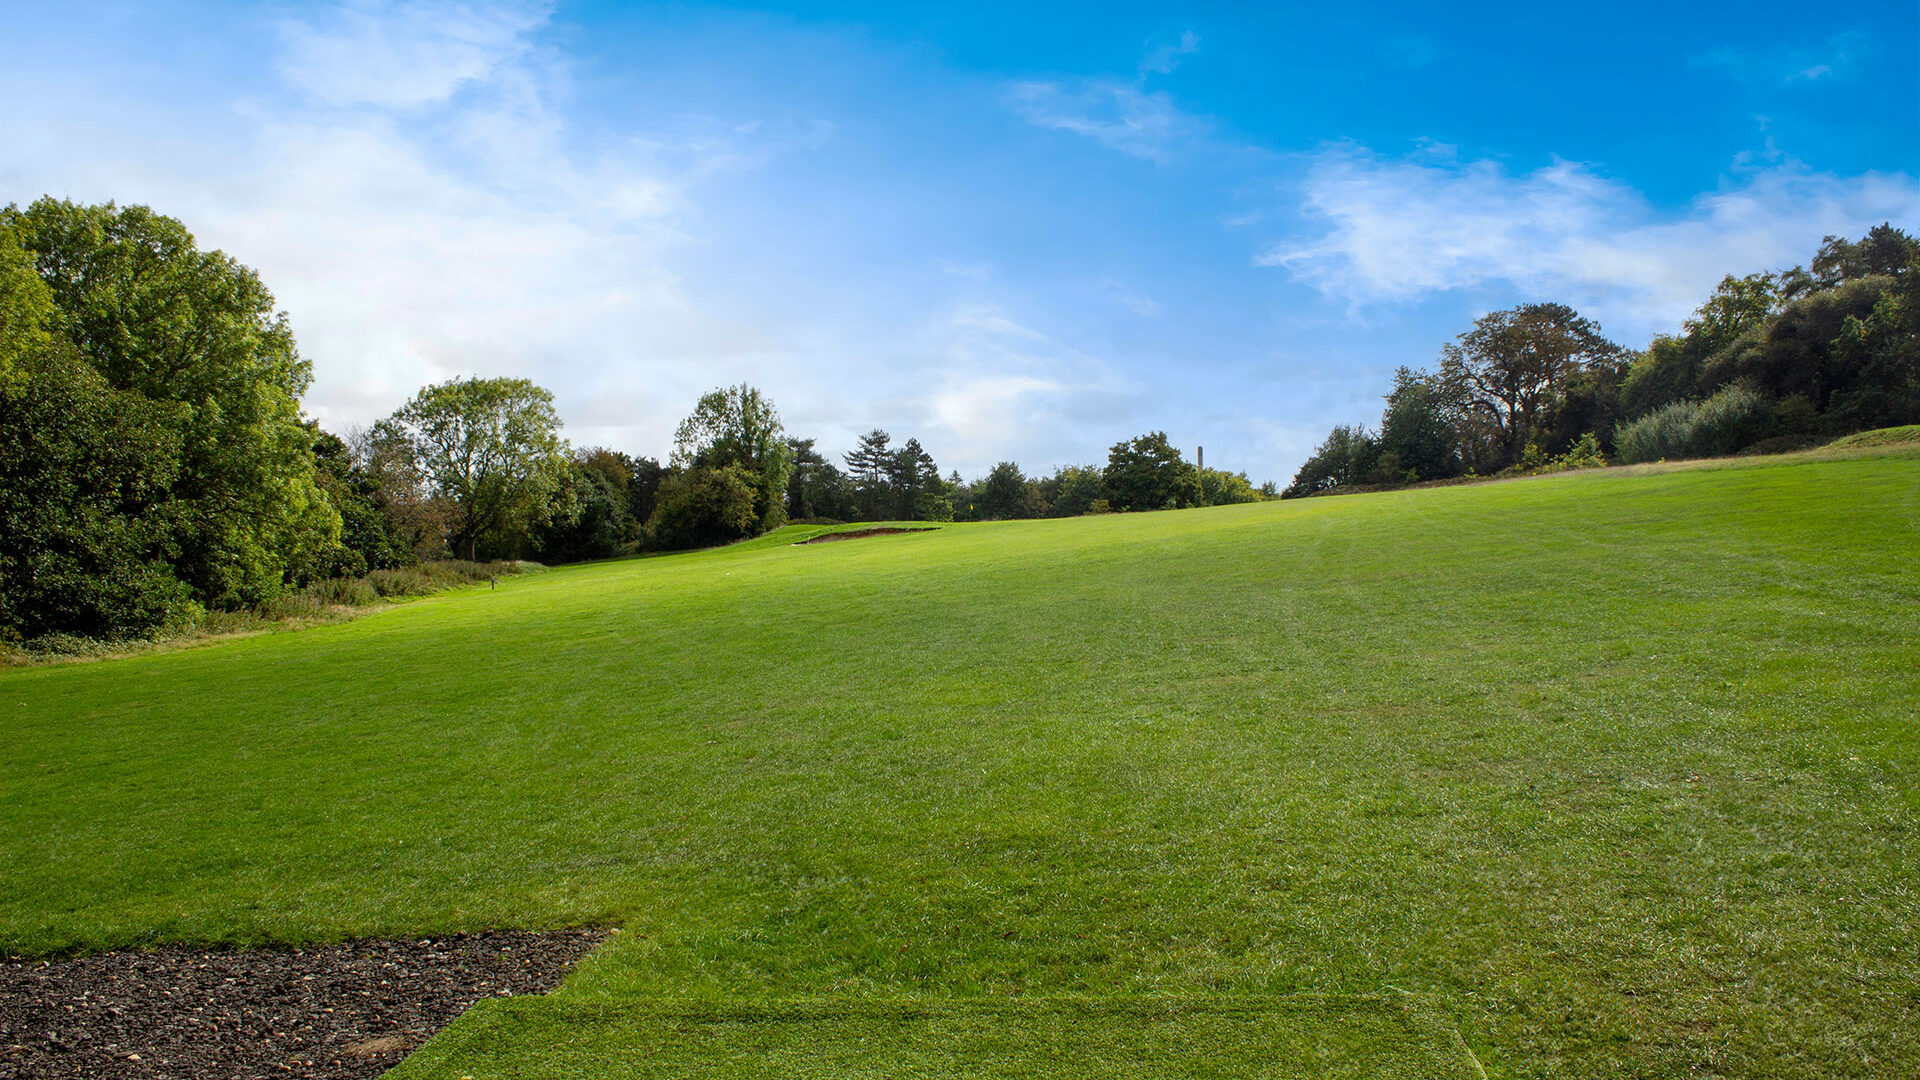
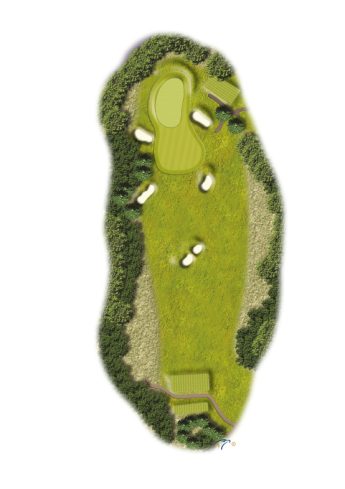
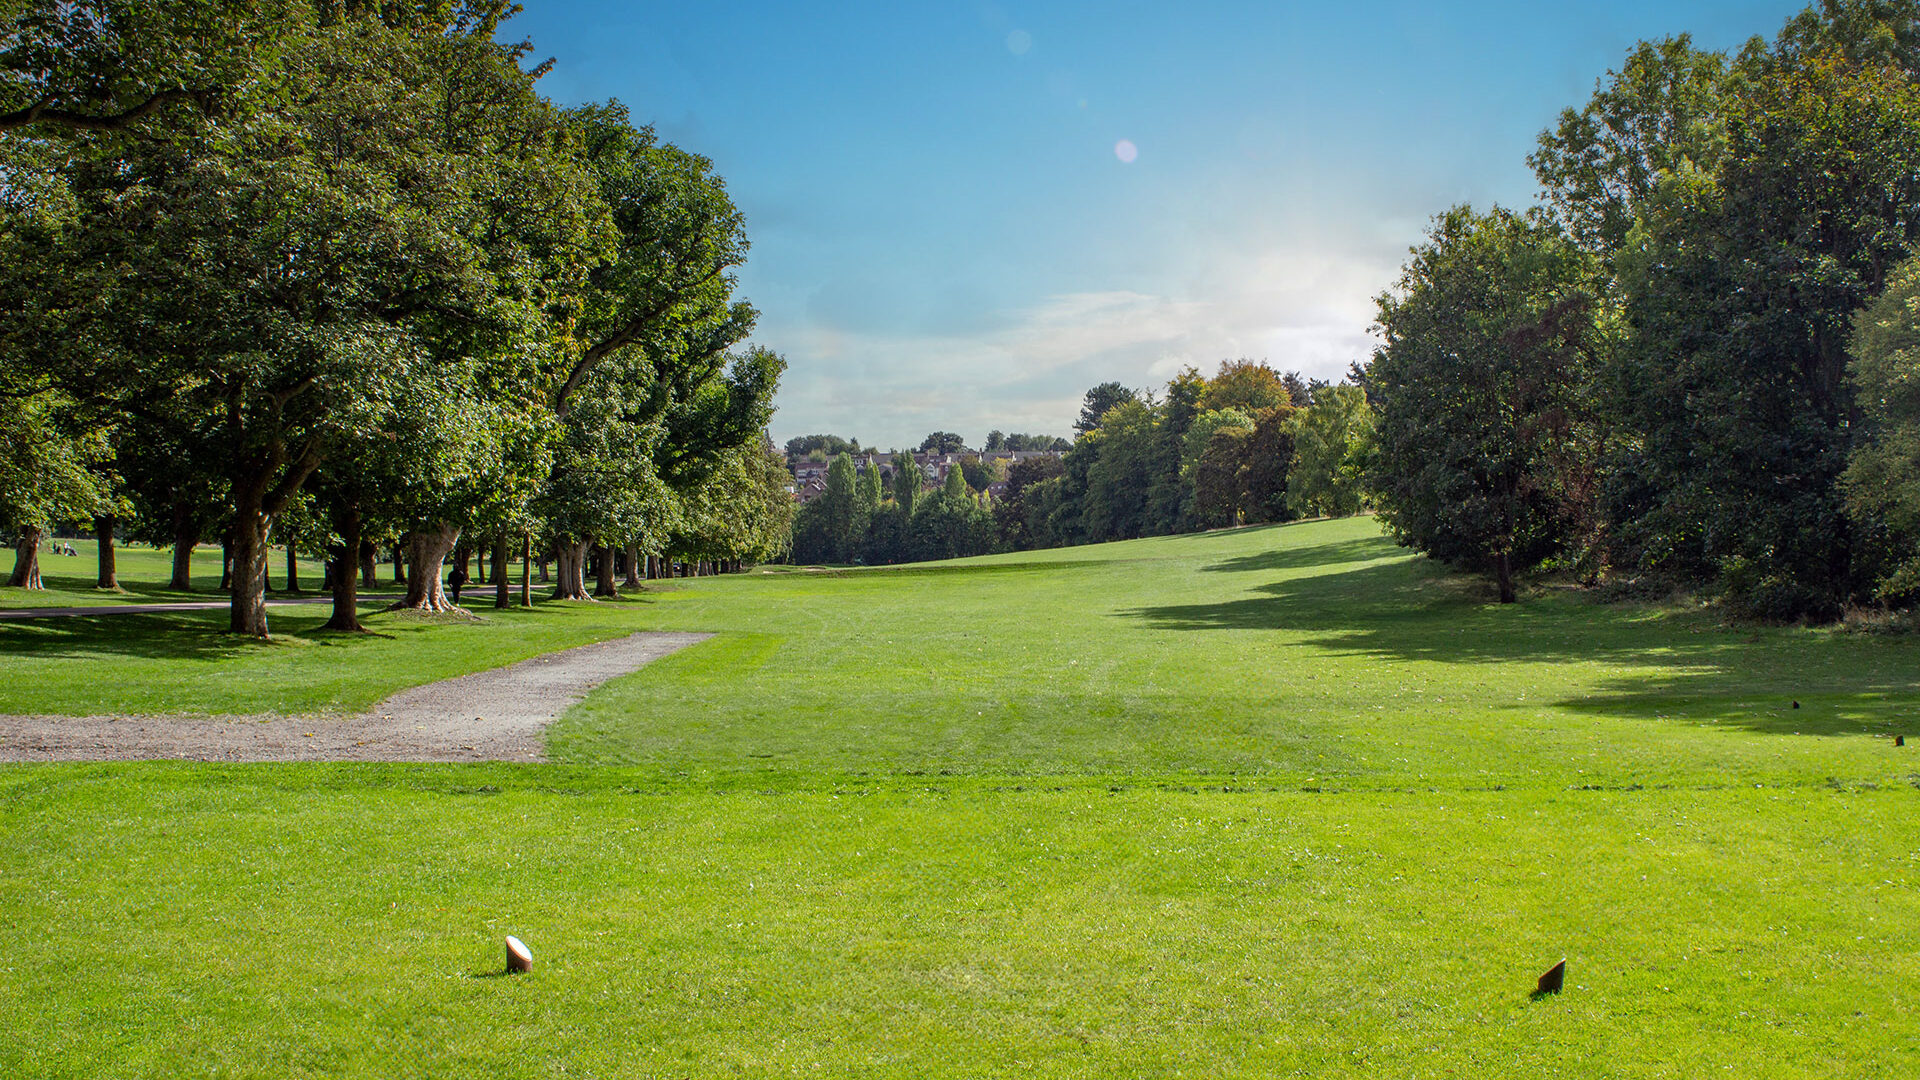
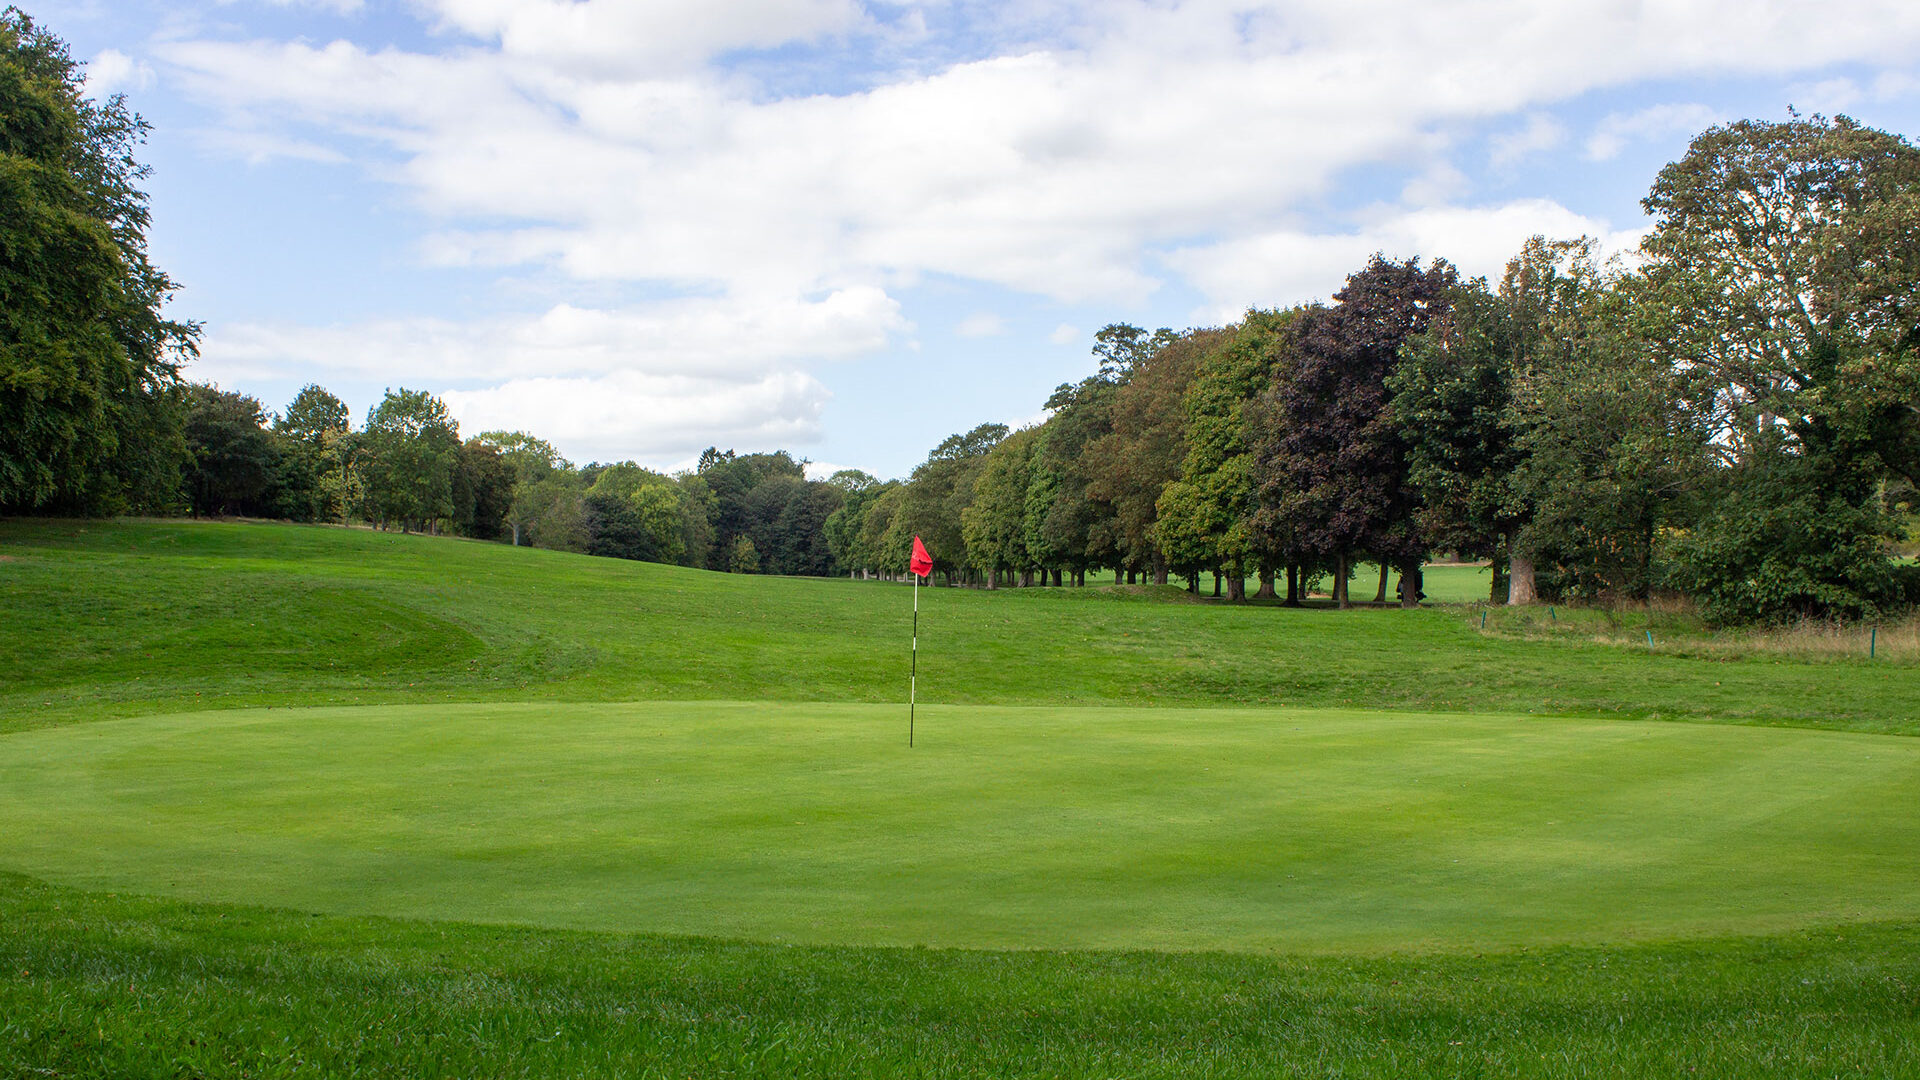
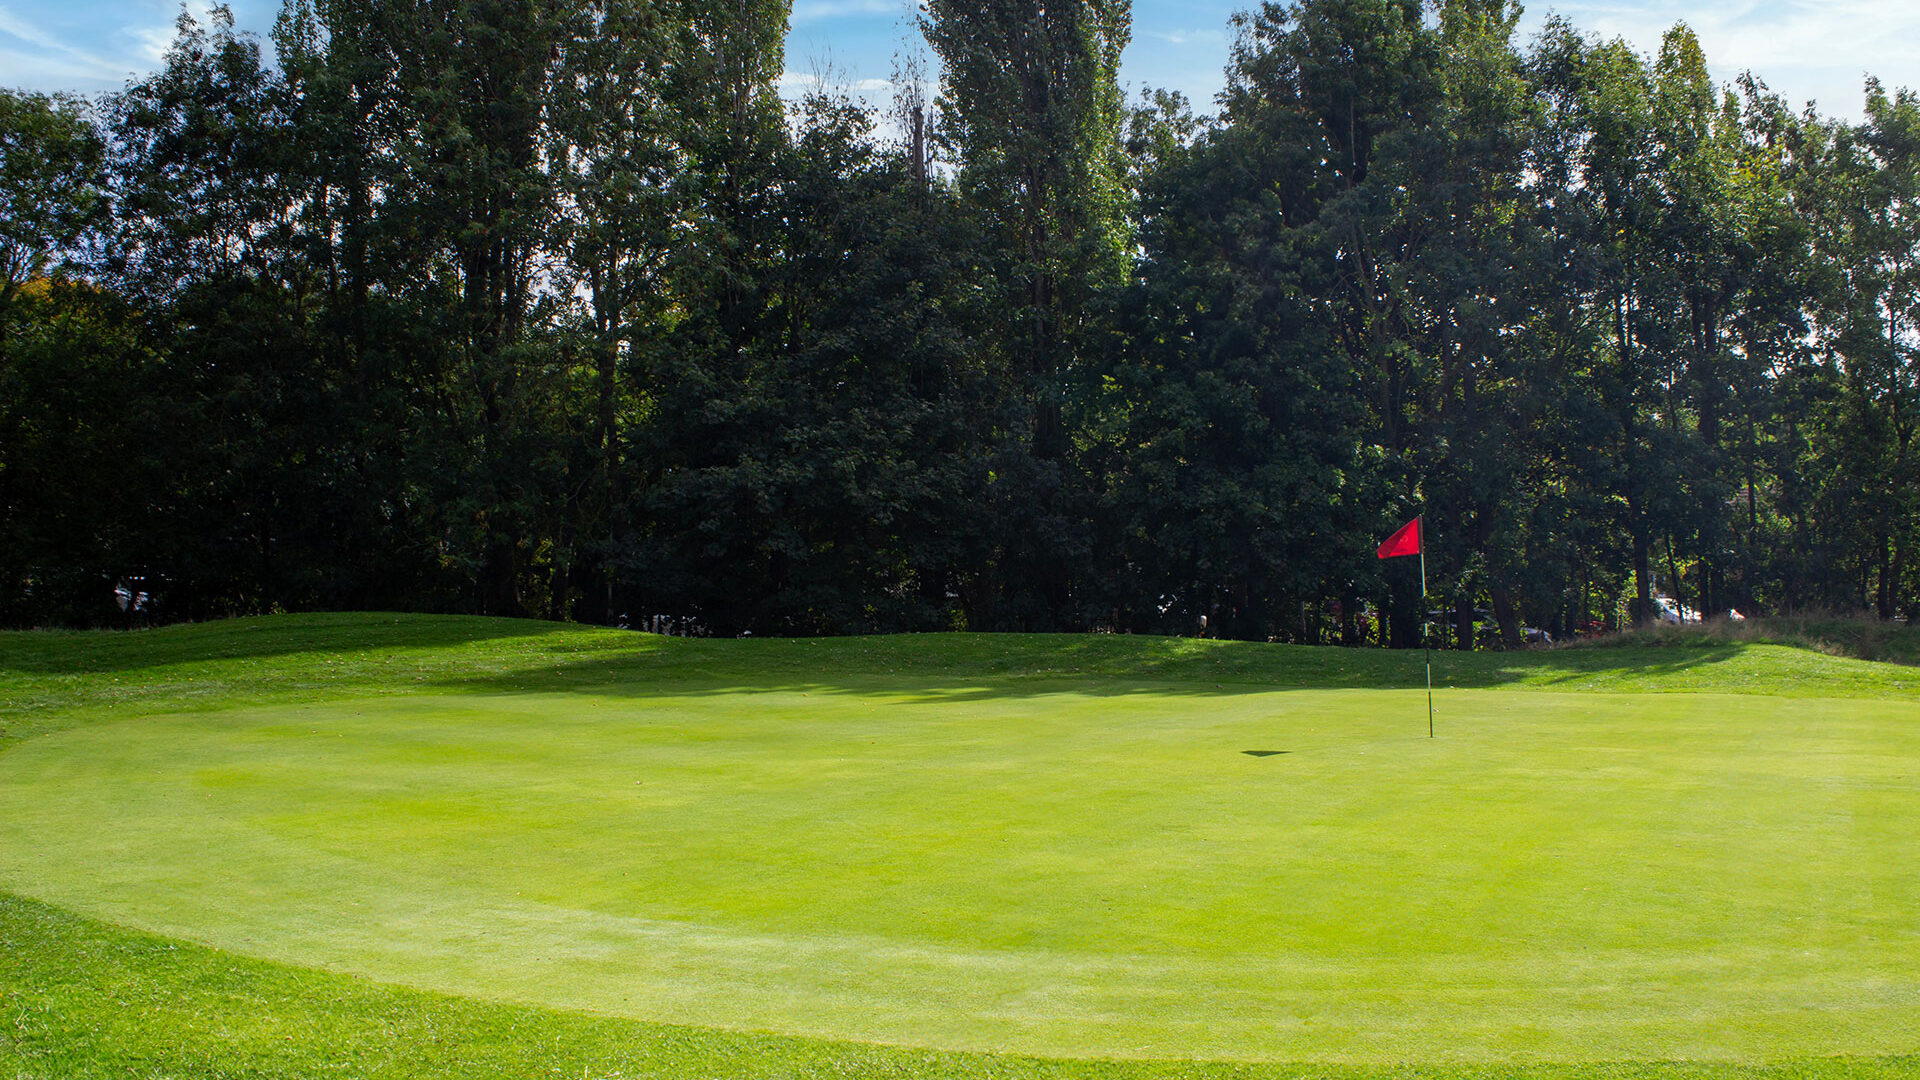
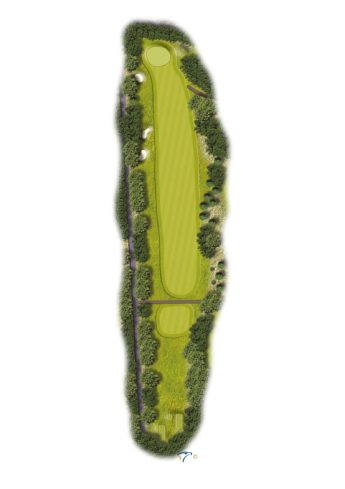
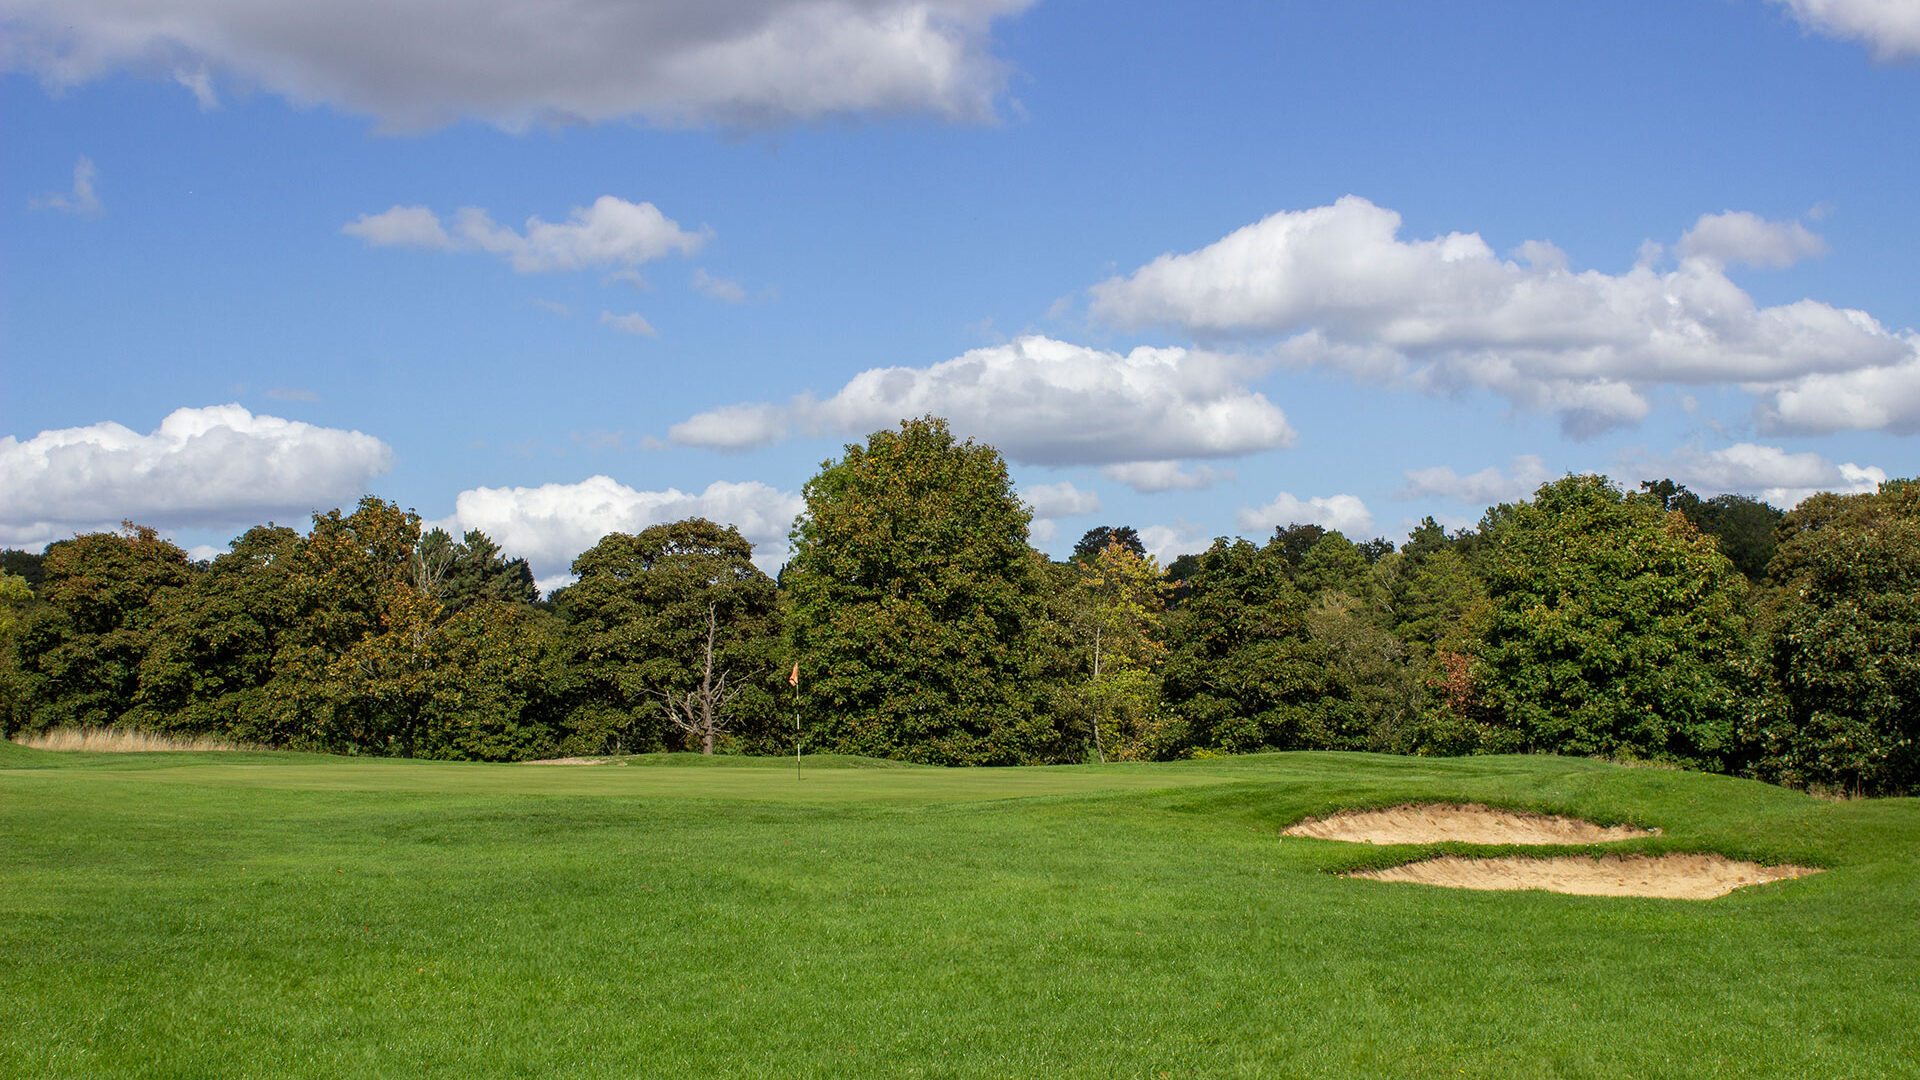
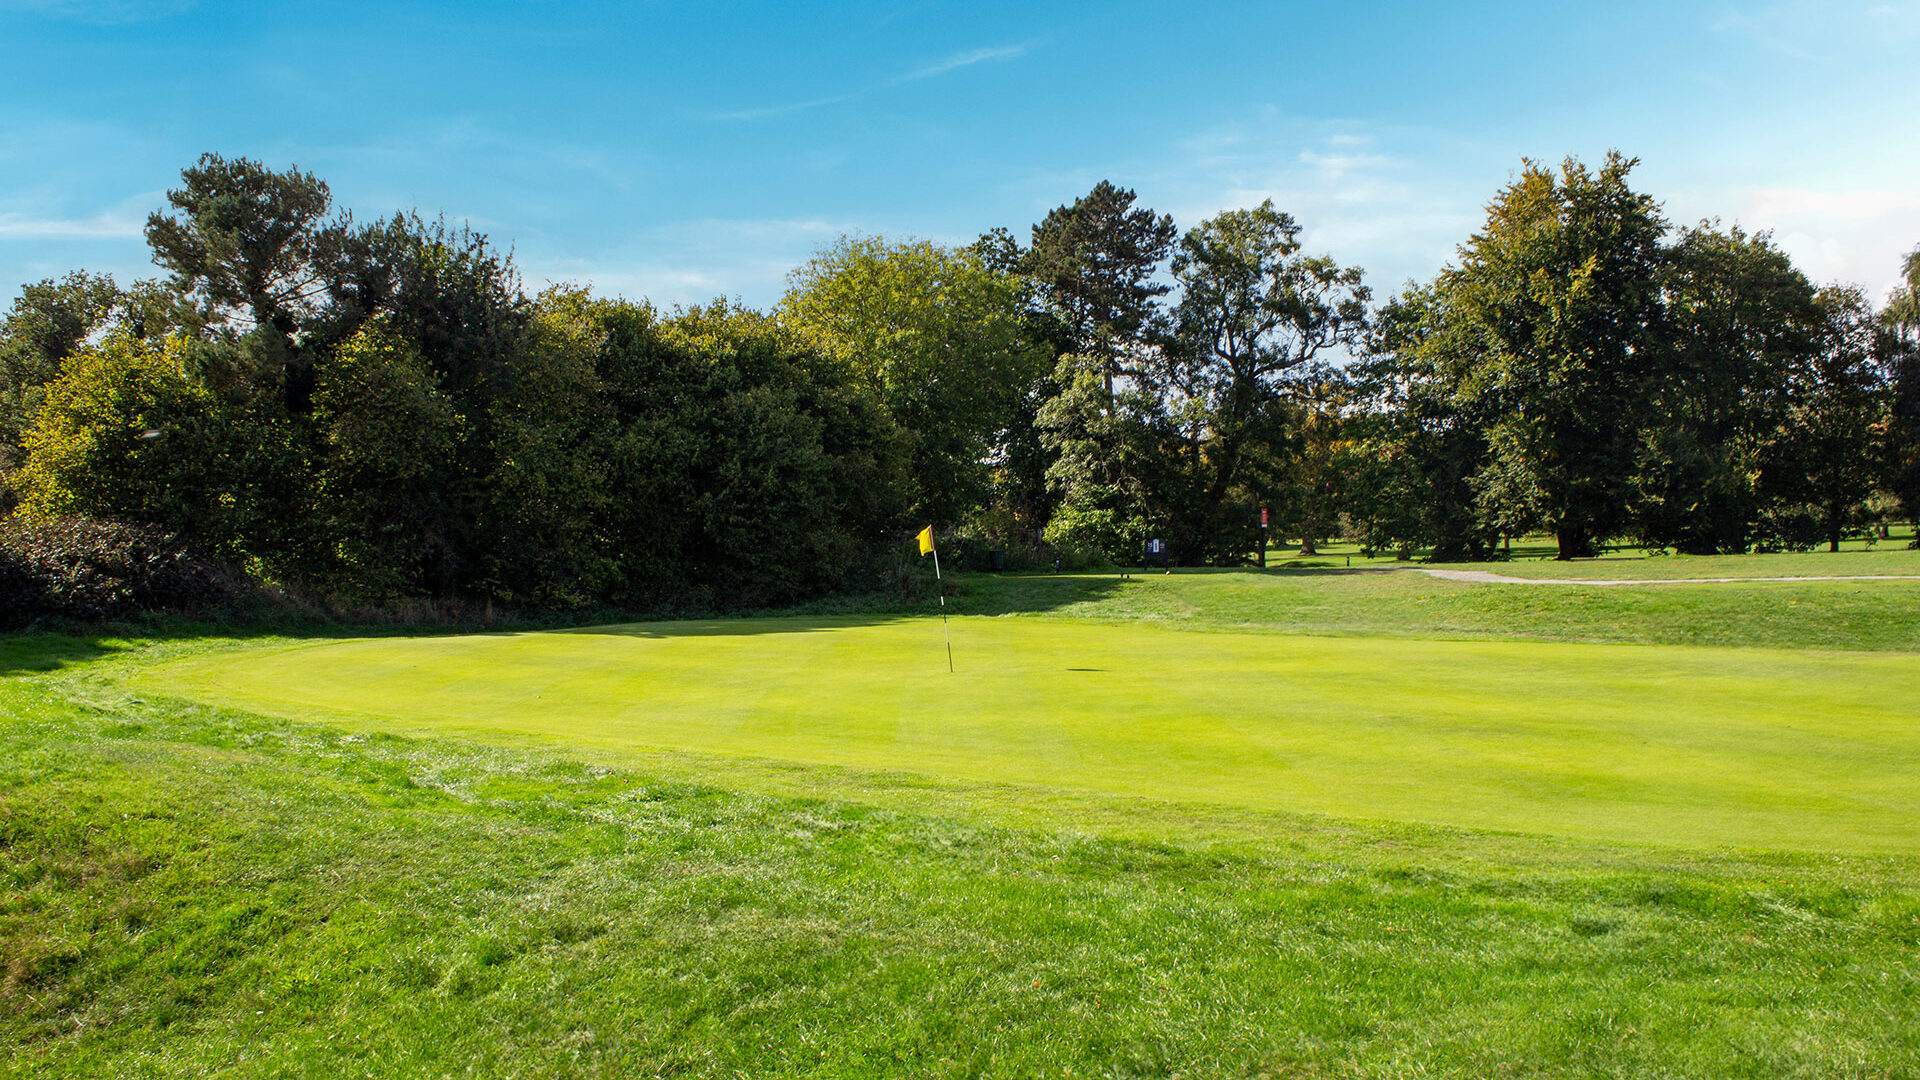
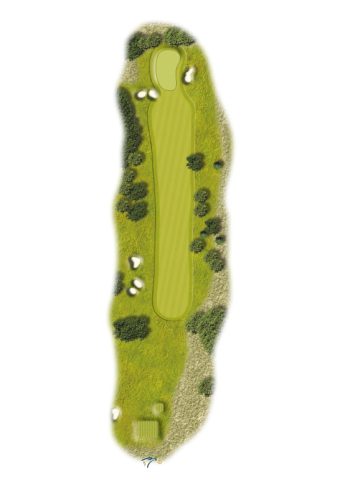
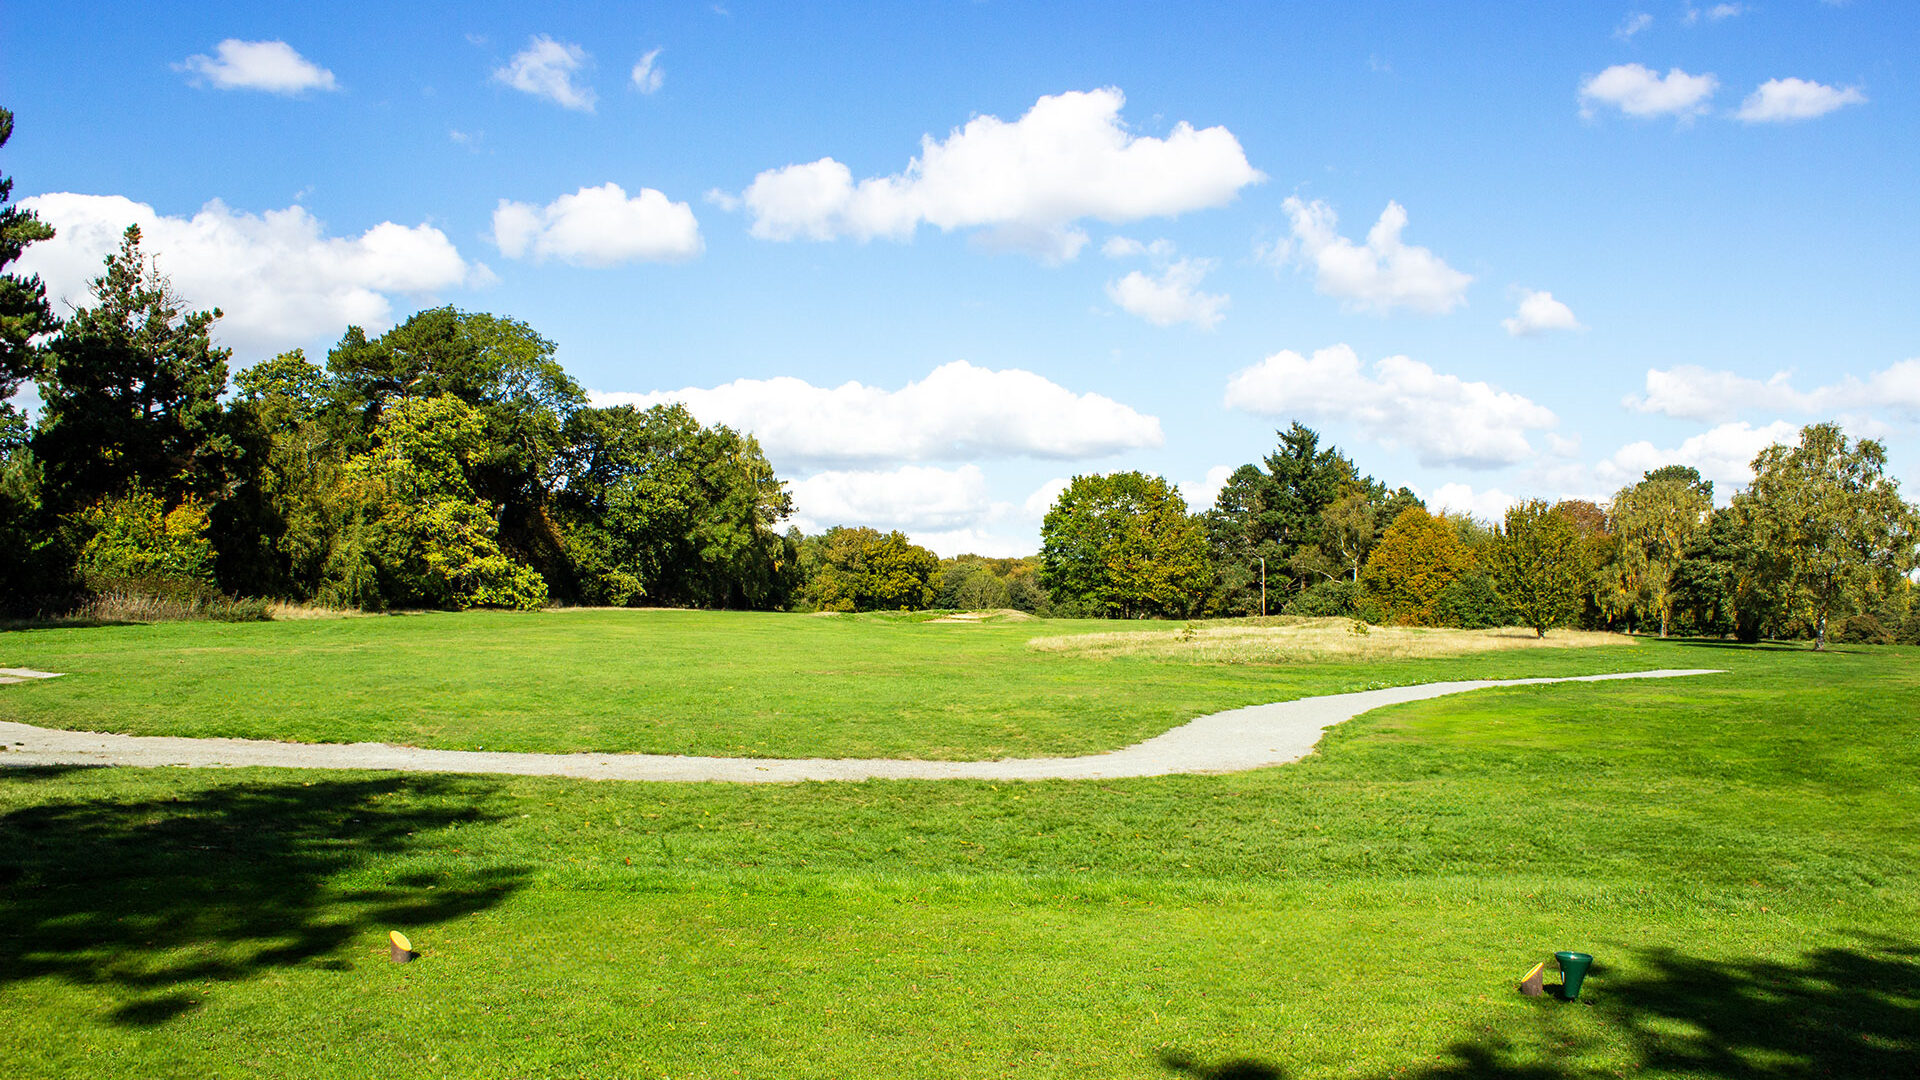
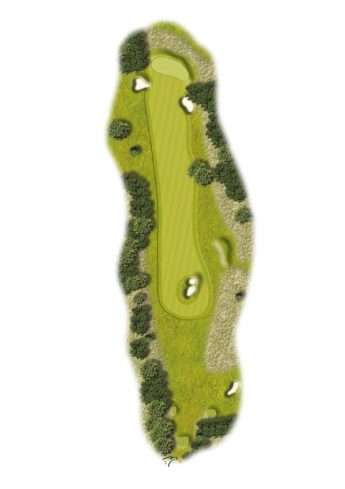
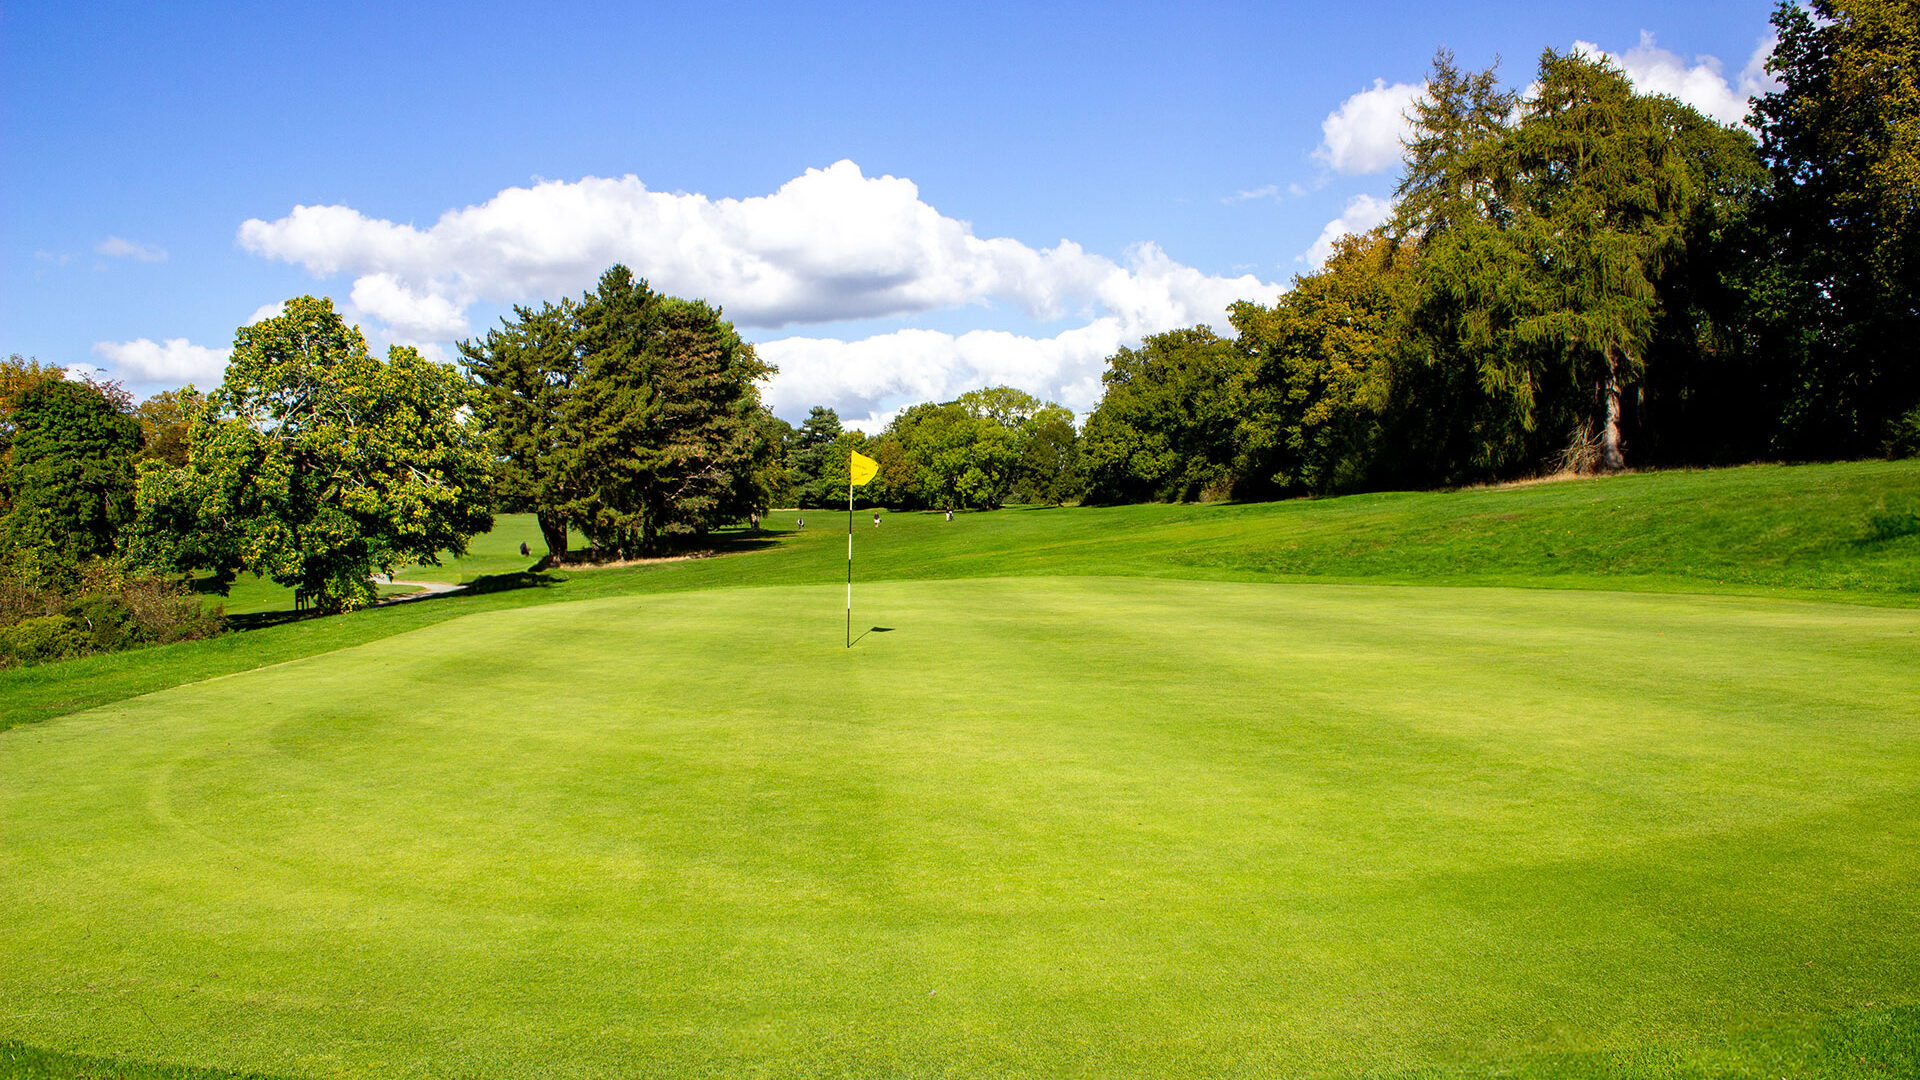
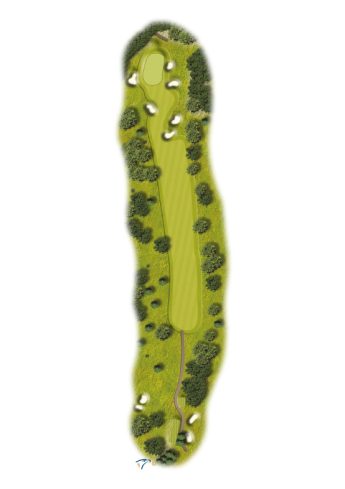
HOLE ONE
PAR 5, YARDS 480, STROKE INDEX 16
1 of 18
HOLE ONE
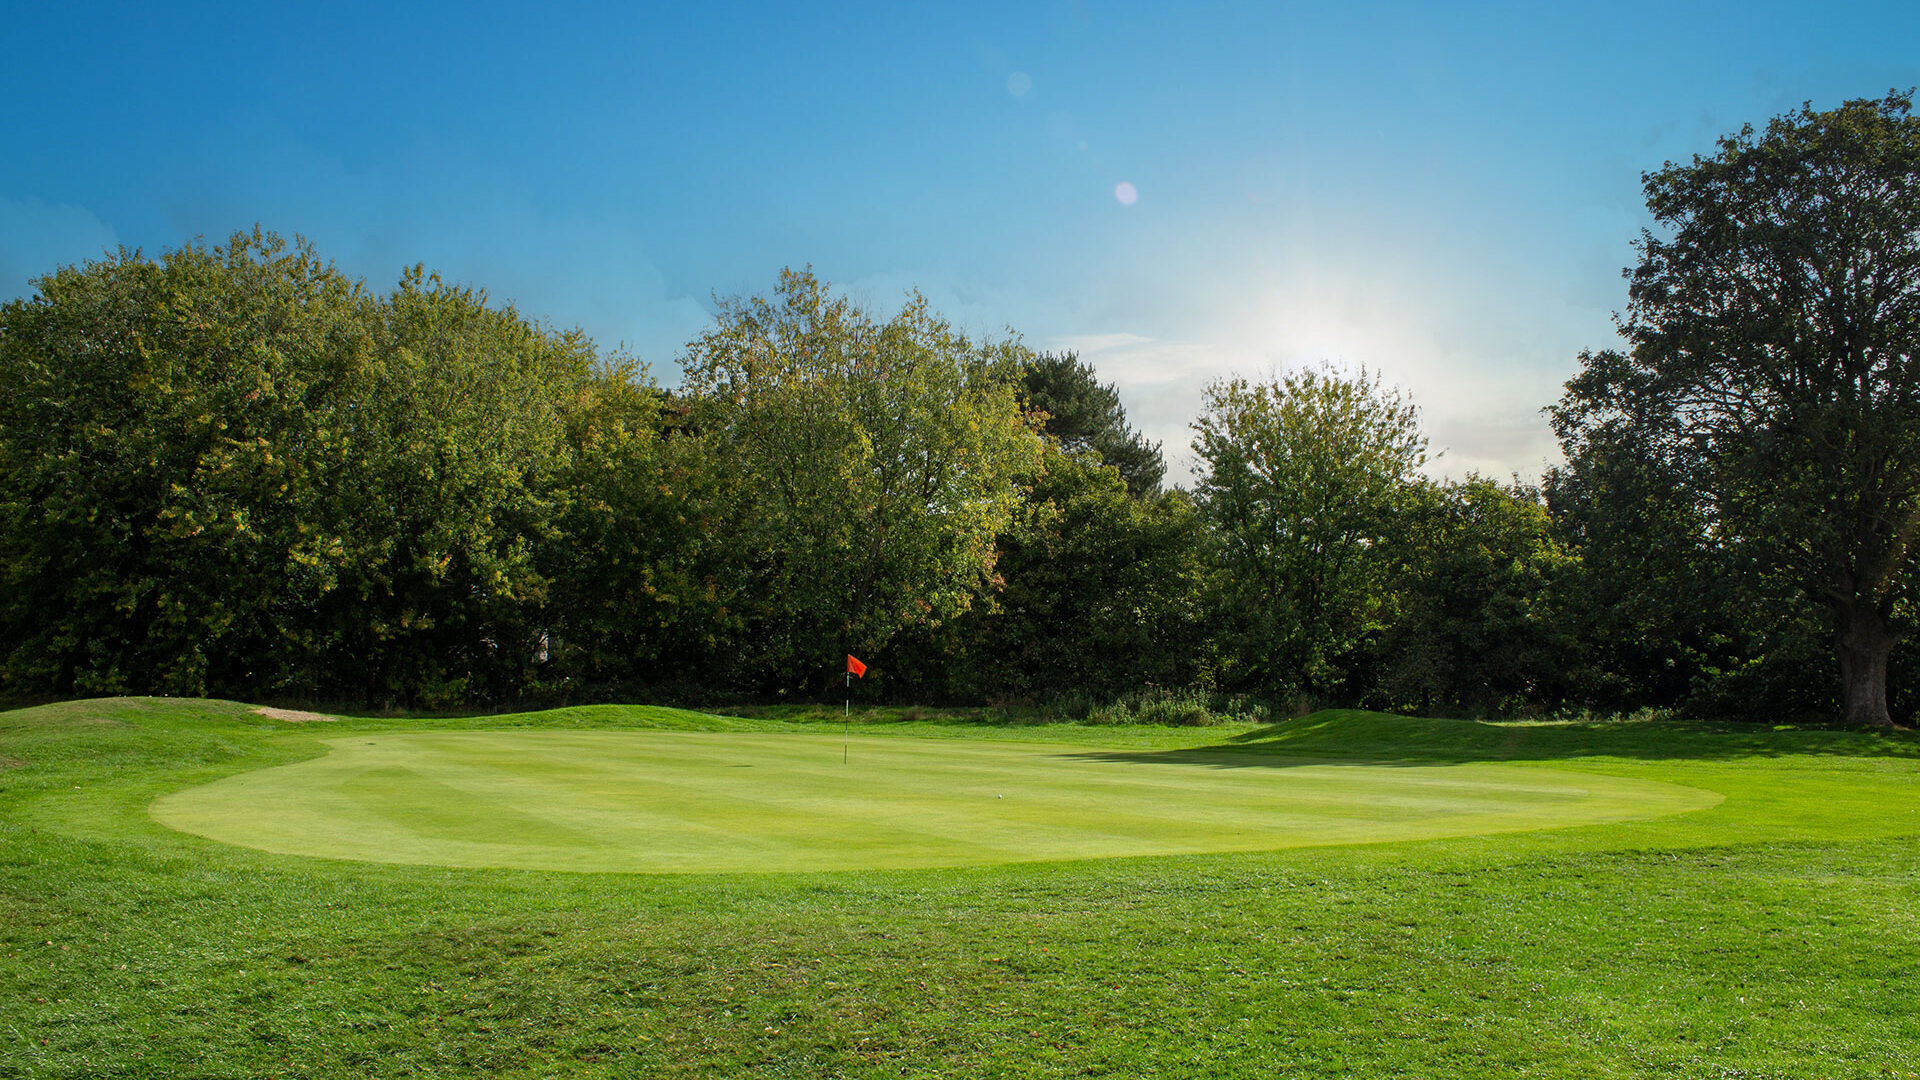
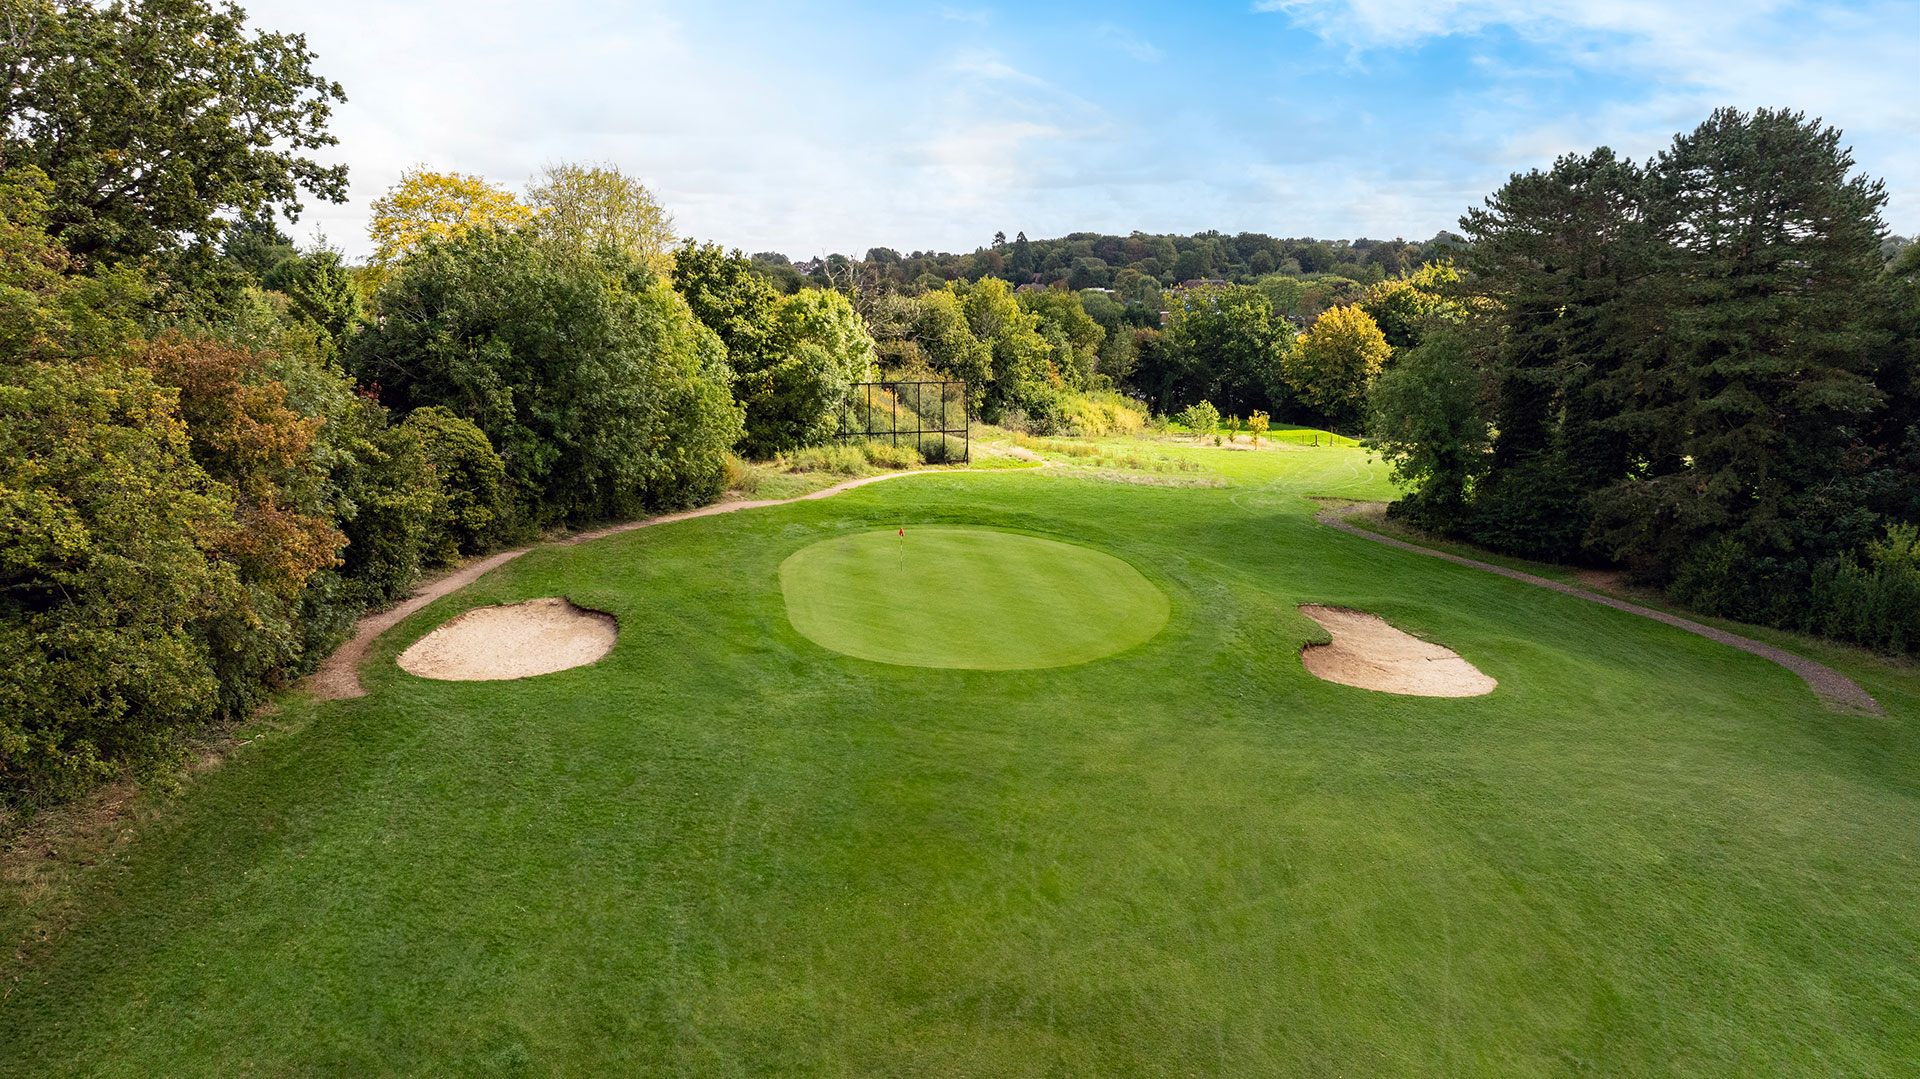
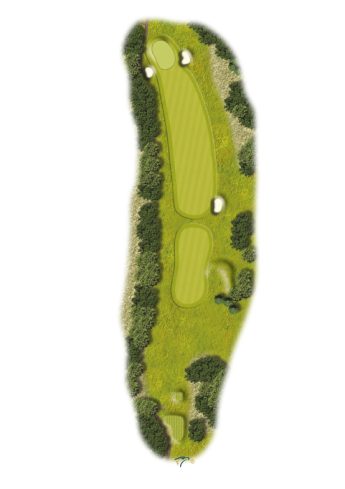
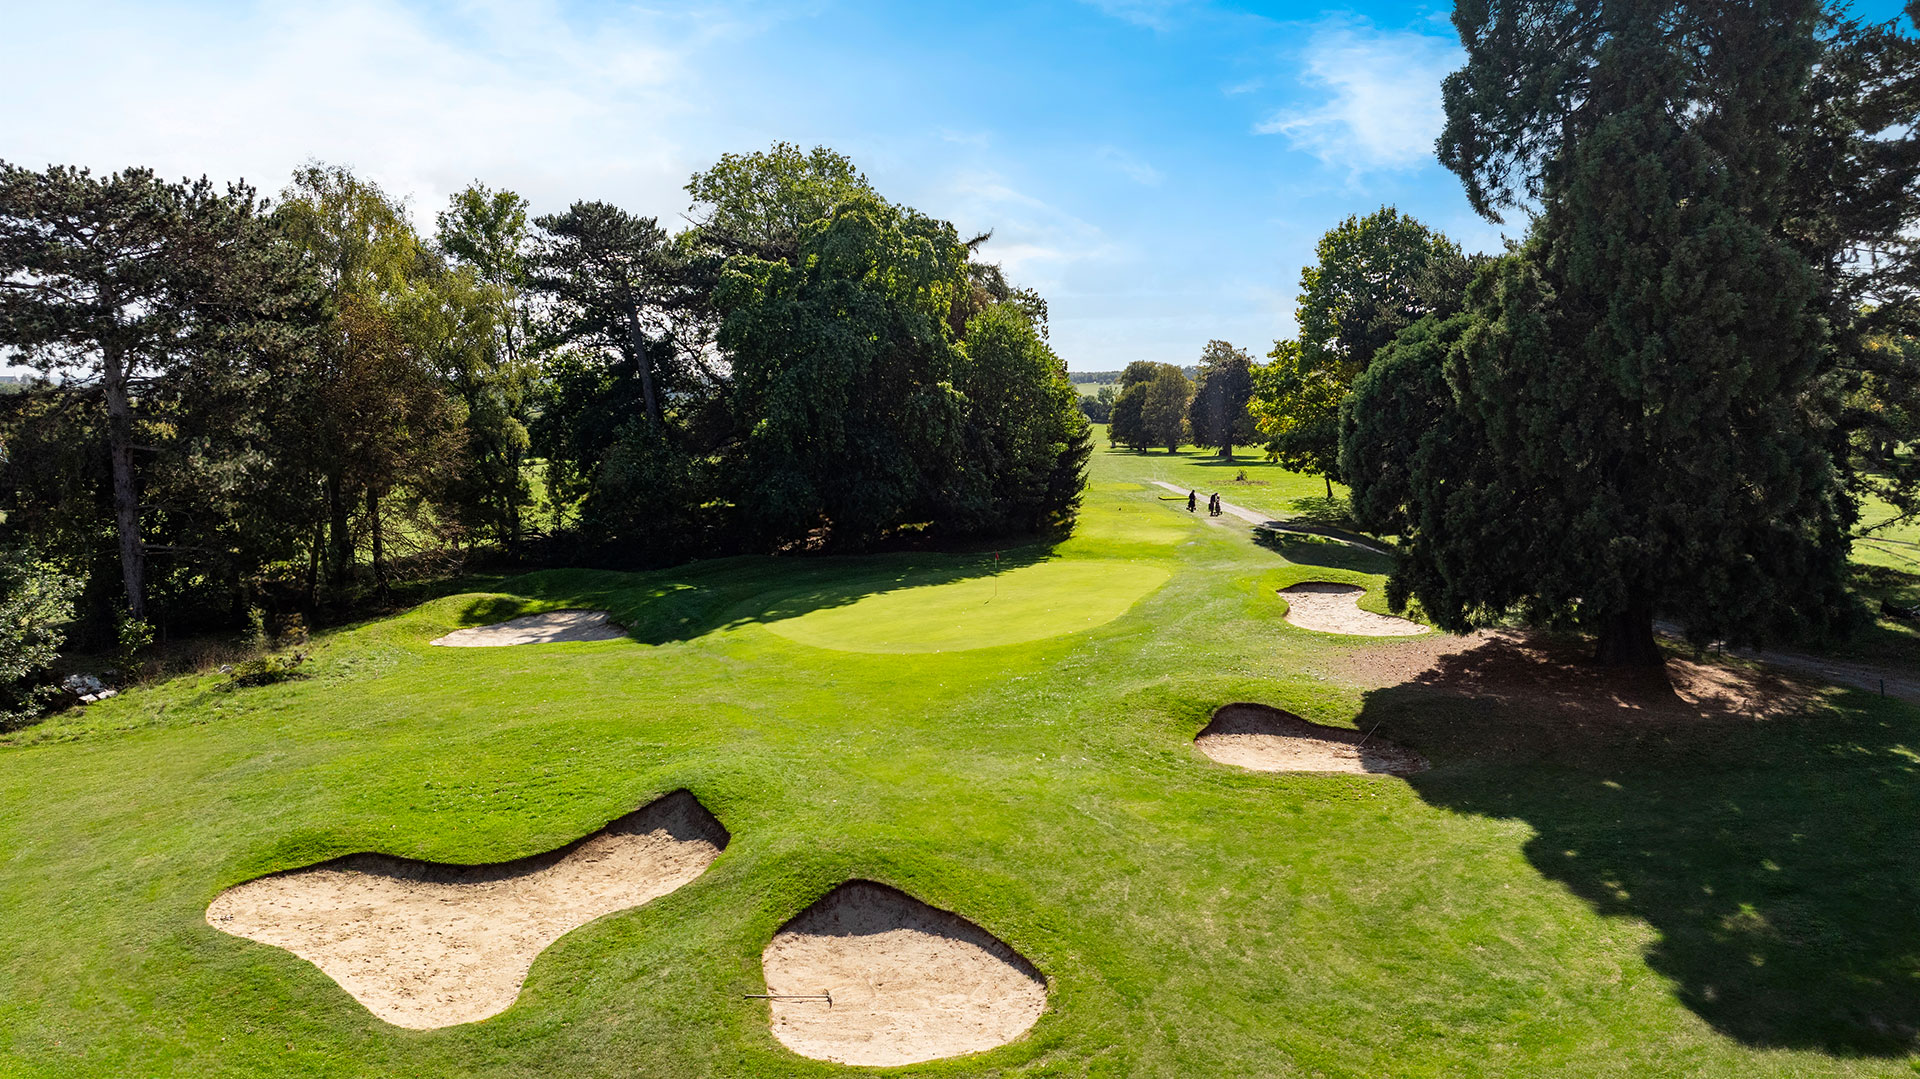
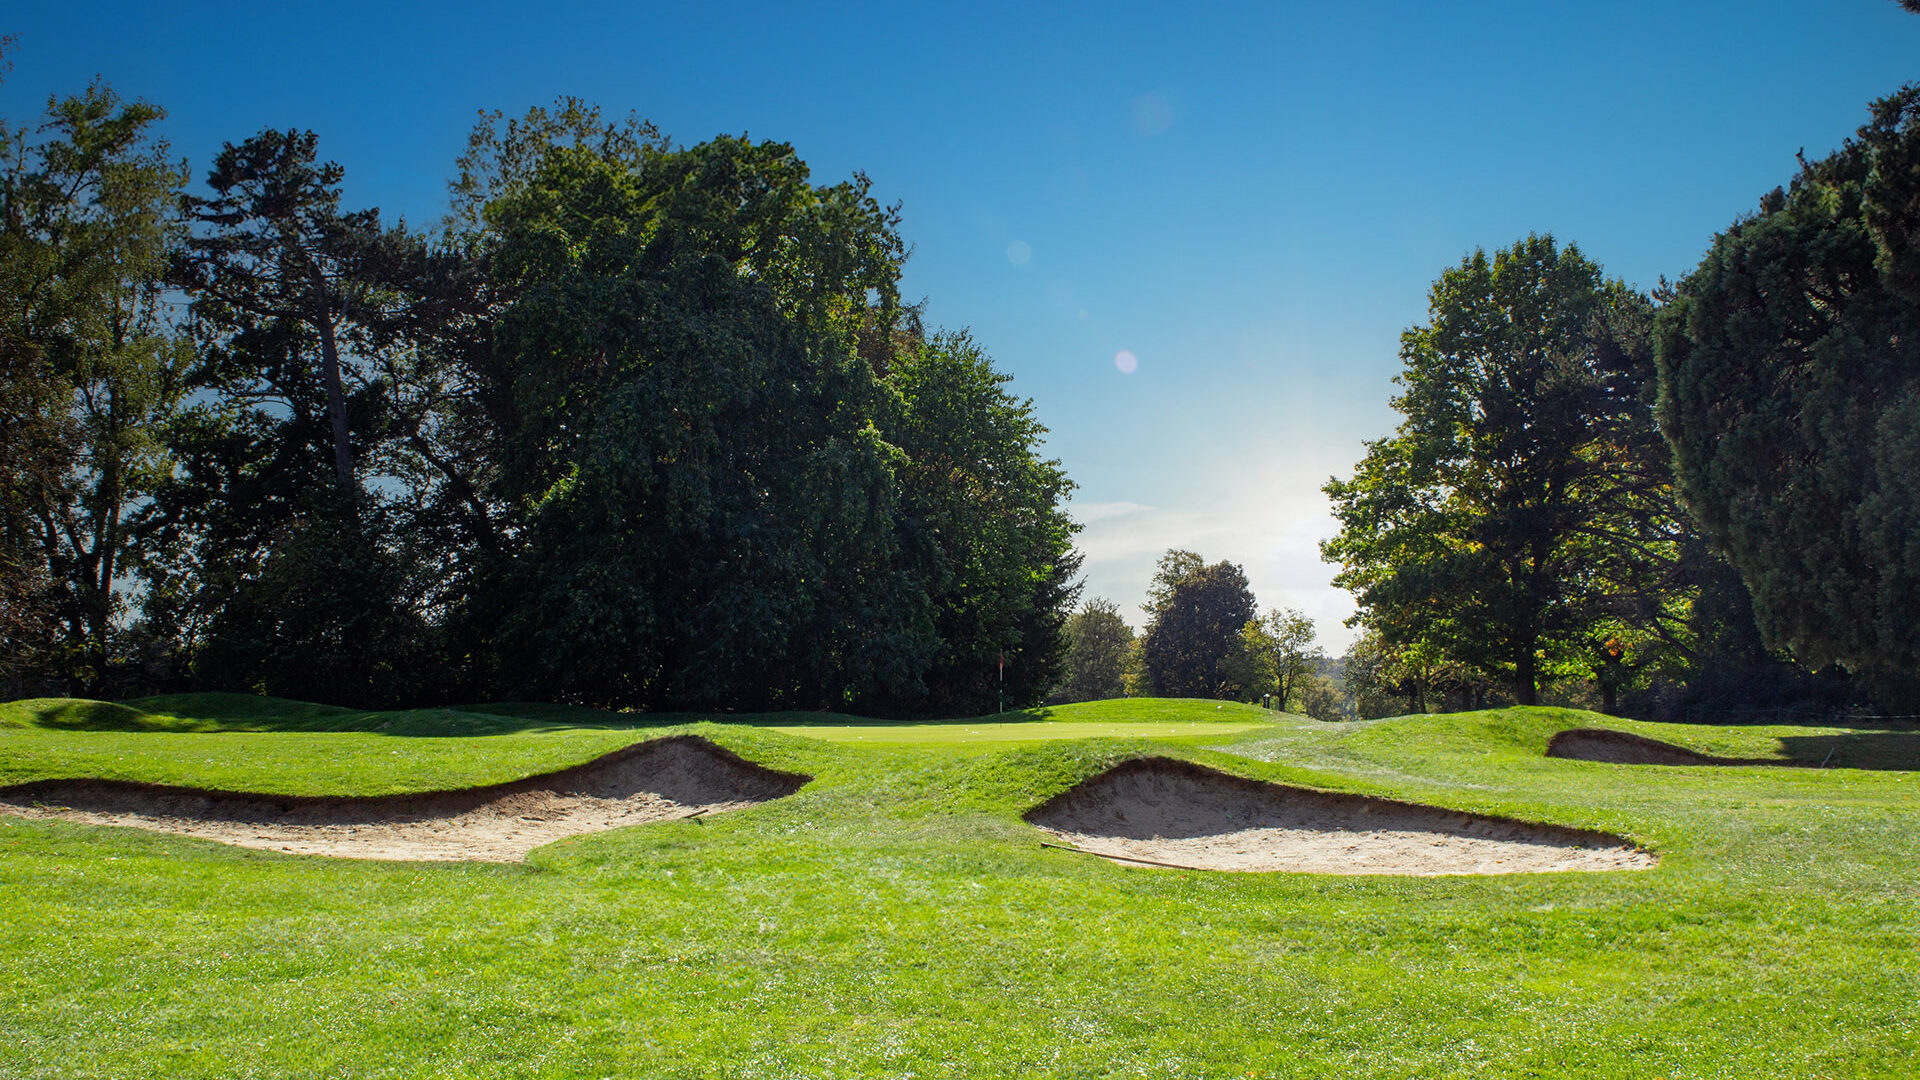
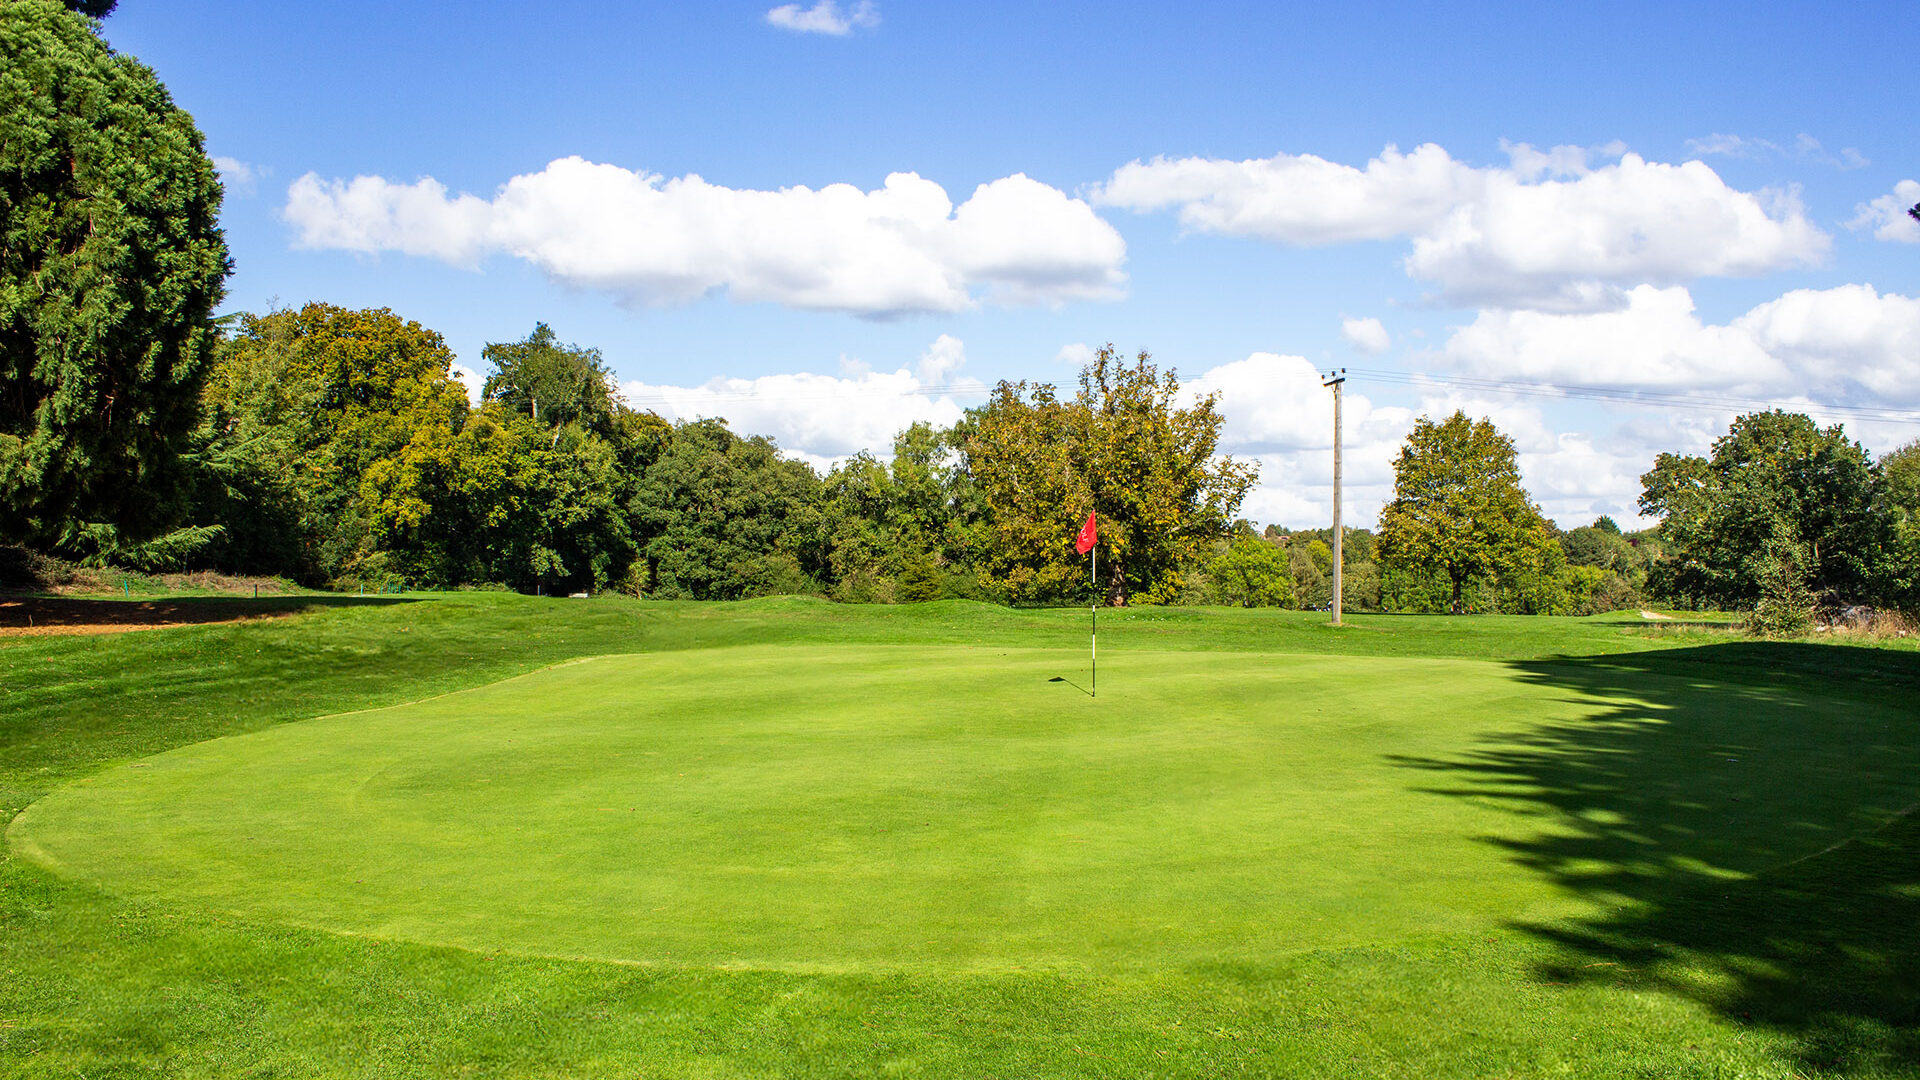
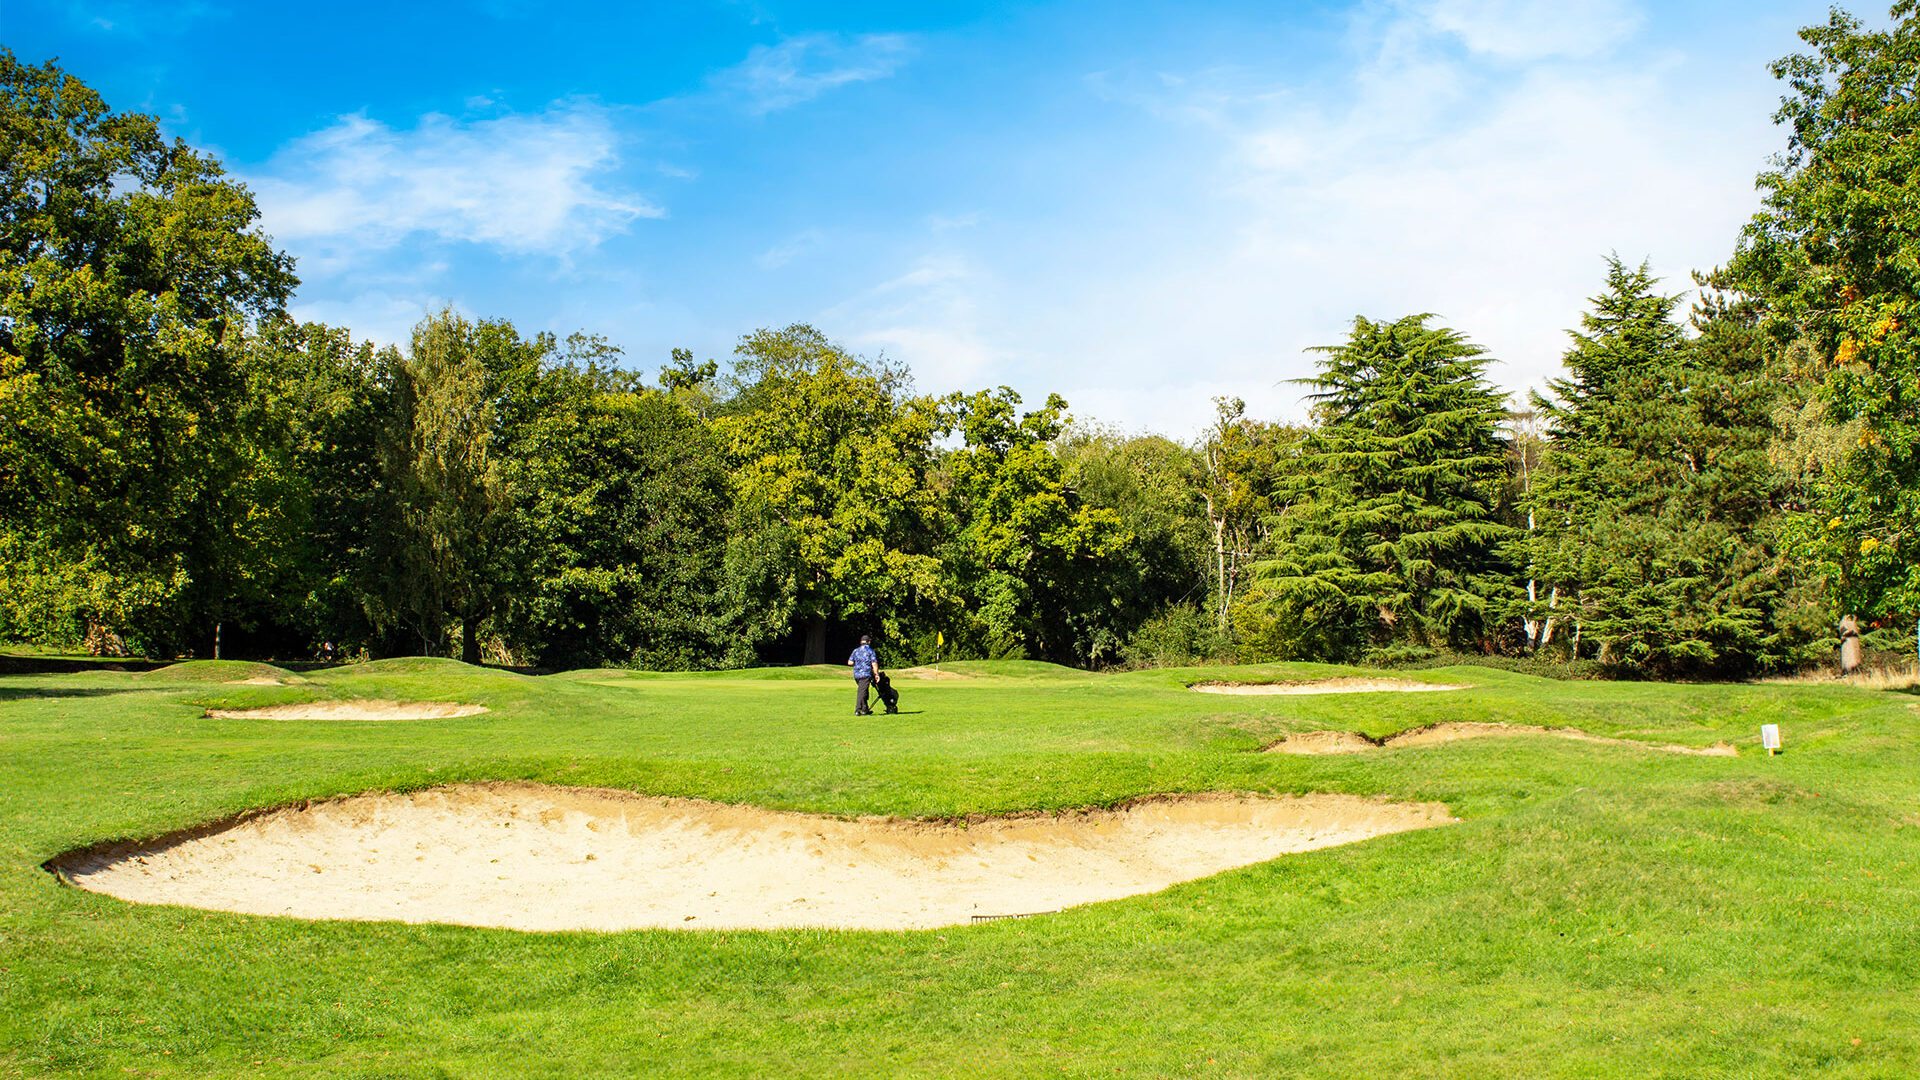
On this opening hole, it's really important to drive the ball straight and it's an easy par 5.
| PAR | YARDS | STROKE | |
|---|---|---|---|
| White Tee | 5 | 480 | 16 |
| Yellow Tee | 5 | 461 | 16 |
| Red Tee | 5 | 406 | 12 |
PRO TIP
With a big bunker to the right hand-side, and only semi rough to the left you can afford to aim a little left to get the round off to a safe start. Hole Sponsored by

2 of 18
| PAR | YARDS | STROKE | |
|---|---|---|---|
| White Tee | 4 | 334 | 8 |
| Yellow Tee | 4 | 320 | 8 |
| Red Tee | 4 | 296 | 8 |
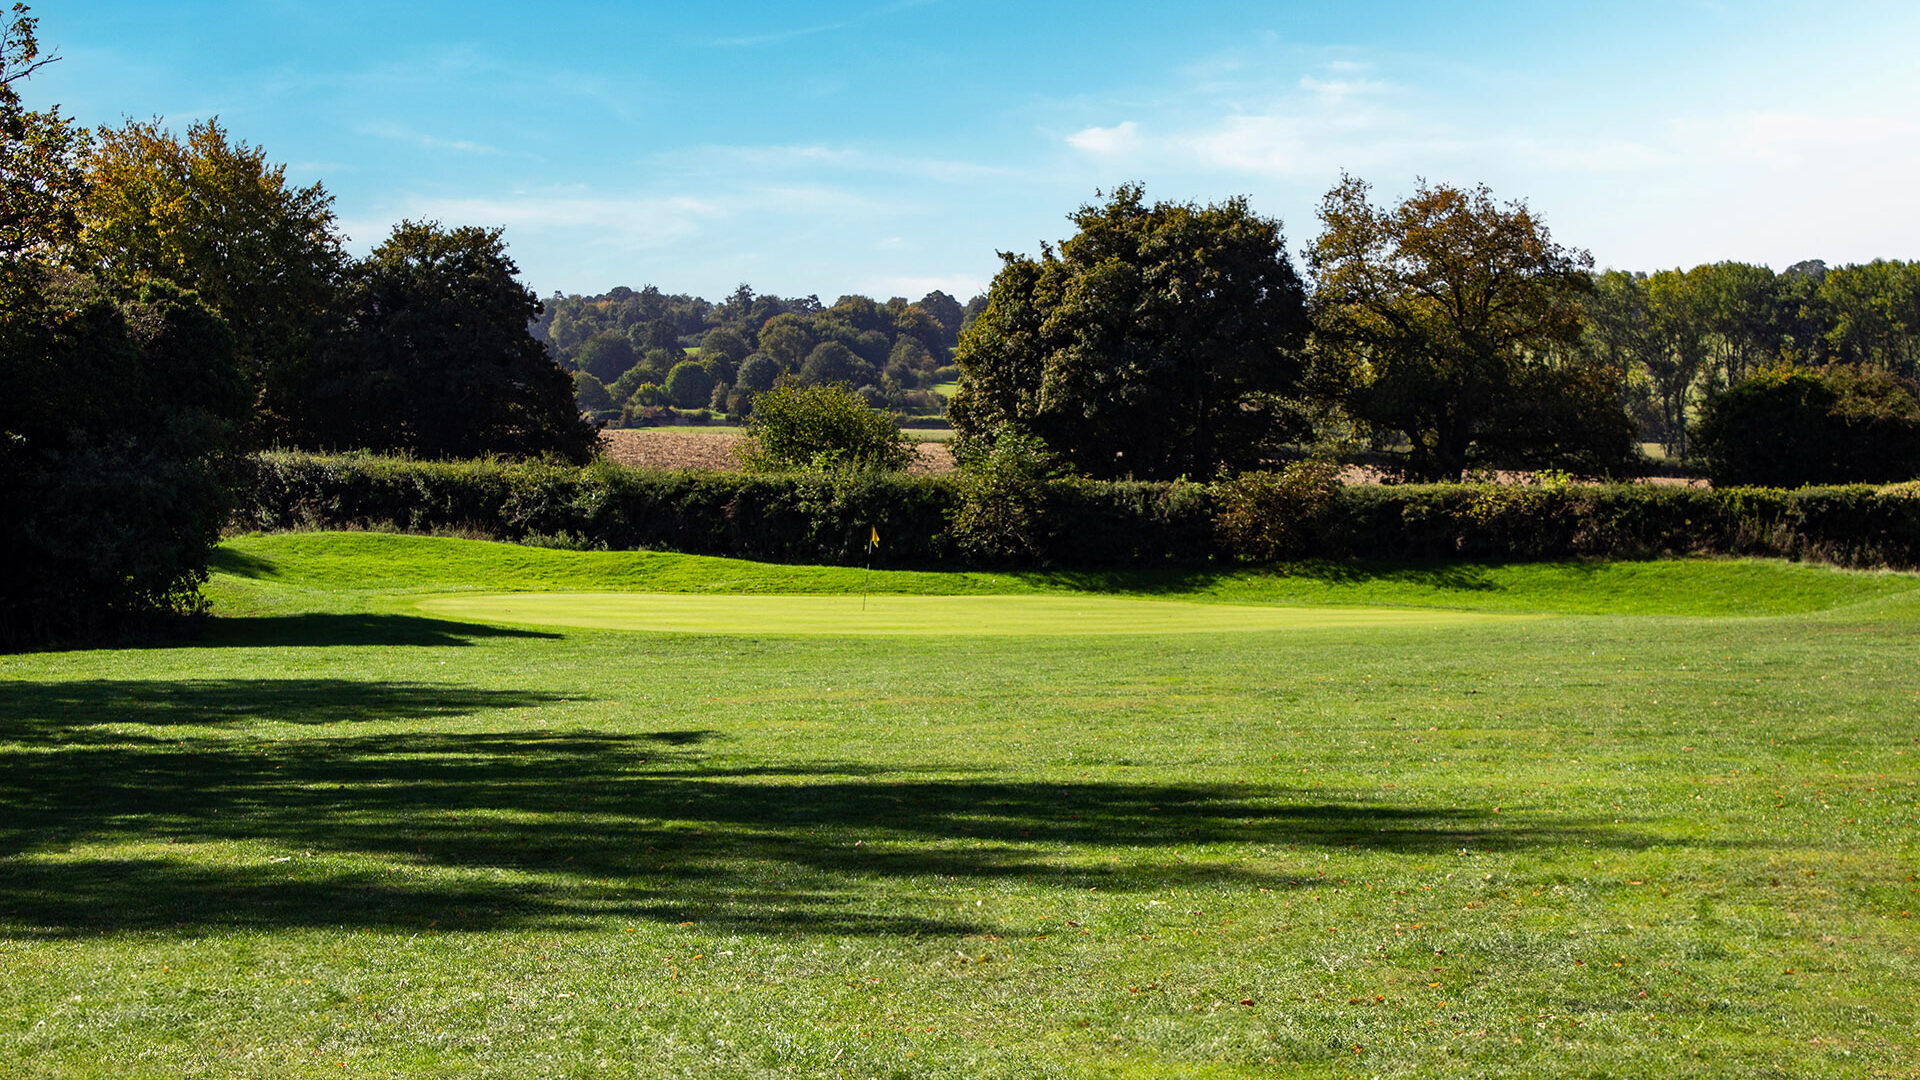
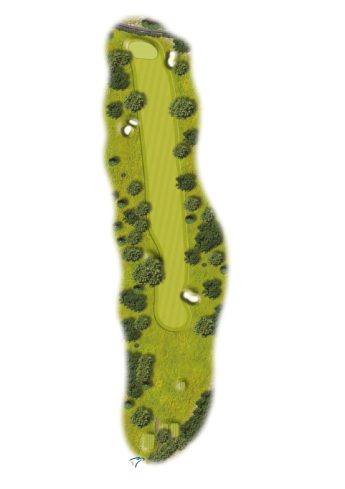
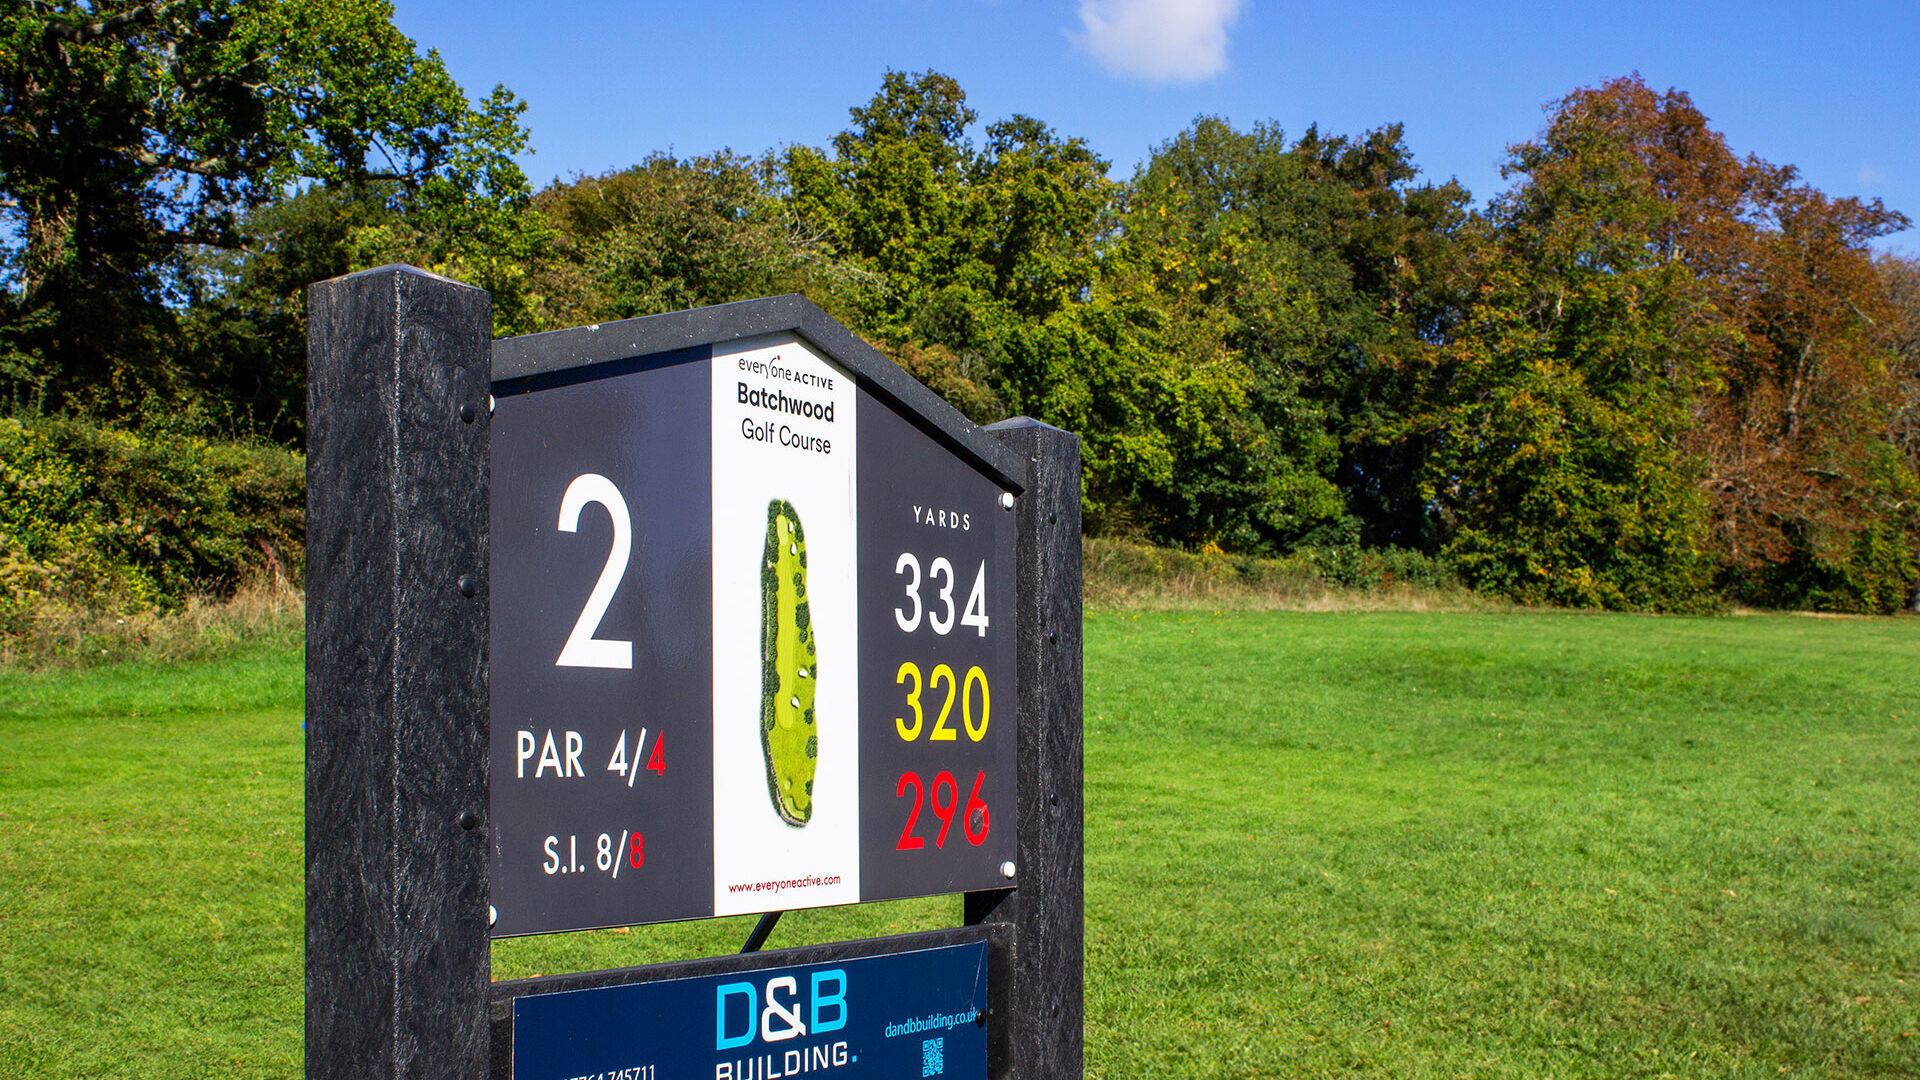
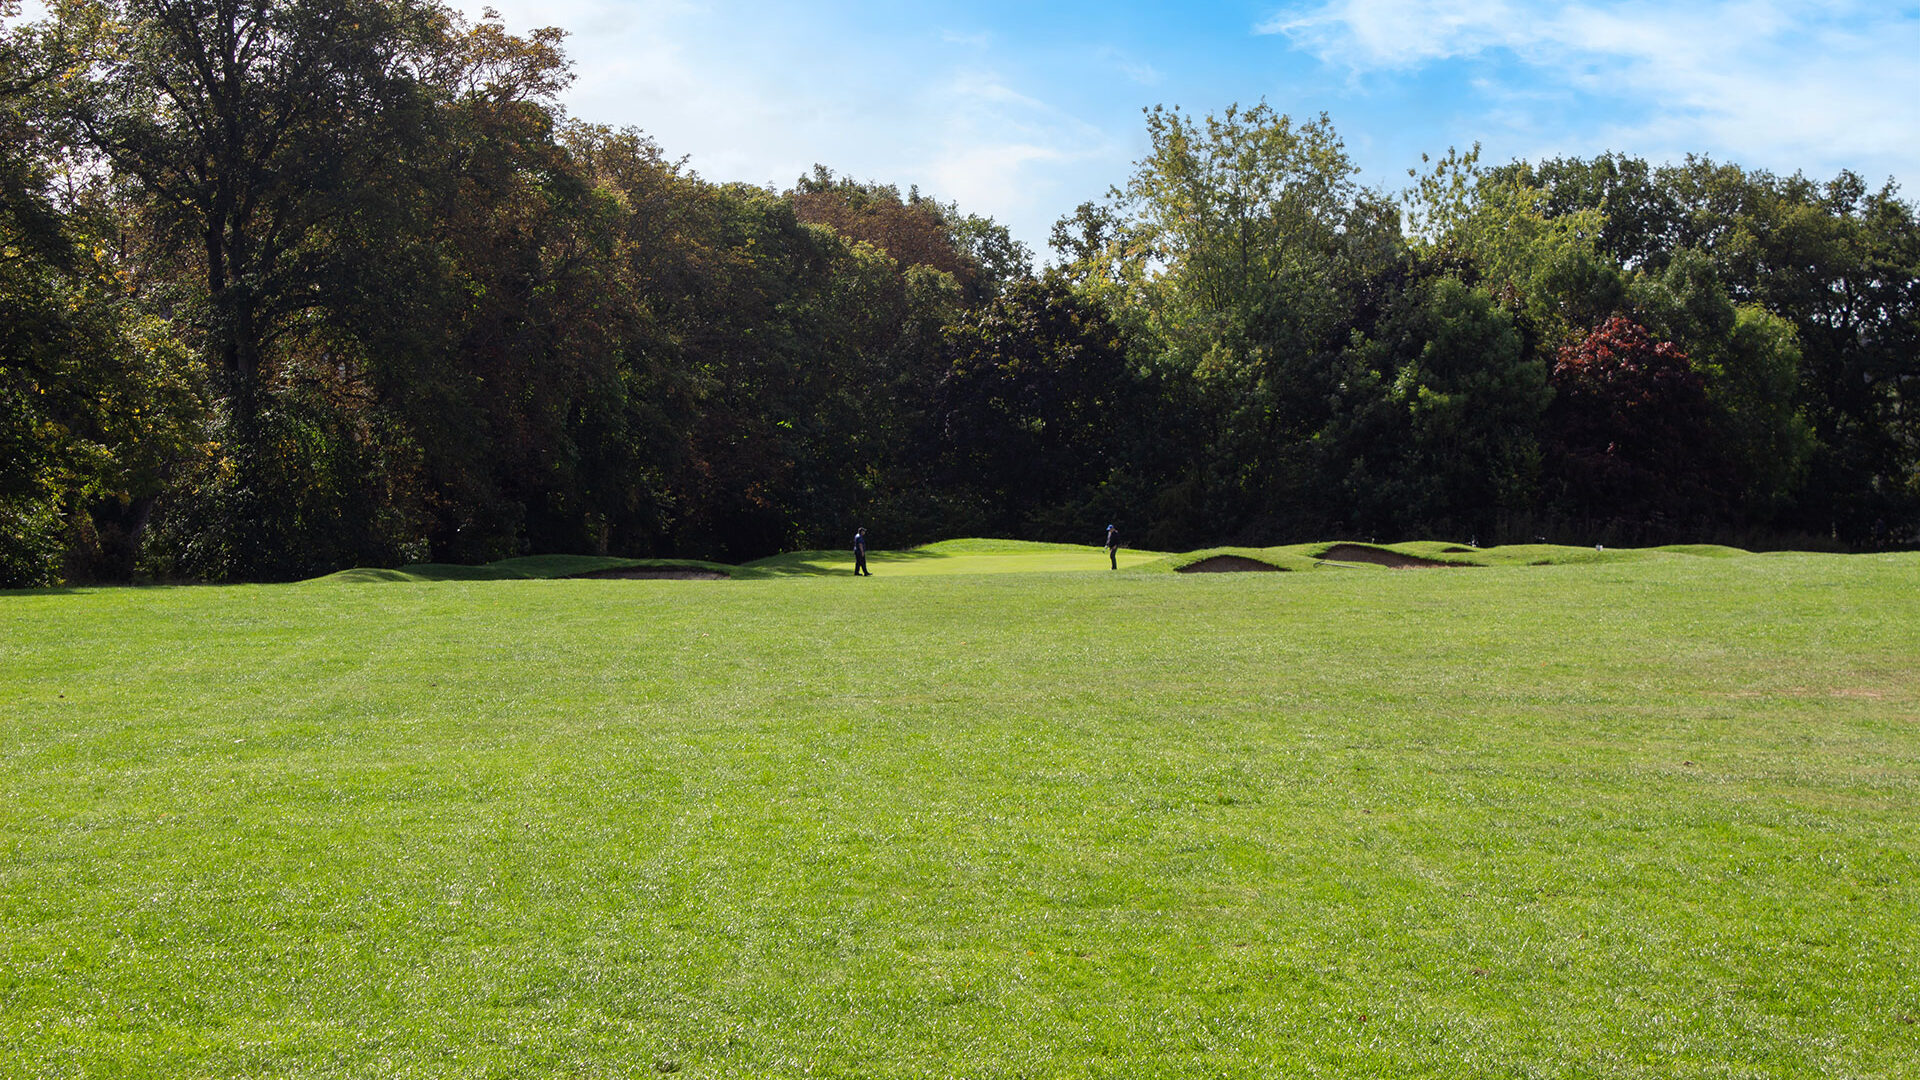
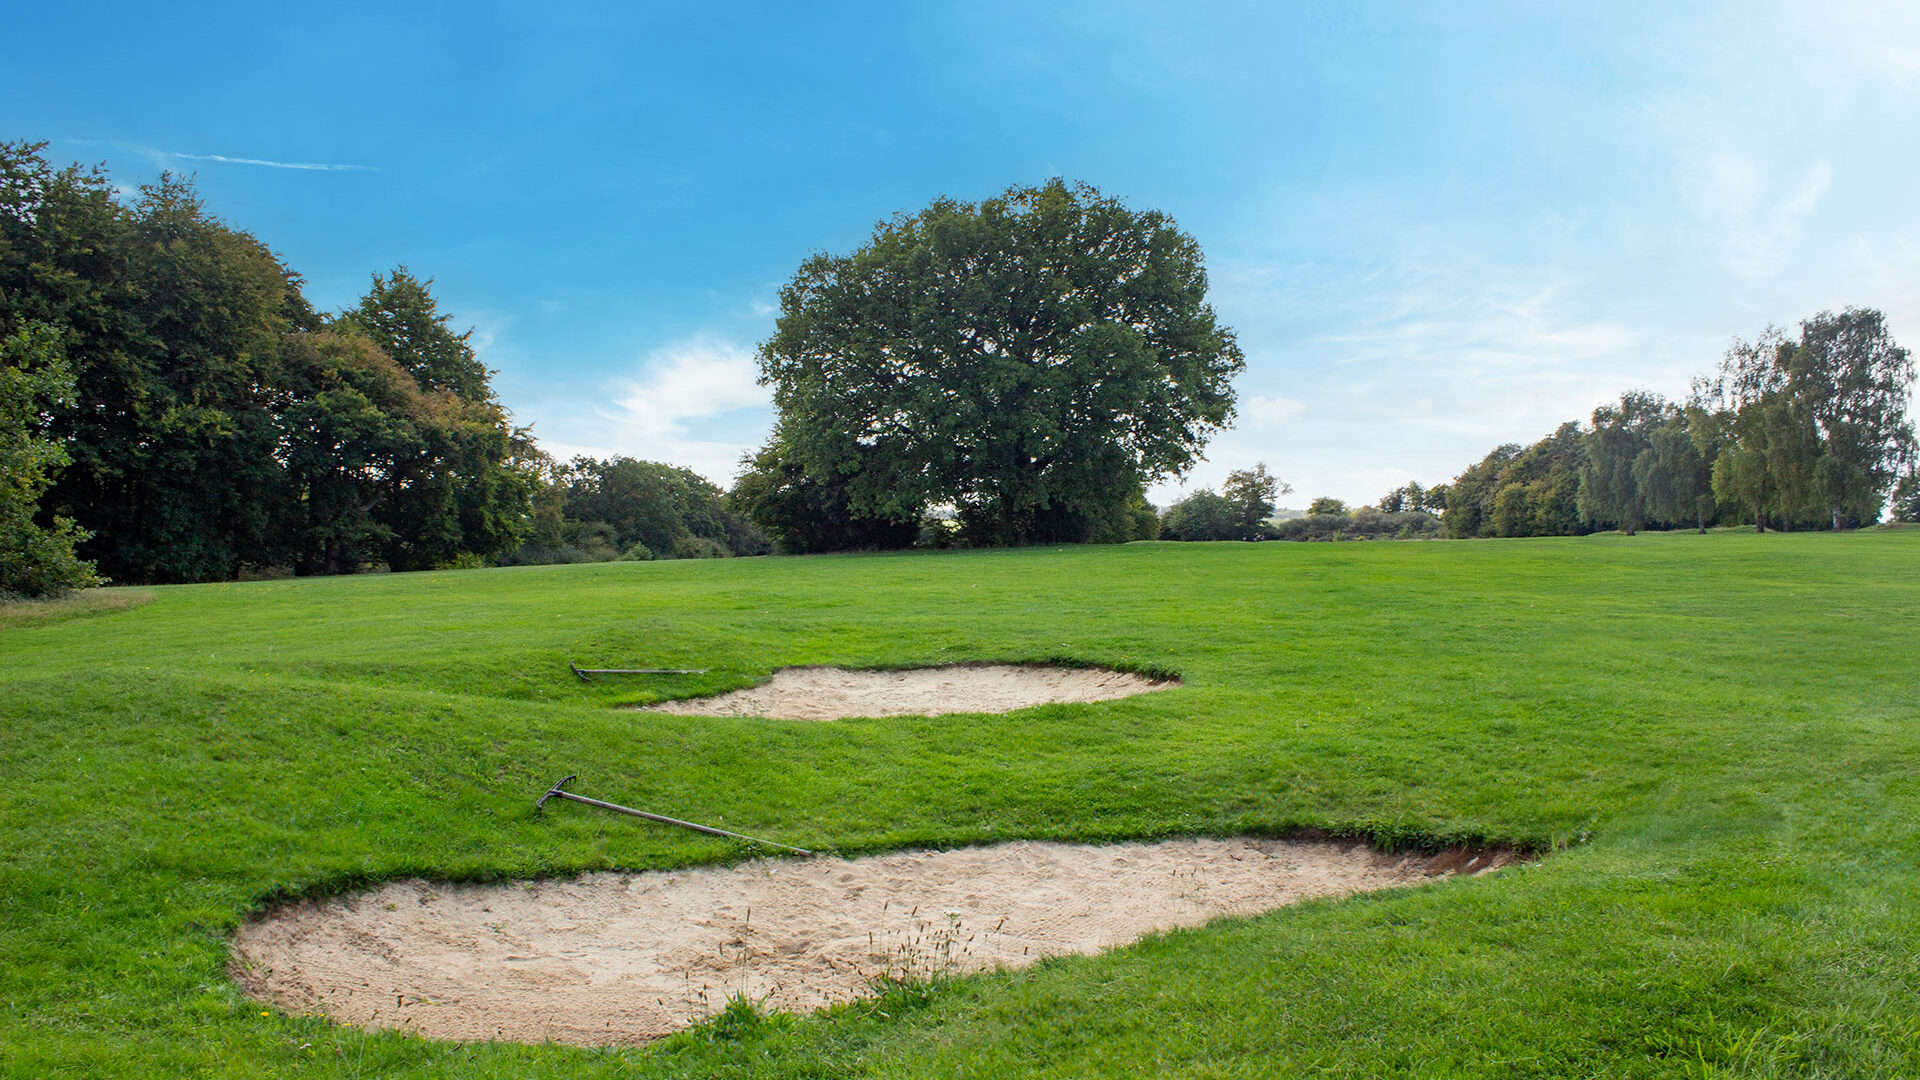
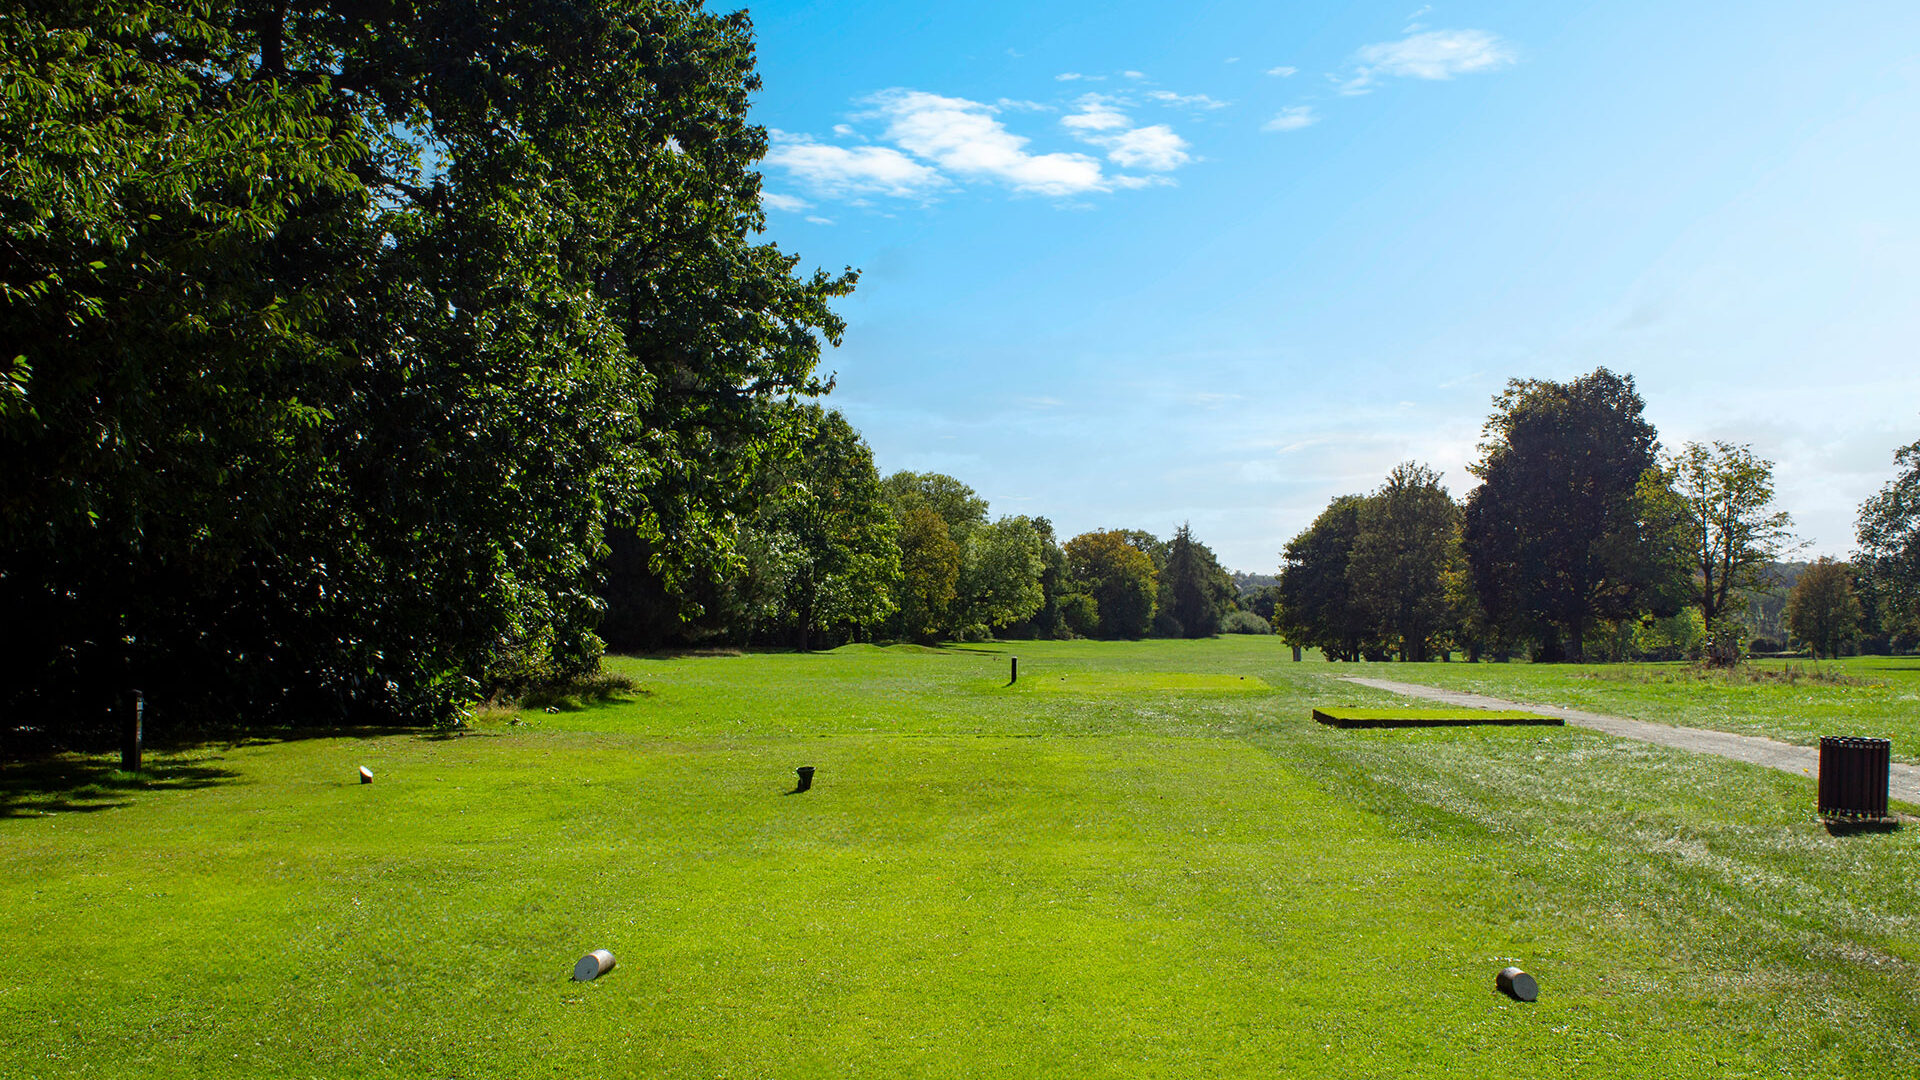
HOLE TWO
PAR 4, YARDS 334, STROKE INDEX 8
2 of 18
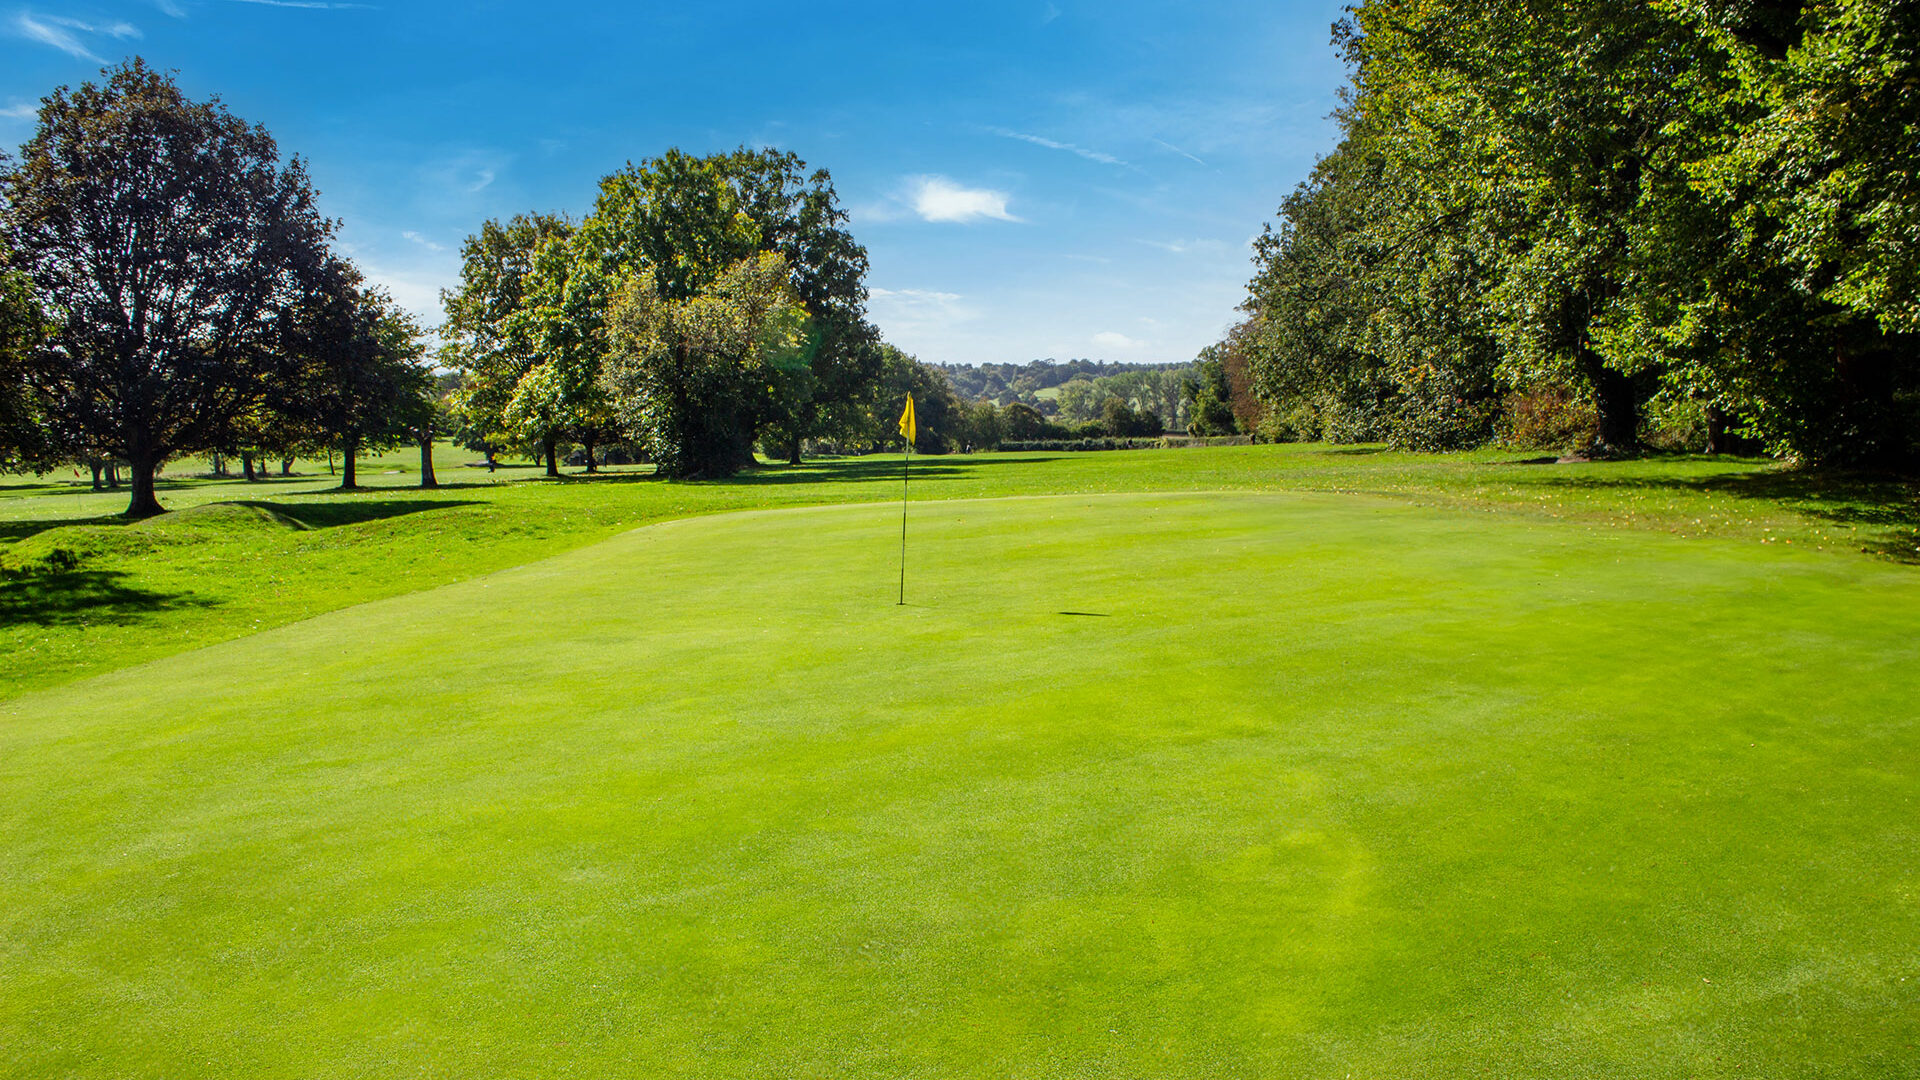
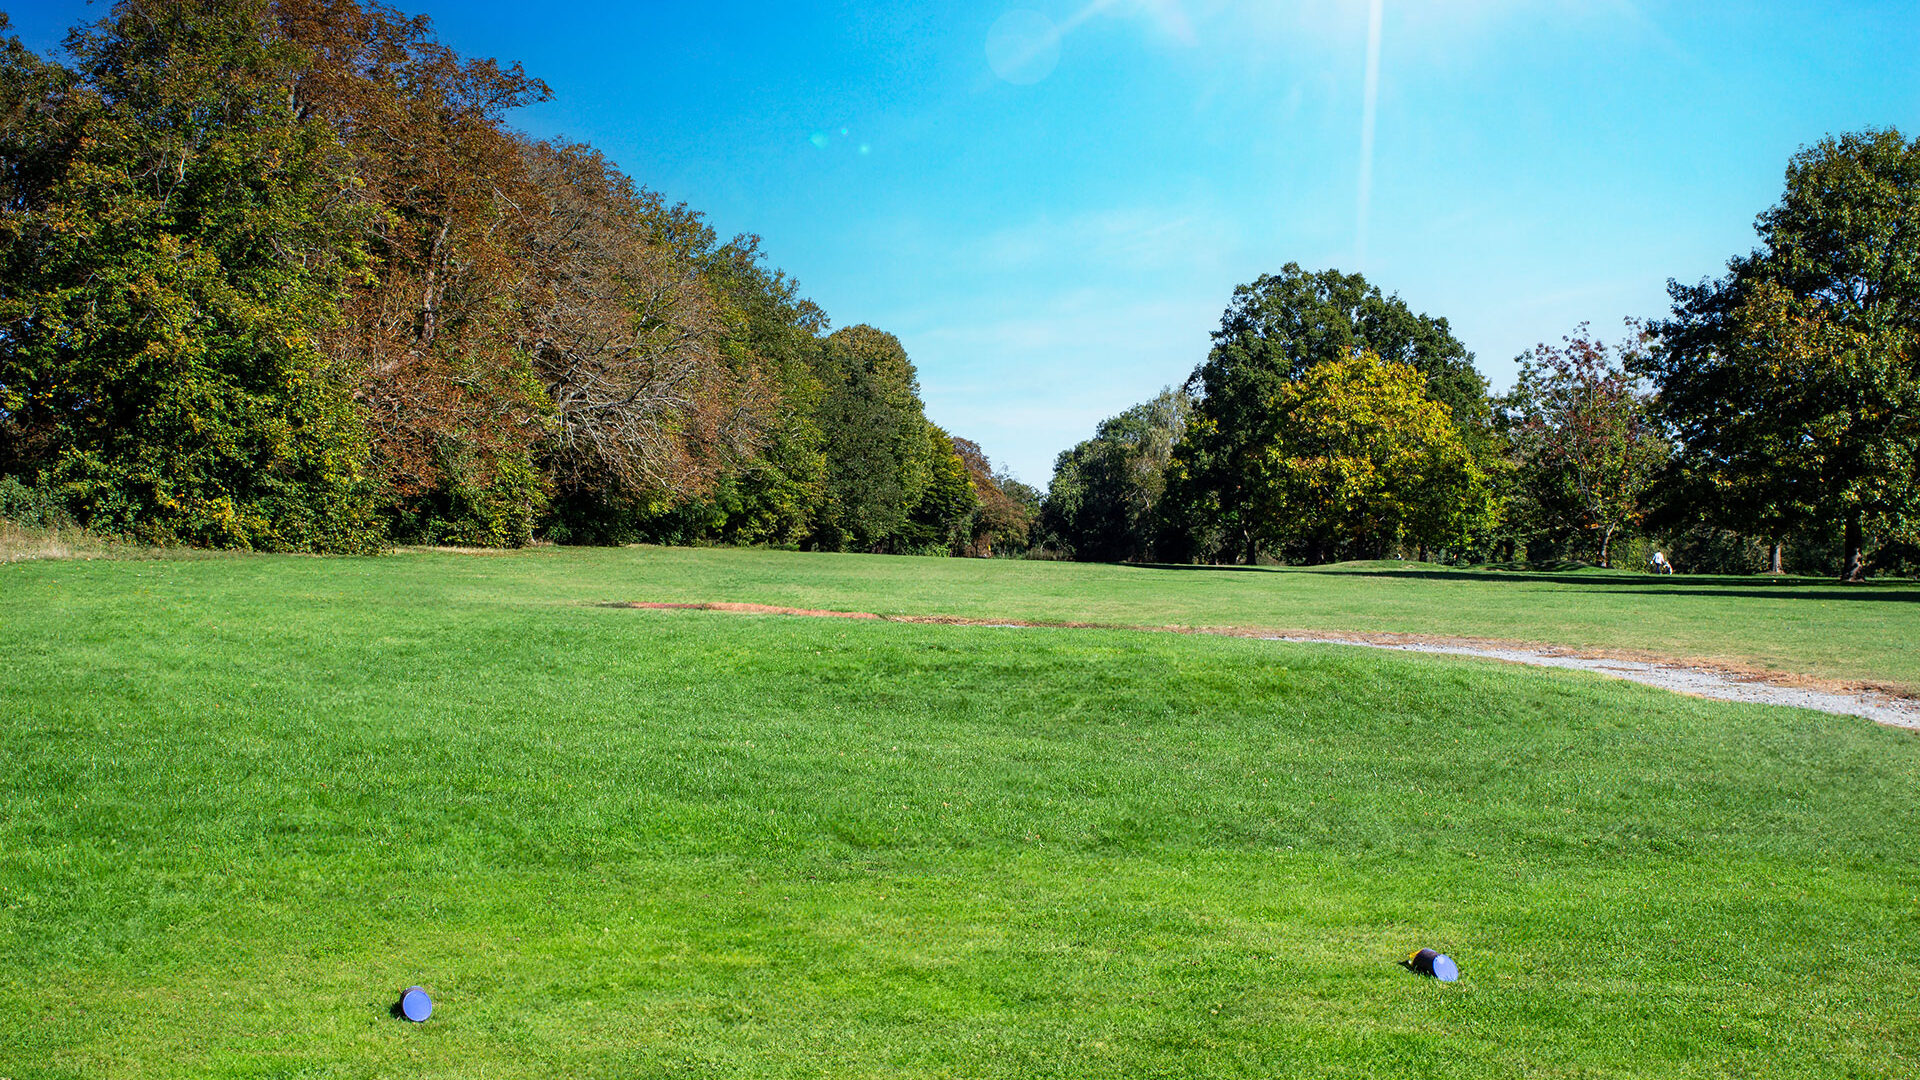
HOLE TWO
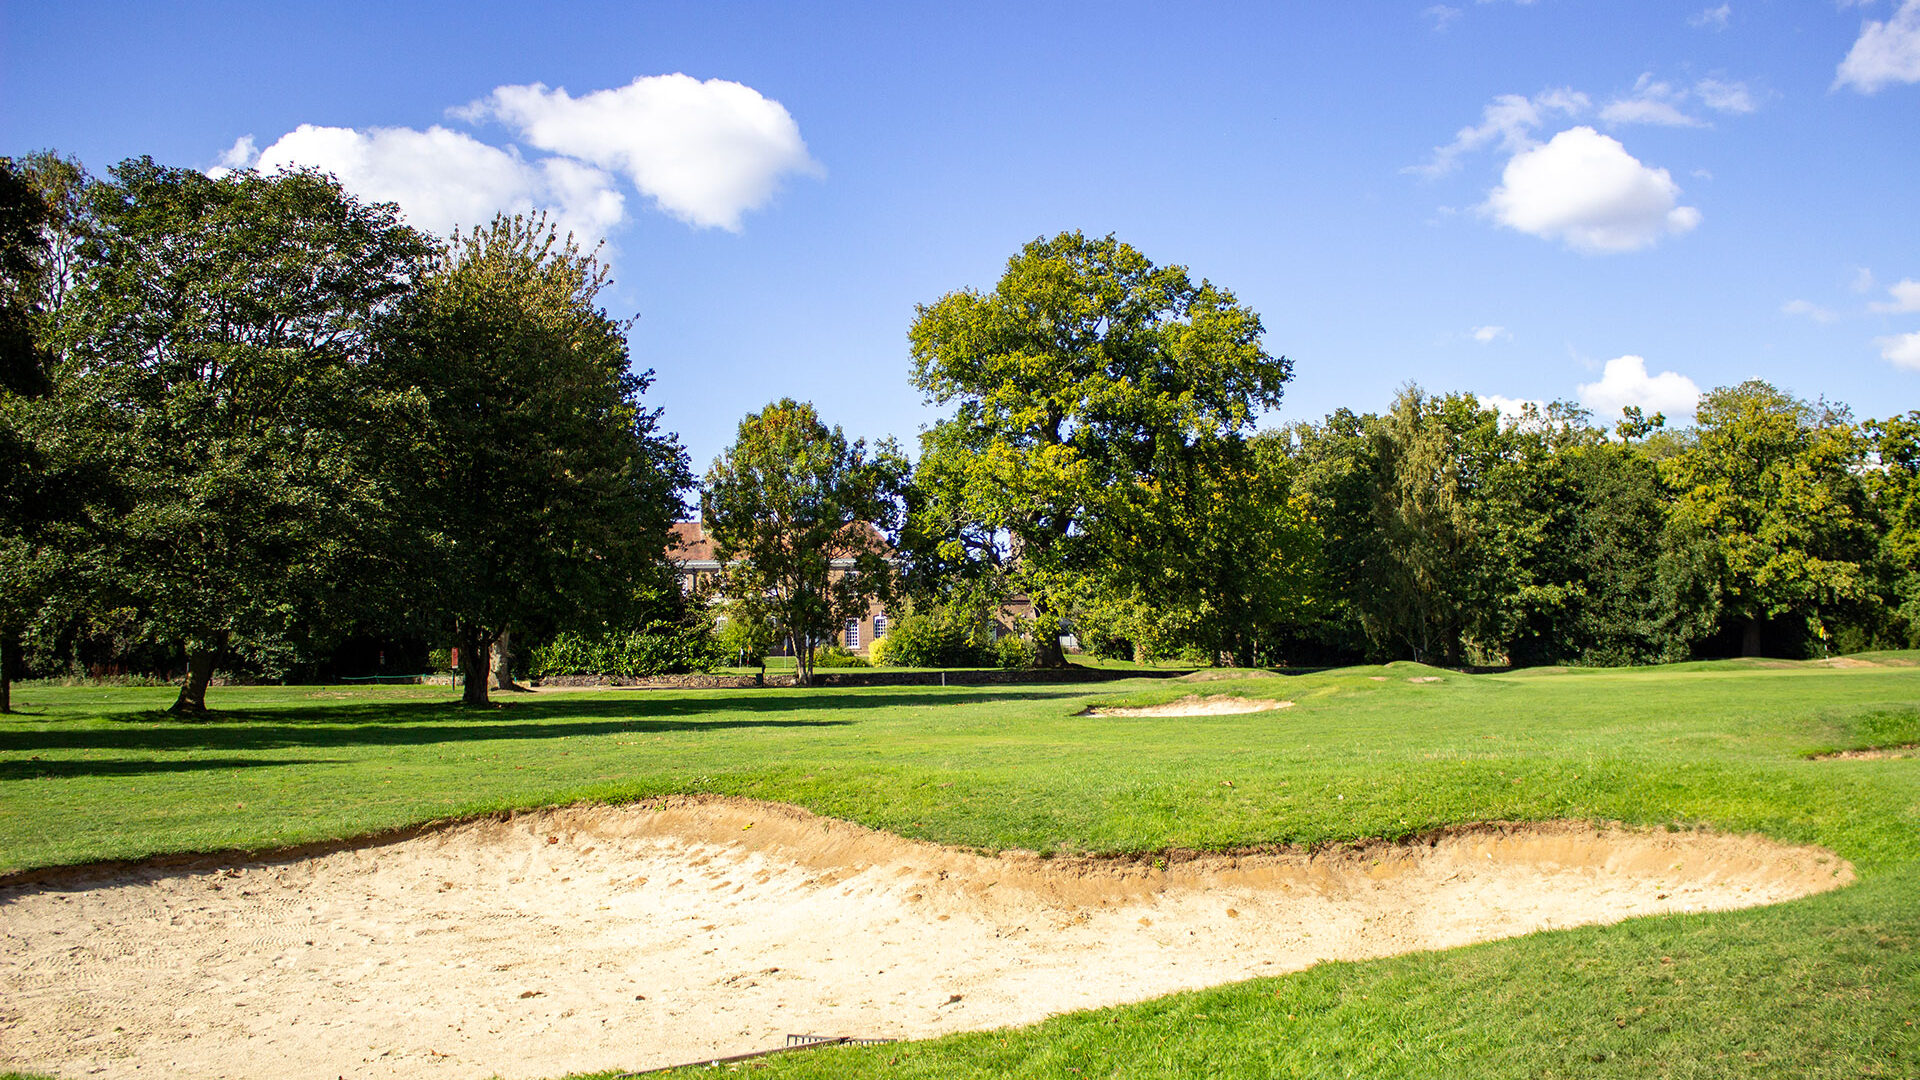
Out of bounds on the left hand side, uphill and plays easier than it's stroke index.
| PAR | YARDS | STROKE | |
|---|---|---|---|
| White Tee | 4 | 334 | 8 |
| Yellow Tee | 4 | 320 | 8 |
| Red Tee | 4 | 296 | 8 |
PRO TIP
One of the straightest holes on the course with lots of hazards either side, hold back the power and keep it straight. Hole Sponsored by

3 of 18
| PAR | YARDS | STROKE | |
|---|---|---|---|
| White Tee | 3 | 137 | 18 |
| Yellow Tee | 3 | 129 | 18 |
| Red Tee | 3 | 118 | 18 |
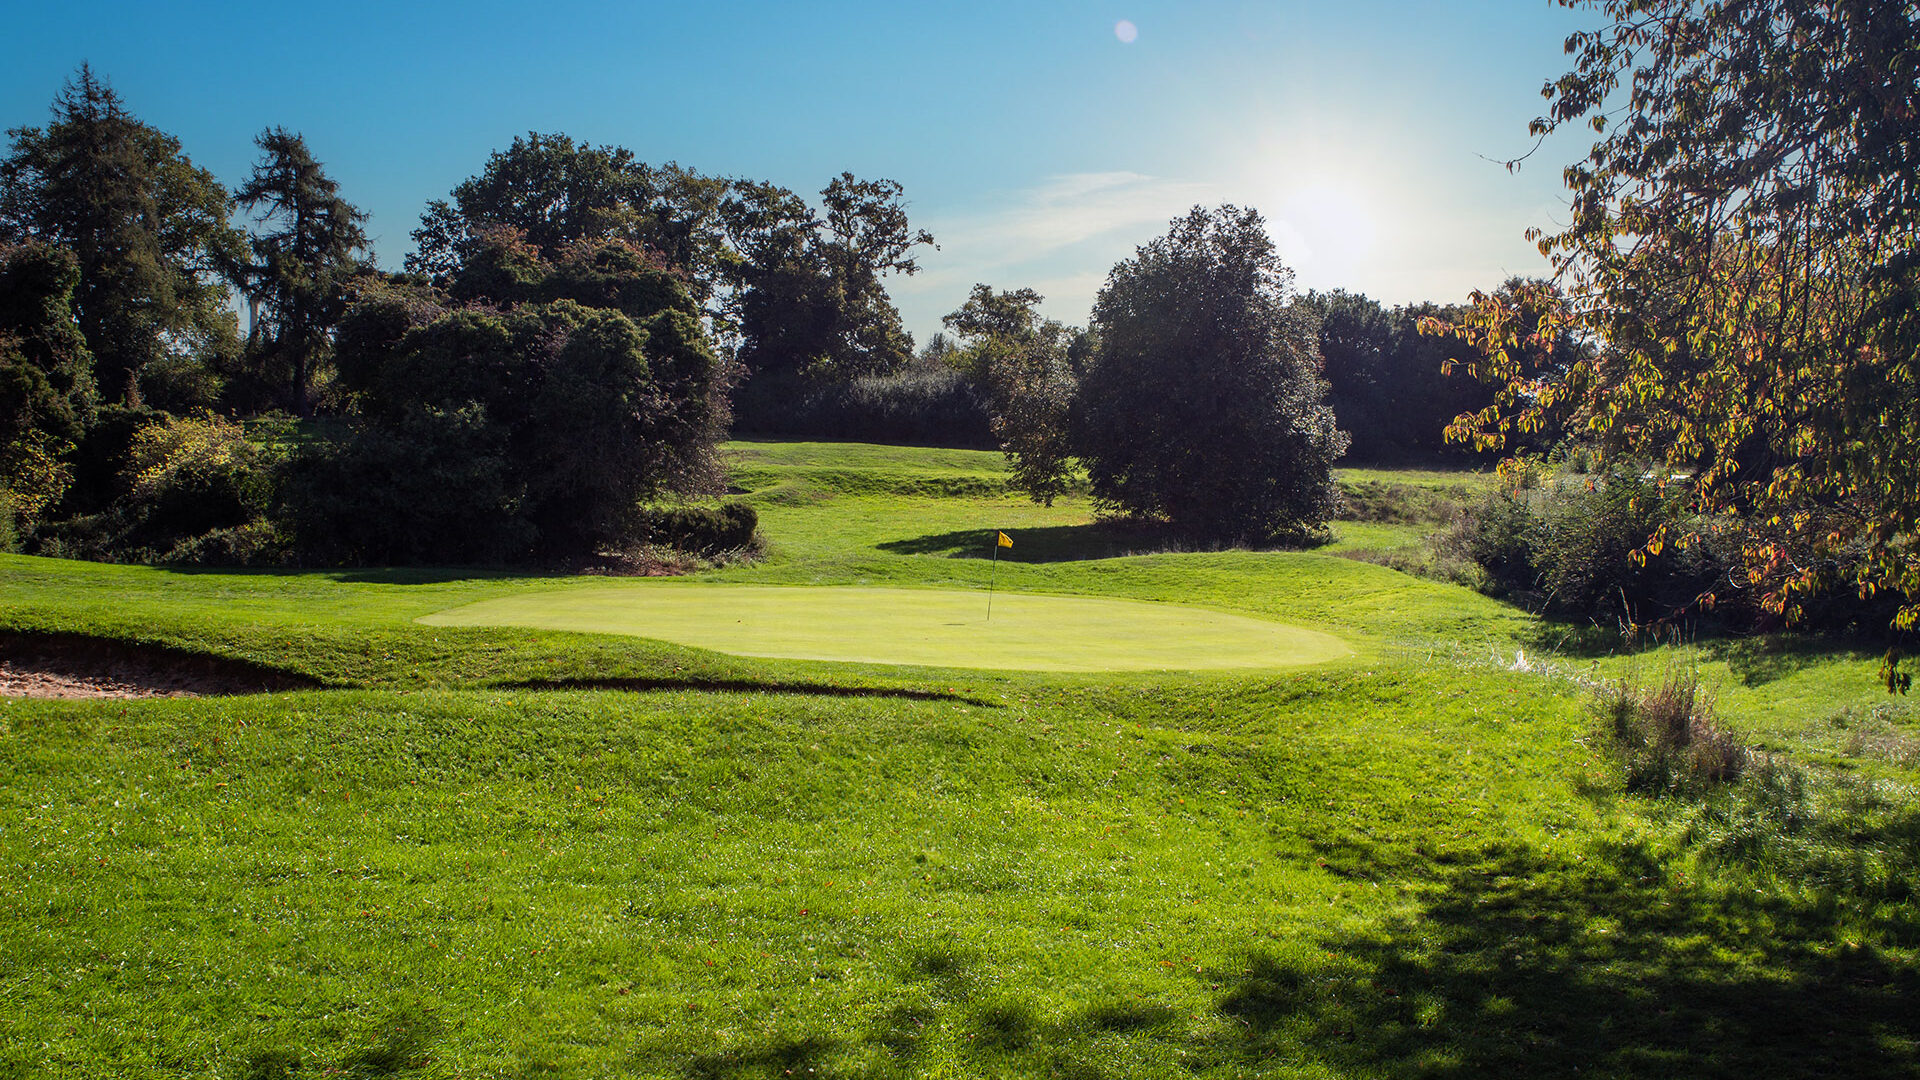
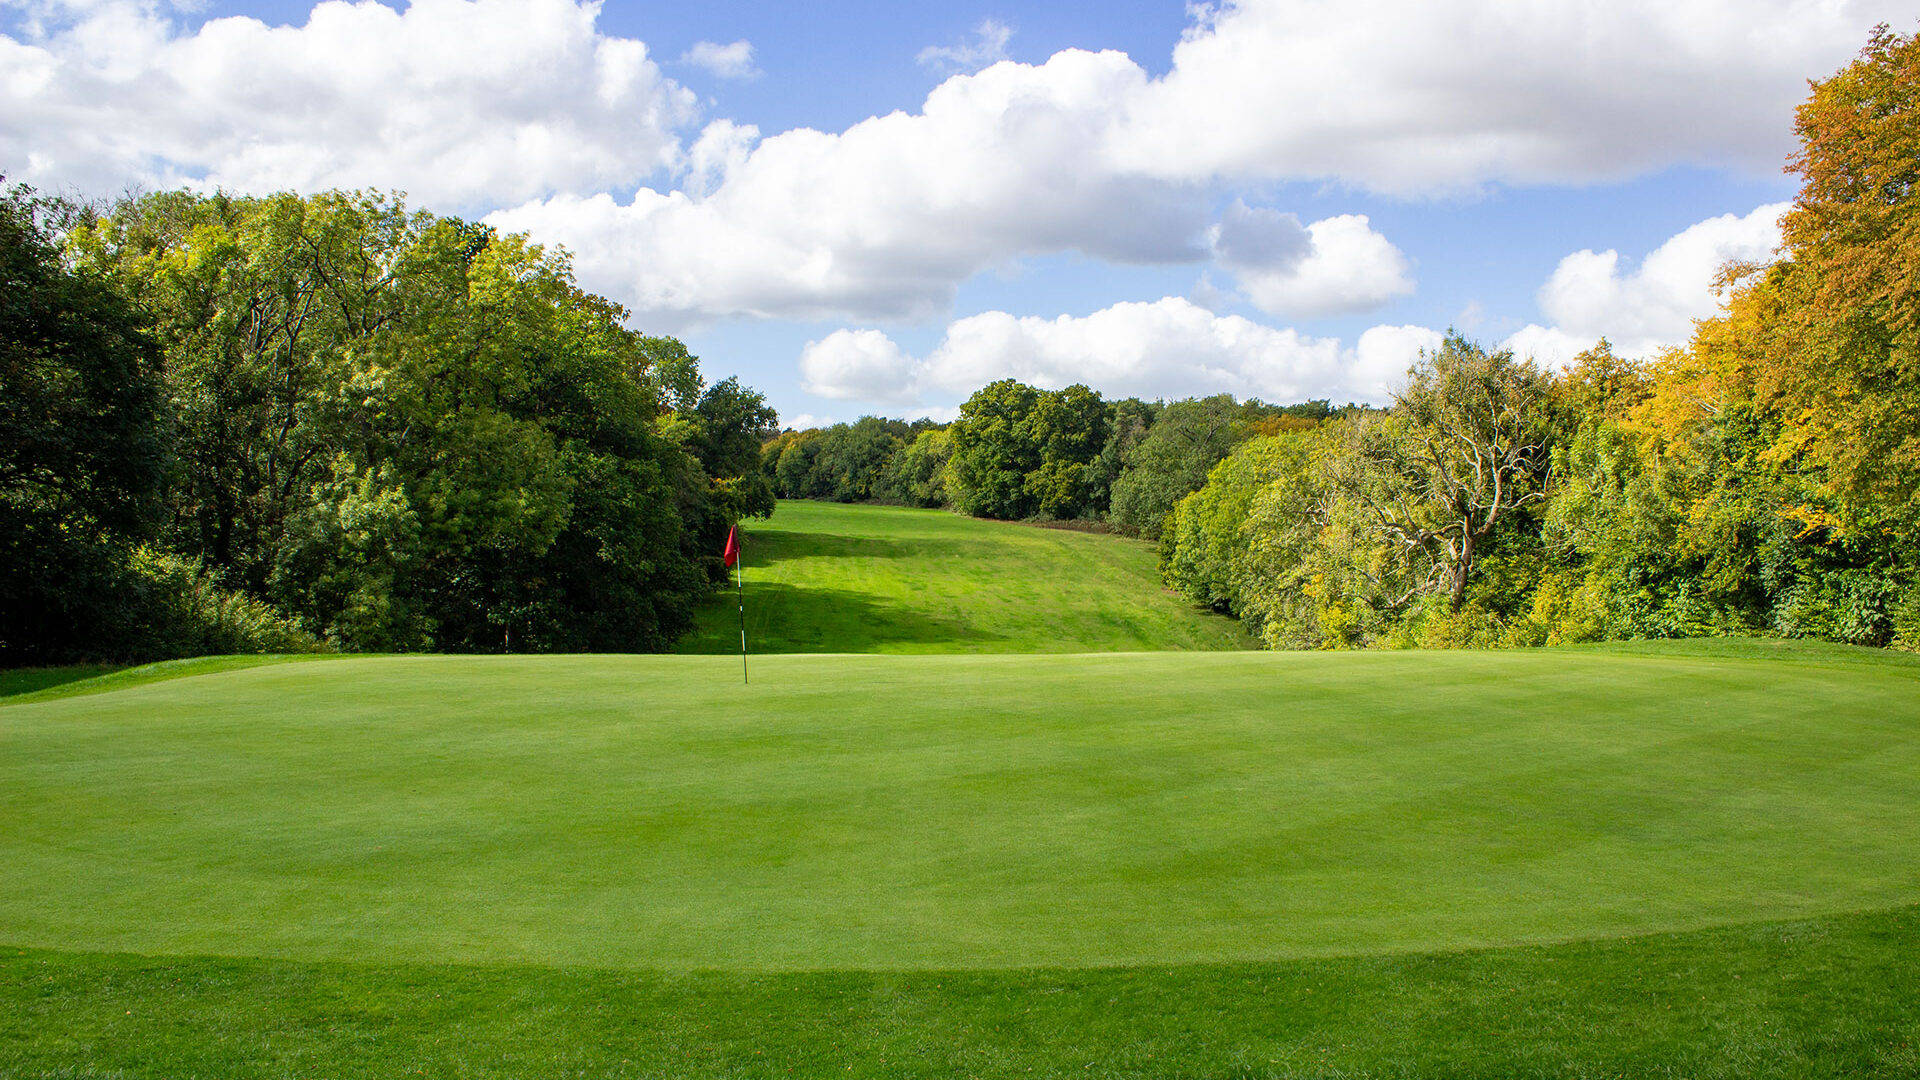
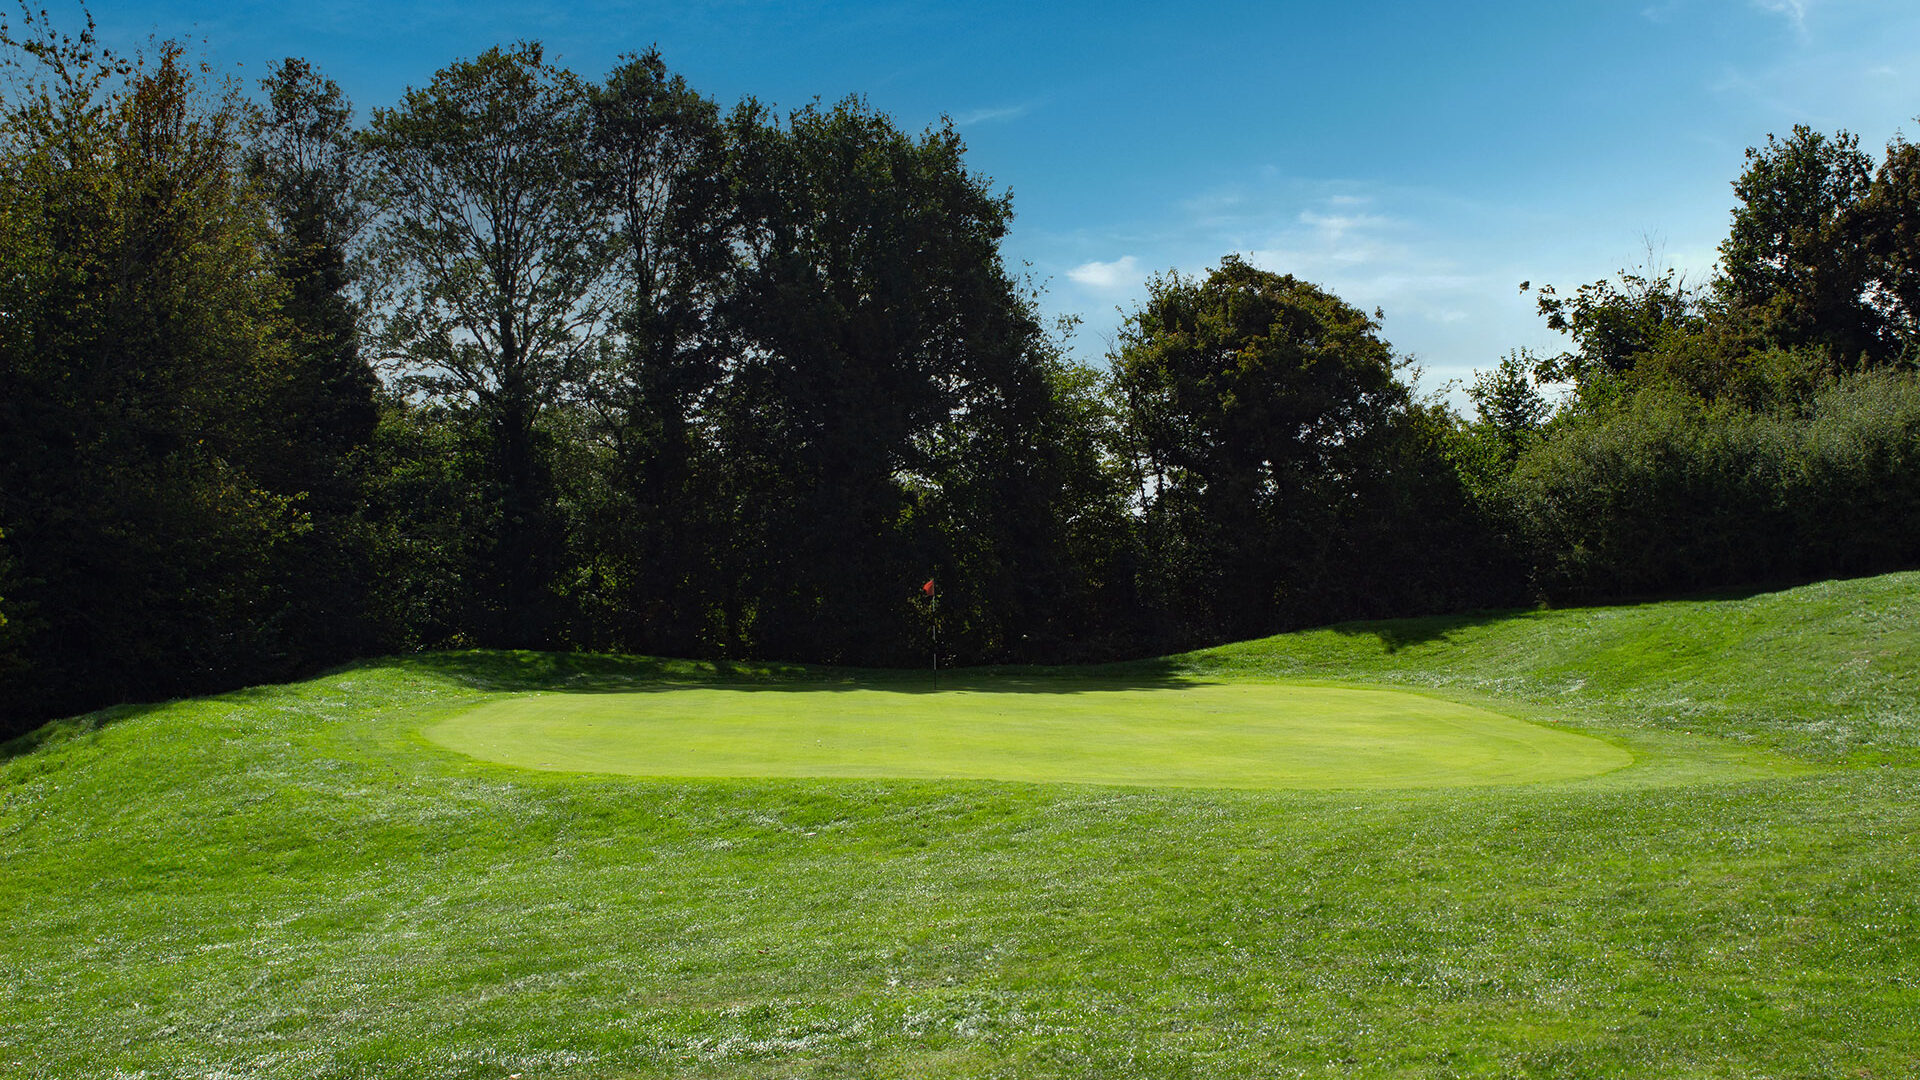
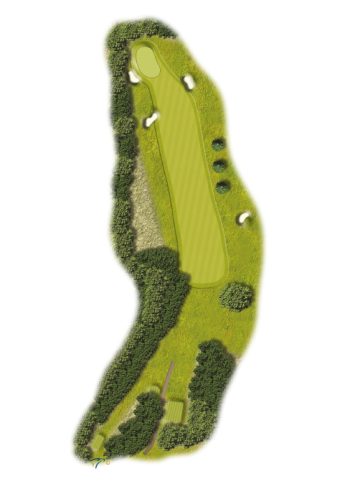
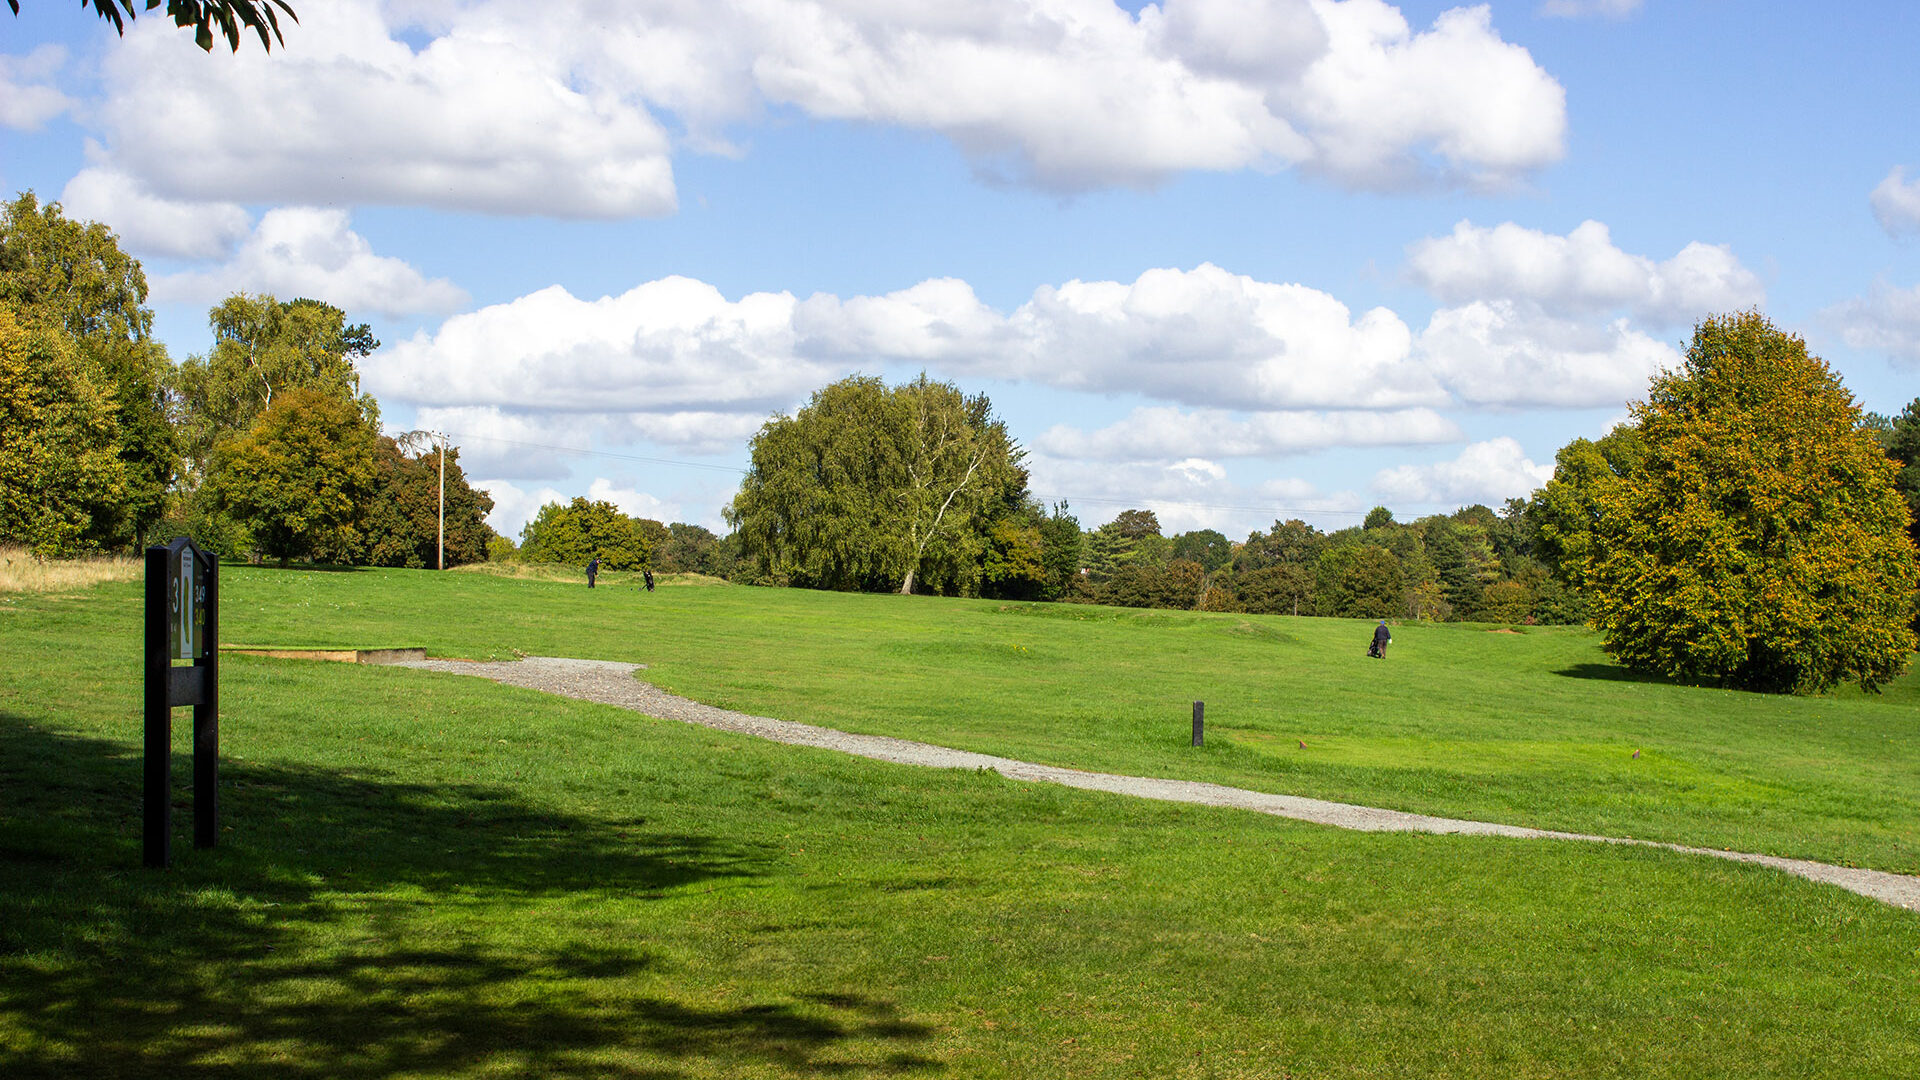
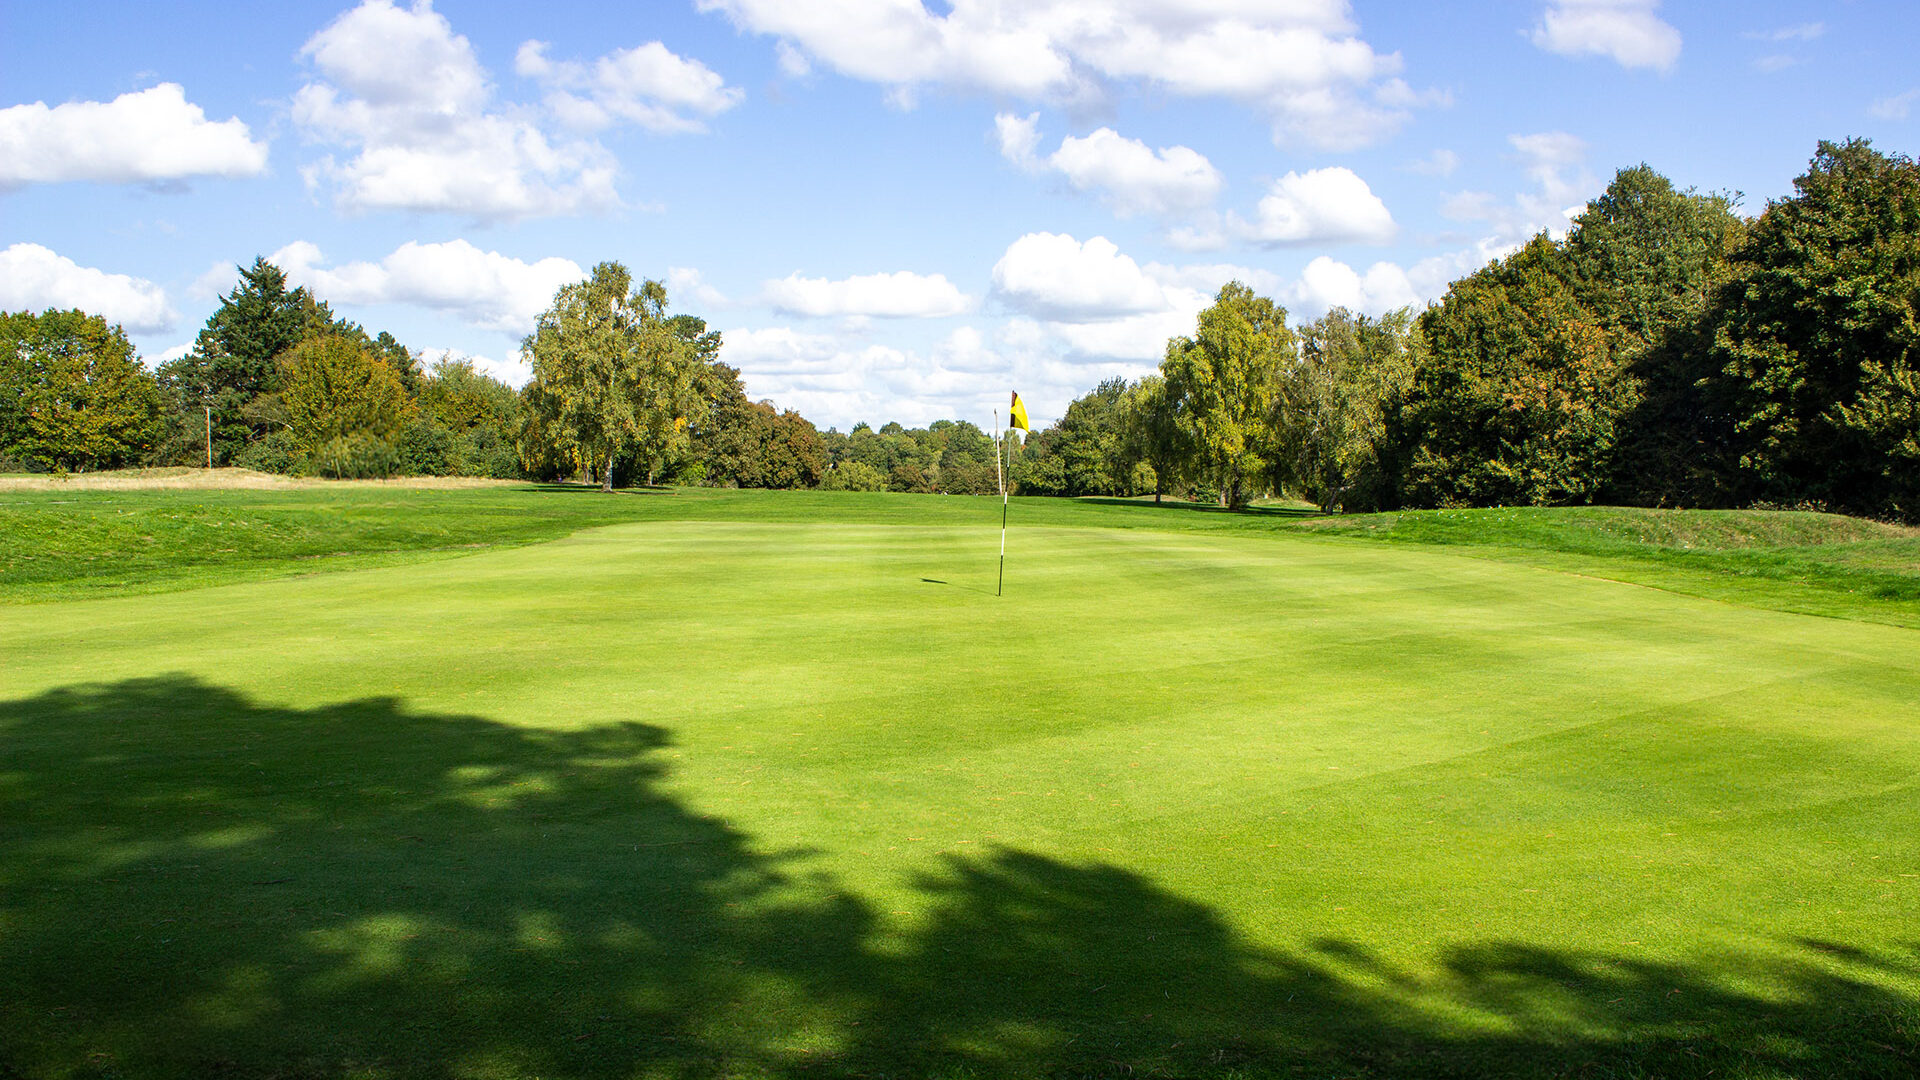
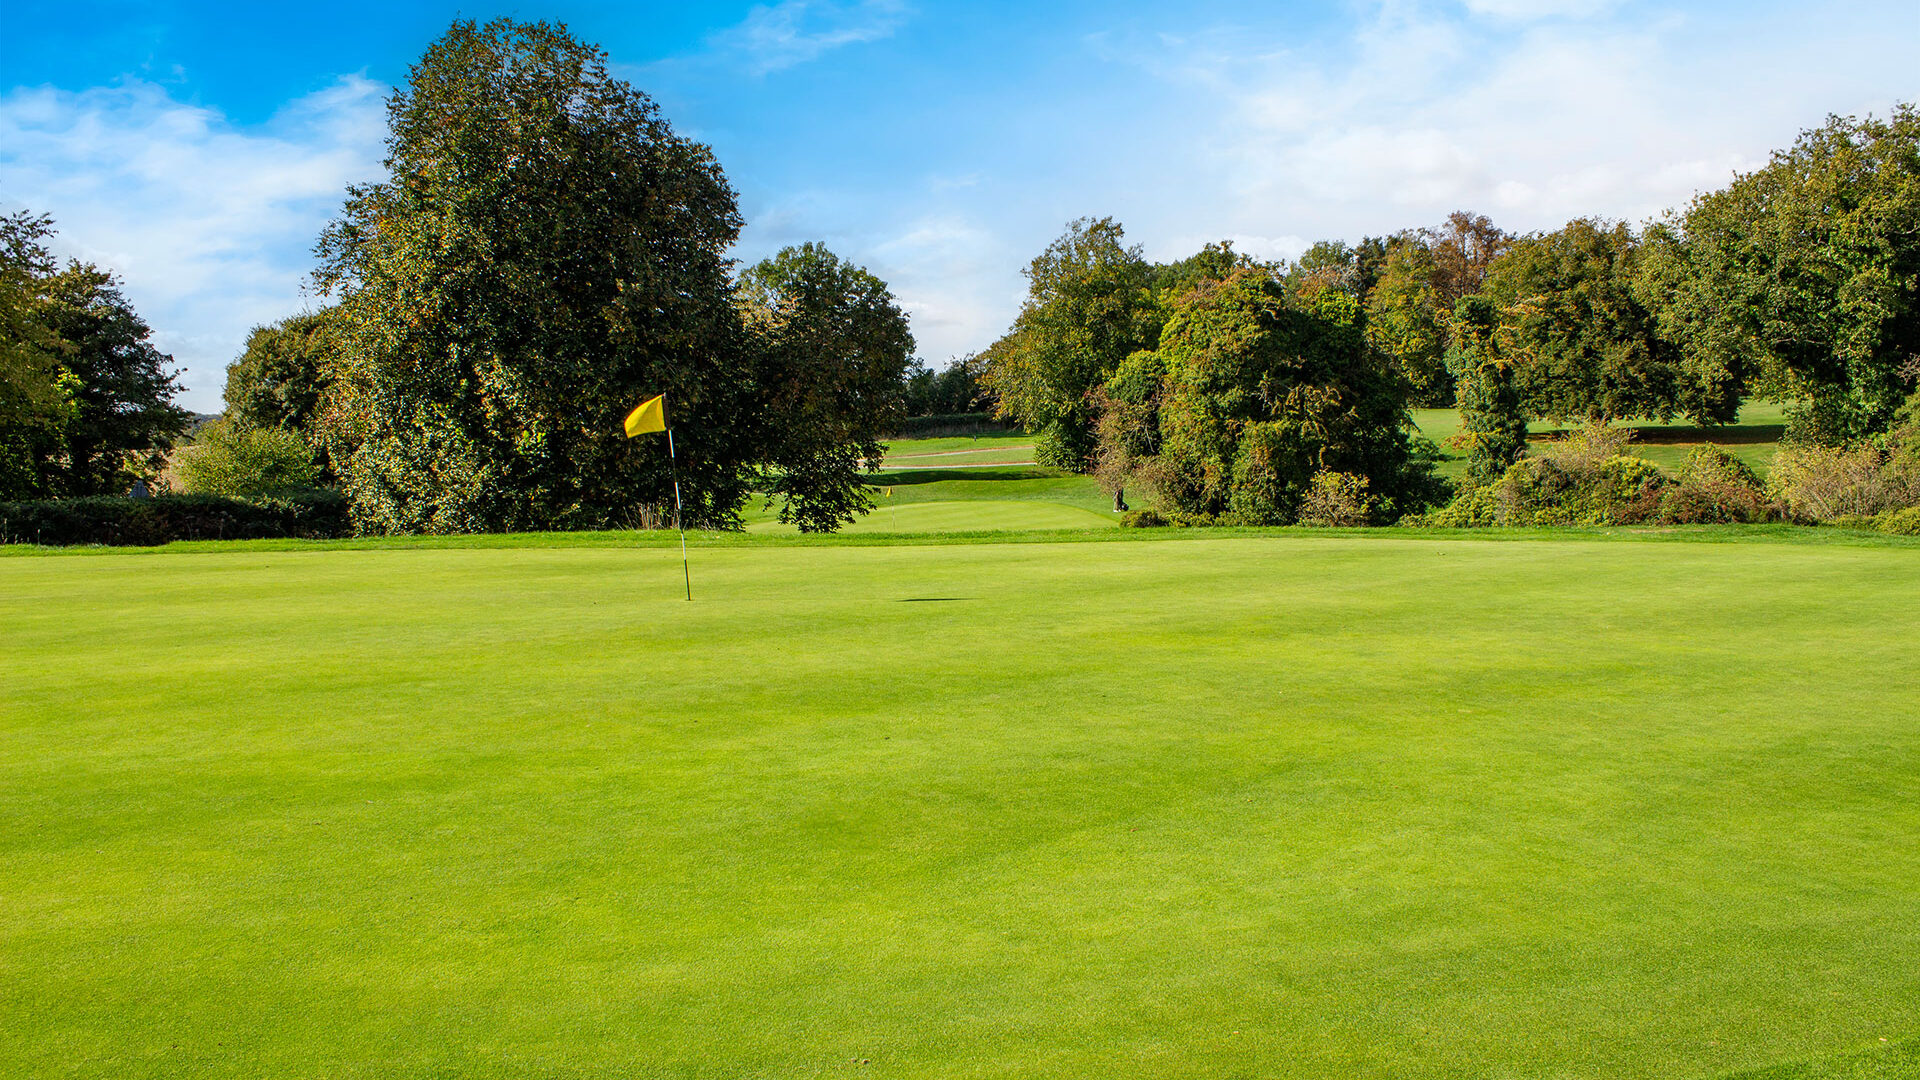
HOLE THREE
PAR 3, YARDS 137, STROKE INDEX 18
3 of 18
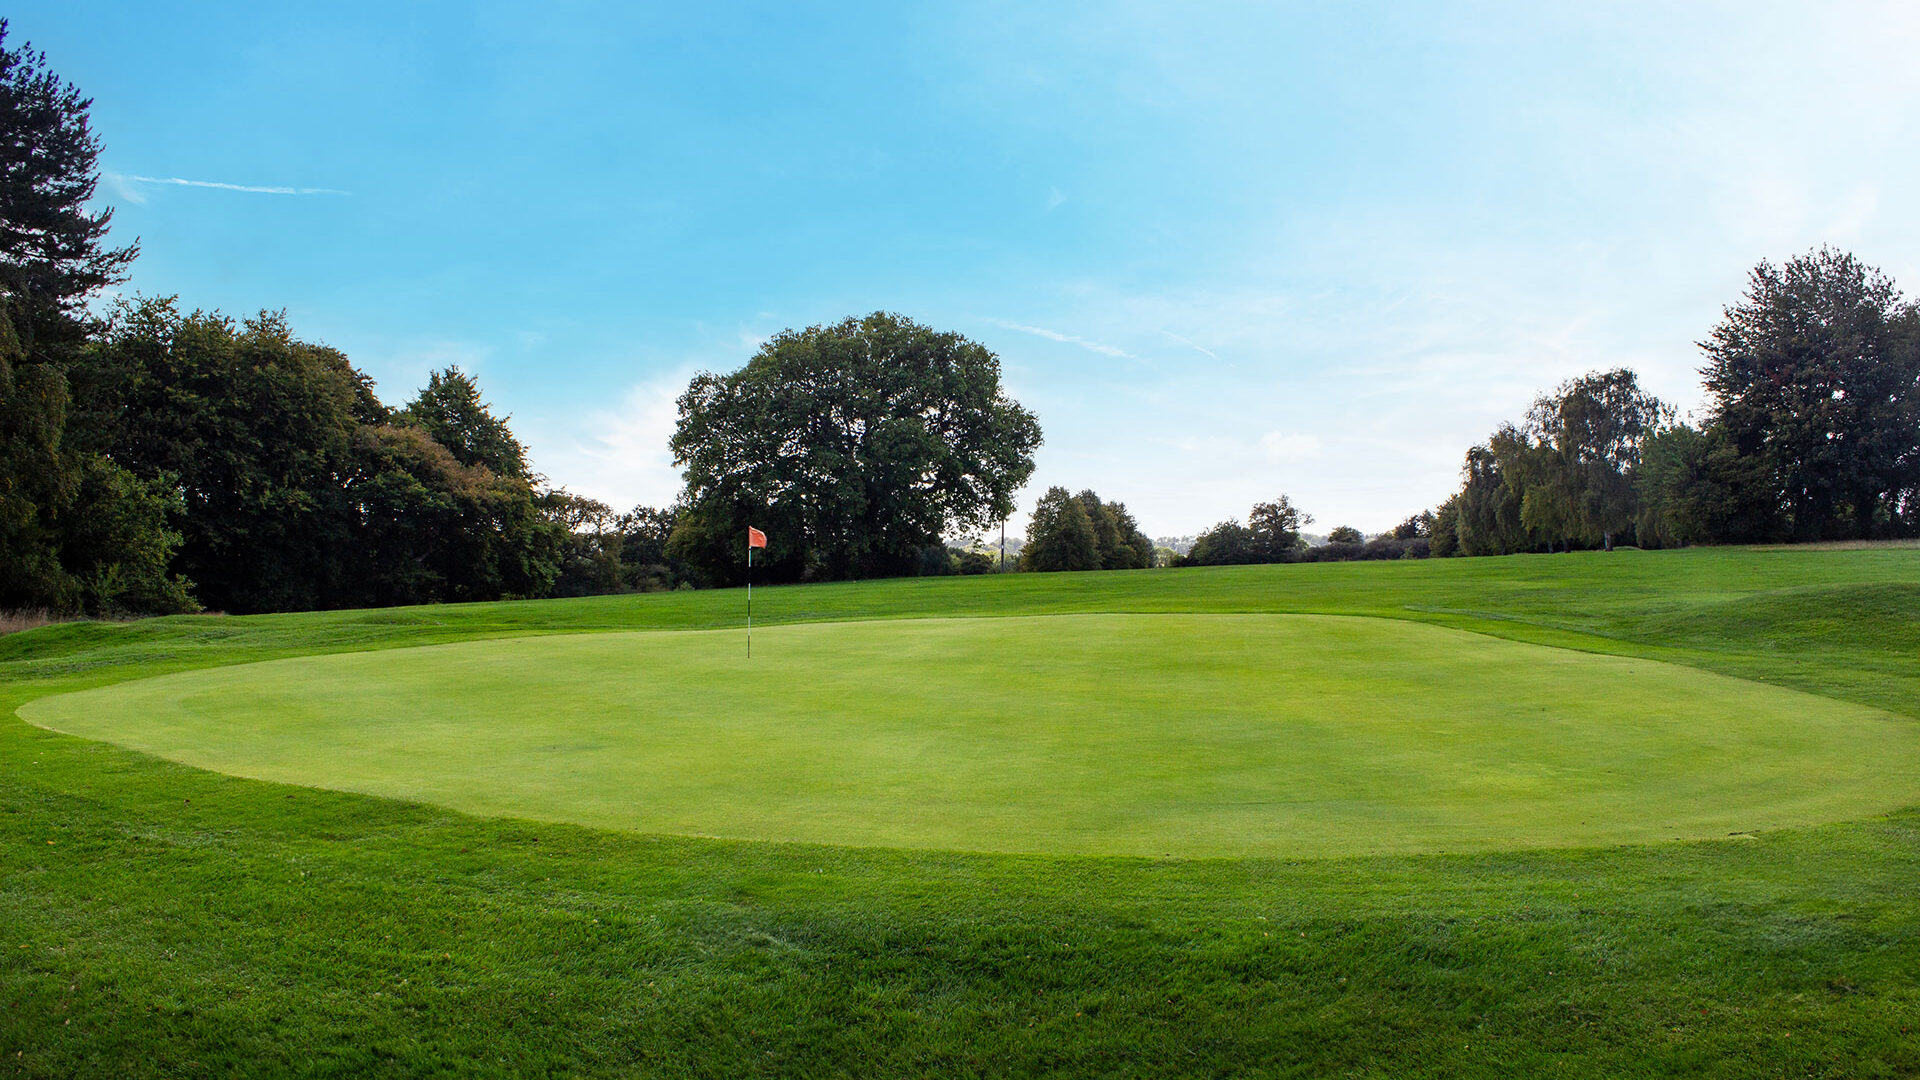
HOLE THREE
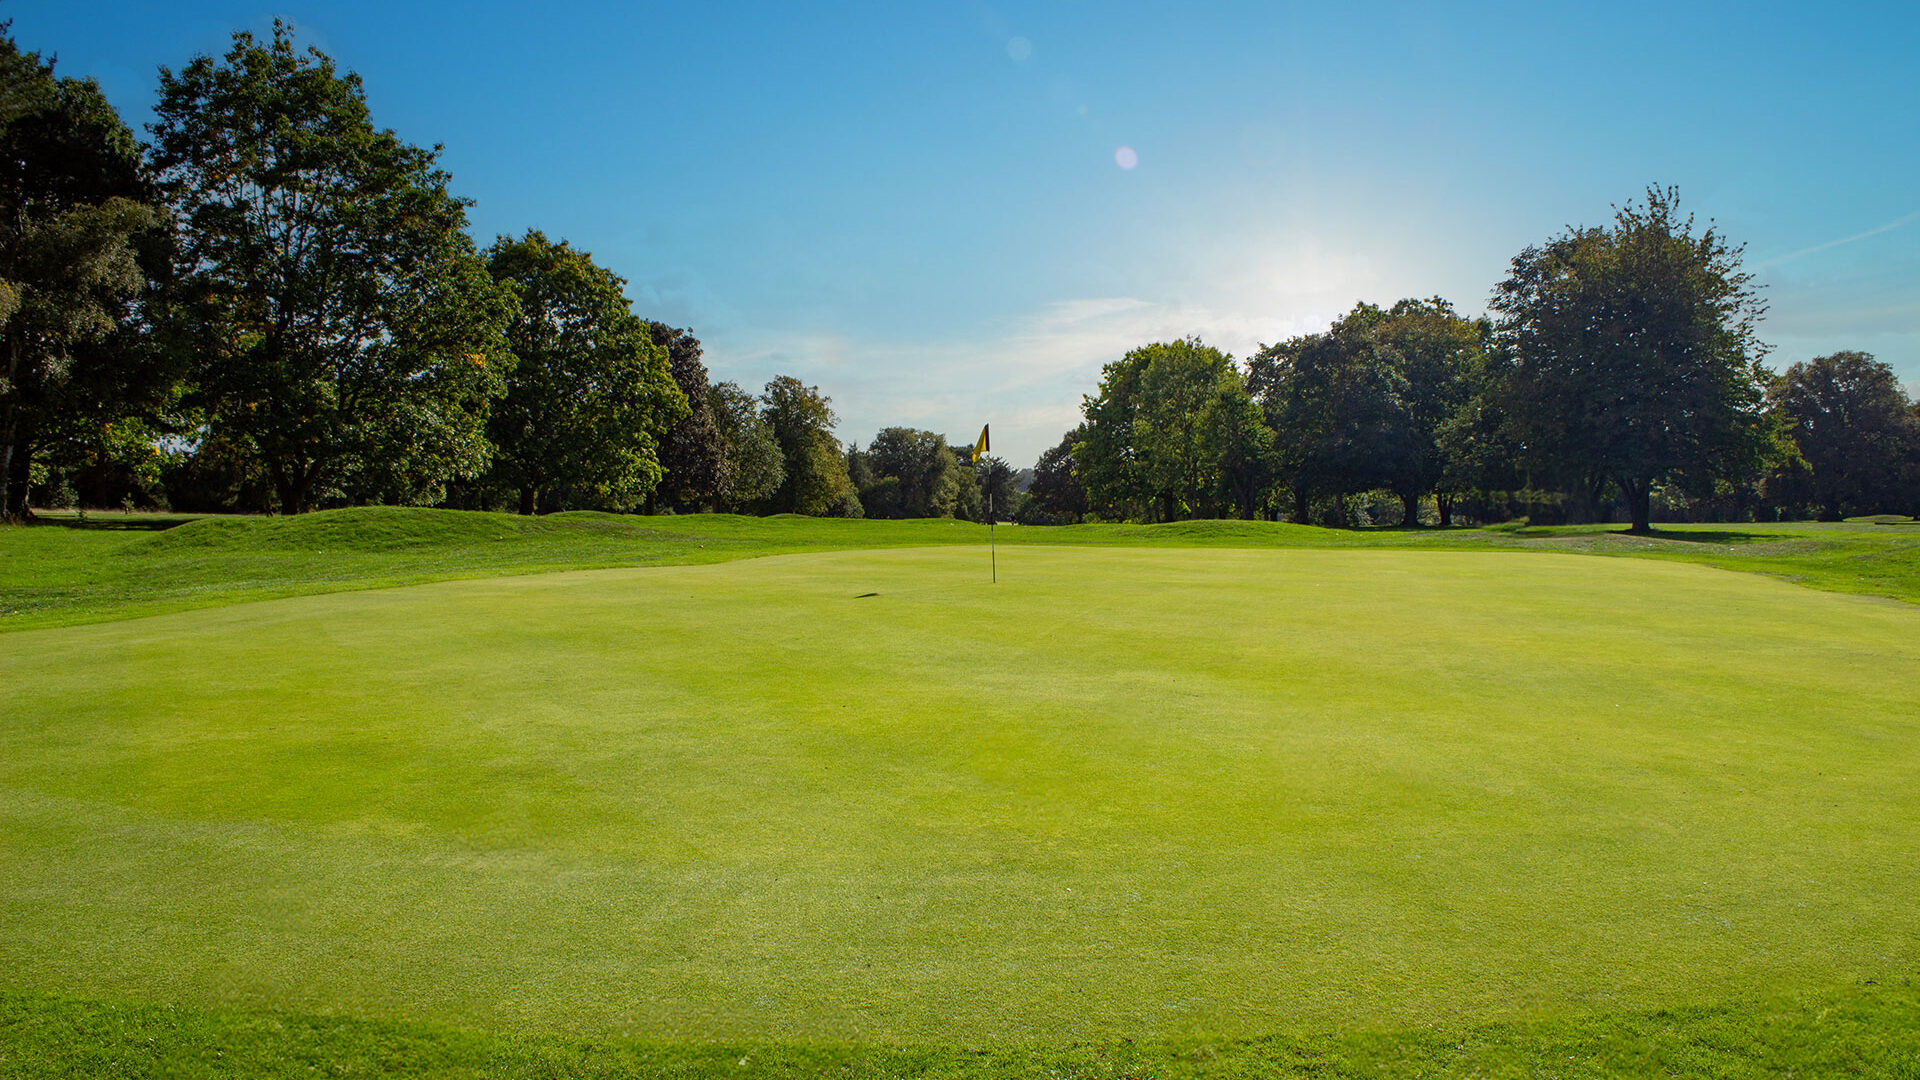
On this short hole, it's better to come up a little short than to land on the green.
| PAR | YARDS | STROKE | |
|---|---|---|---|
| White Tee | 3 | 137 | 18 |
| Yellow Tee | 3 | 129 | 18 |
| Red Tee | 3 | 118 | 18 |
PRO TIP
A short par 3 with a backwards sloping green better to slightly over hit than under hit on this one. Hole Sponsored by

4 of 18
| PAR | YARDS | STROKE | |
|---|---|---|---|
| White Tee | 4 | 366 | 6 |
| Yellow Tee | 4 | 344 | 6 |
| Red Tee | 4 | 338 | 6 |
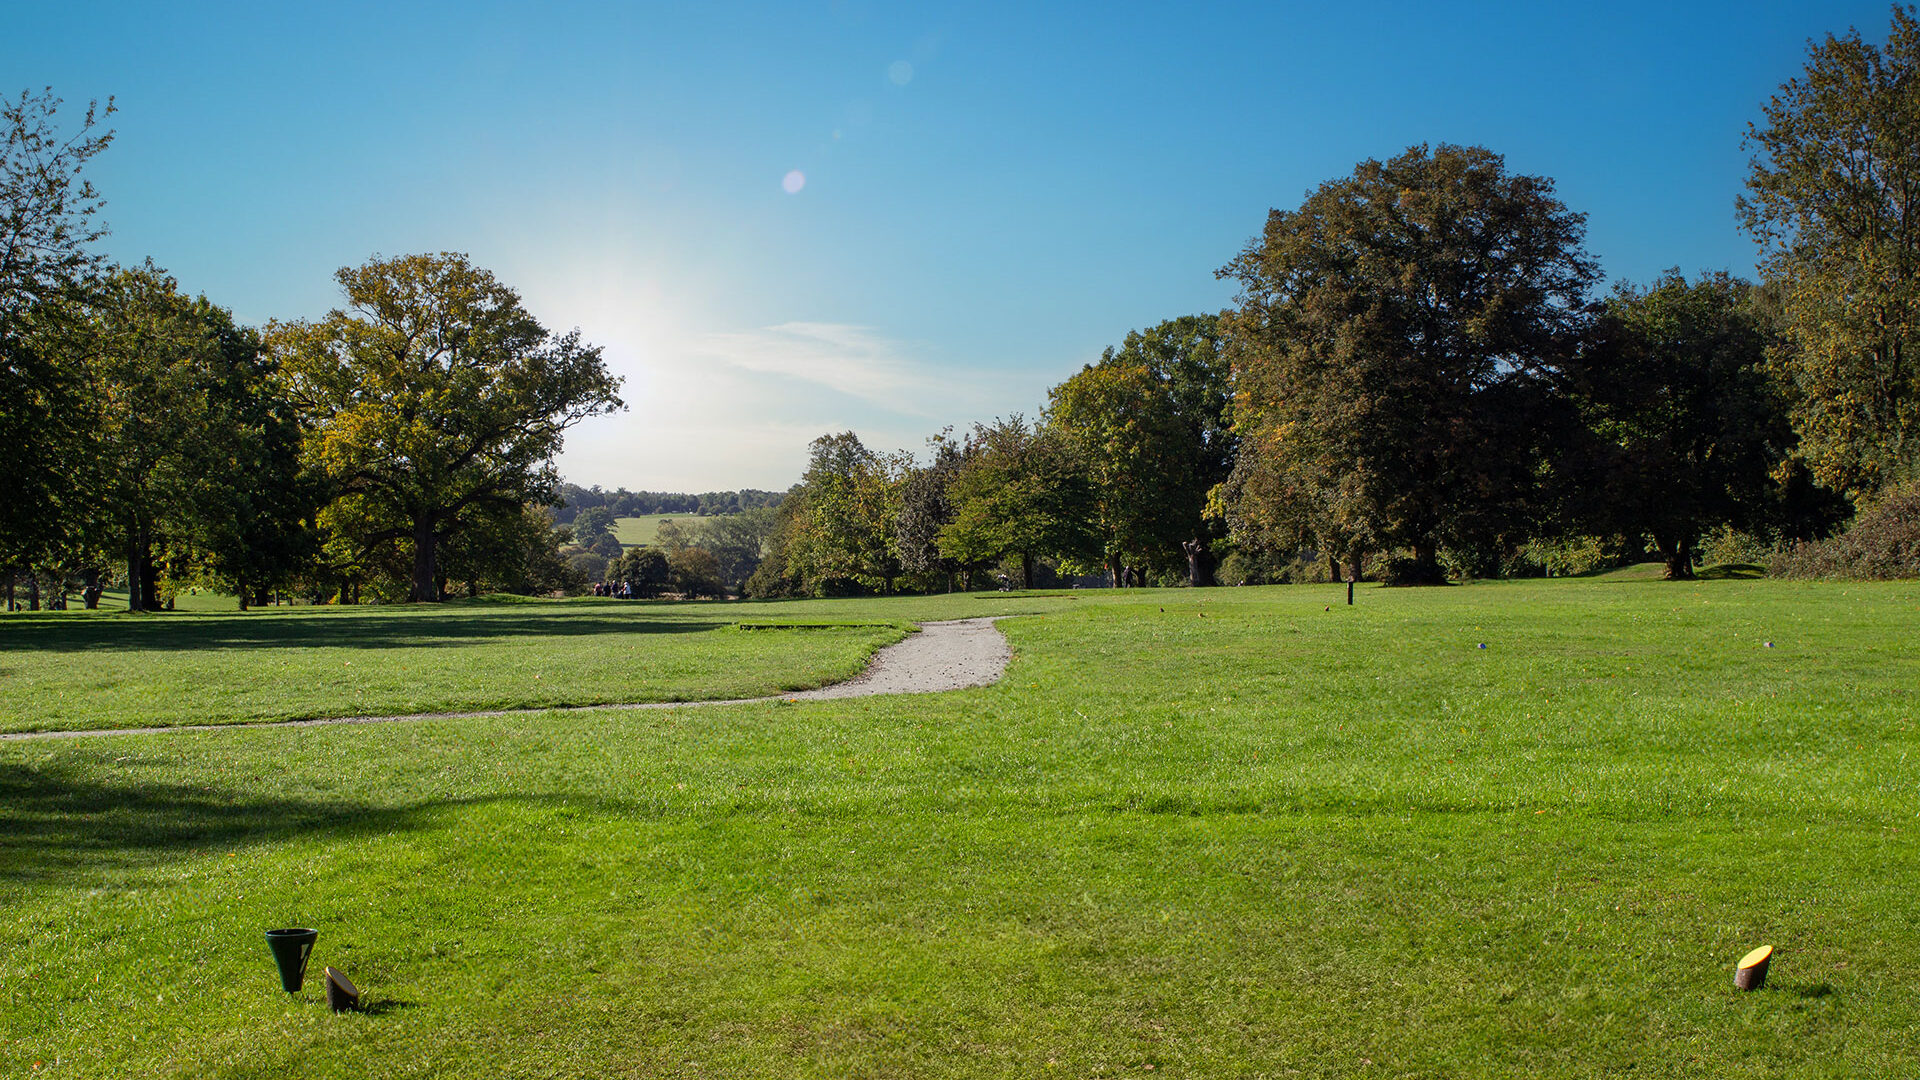
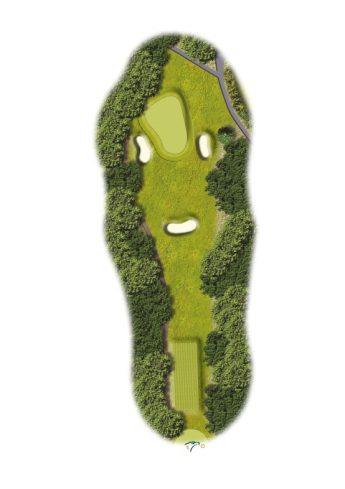
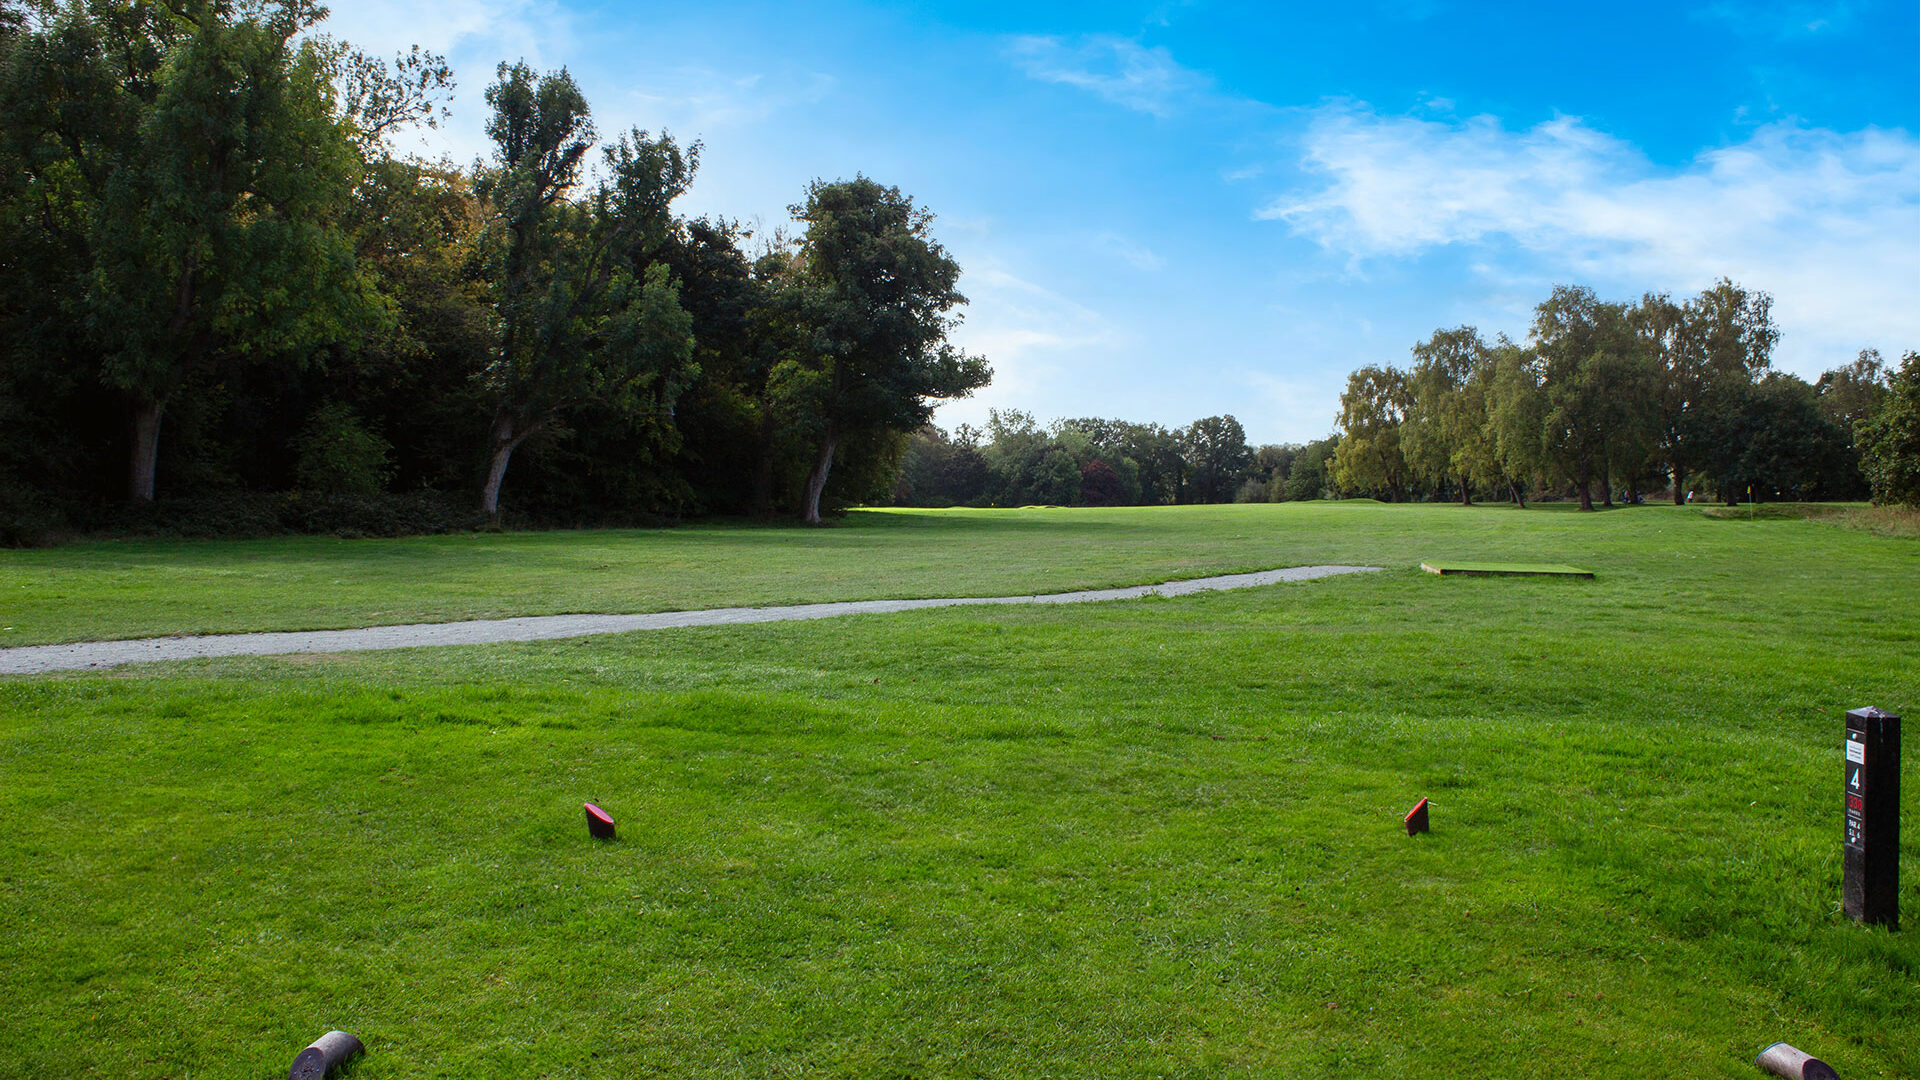
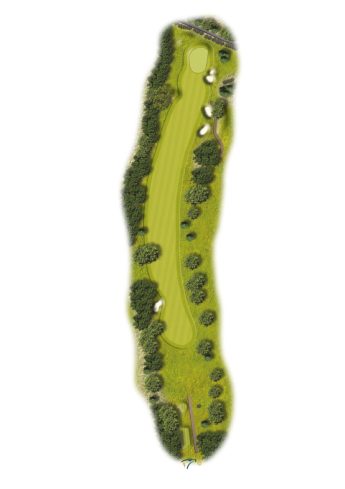
HOLE FOUR
PAR 4, YARDS 366, STROKE INDEX 6
4 of 18
HOLE FOUR
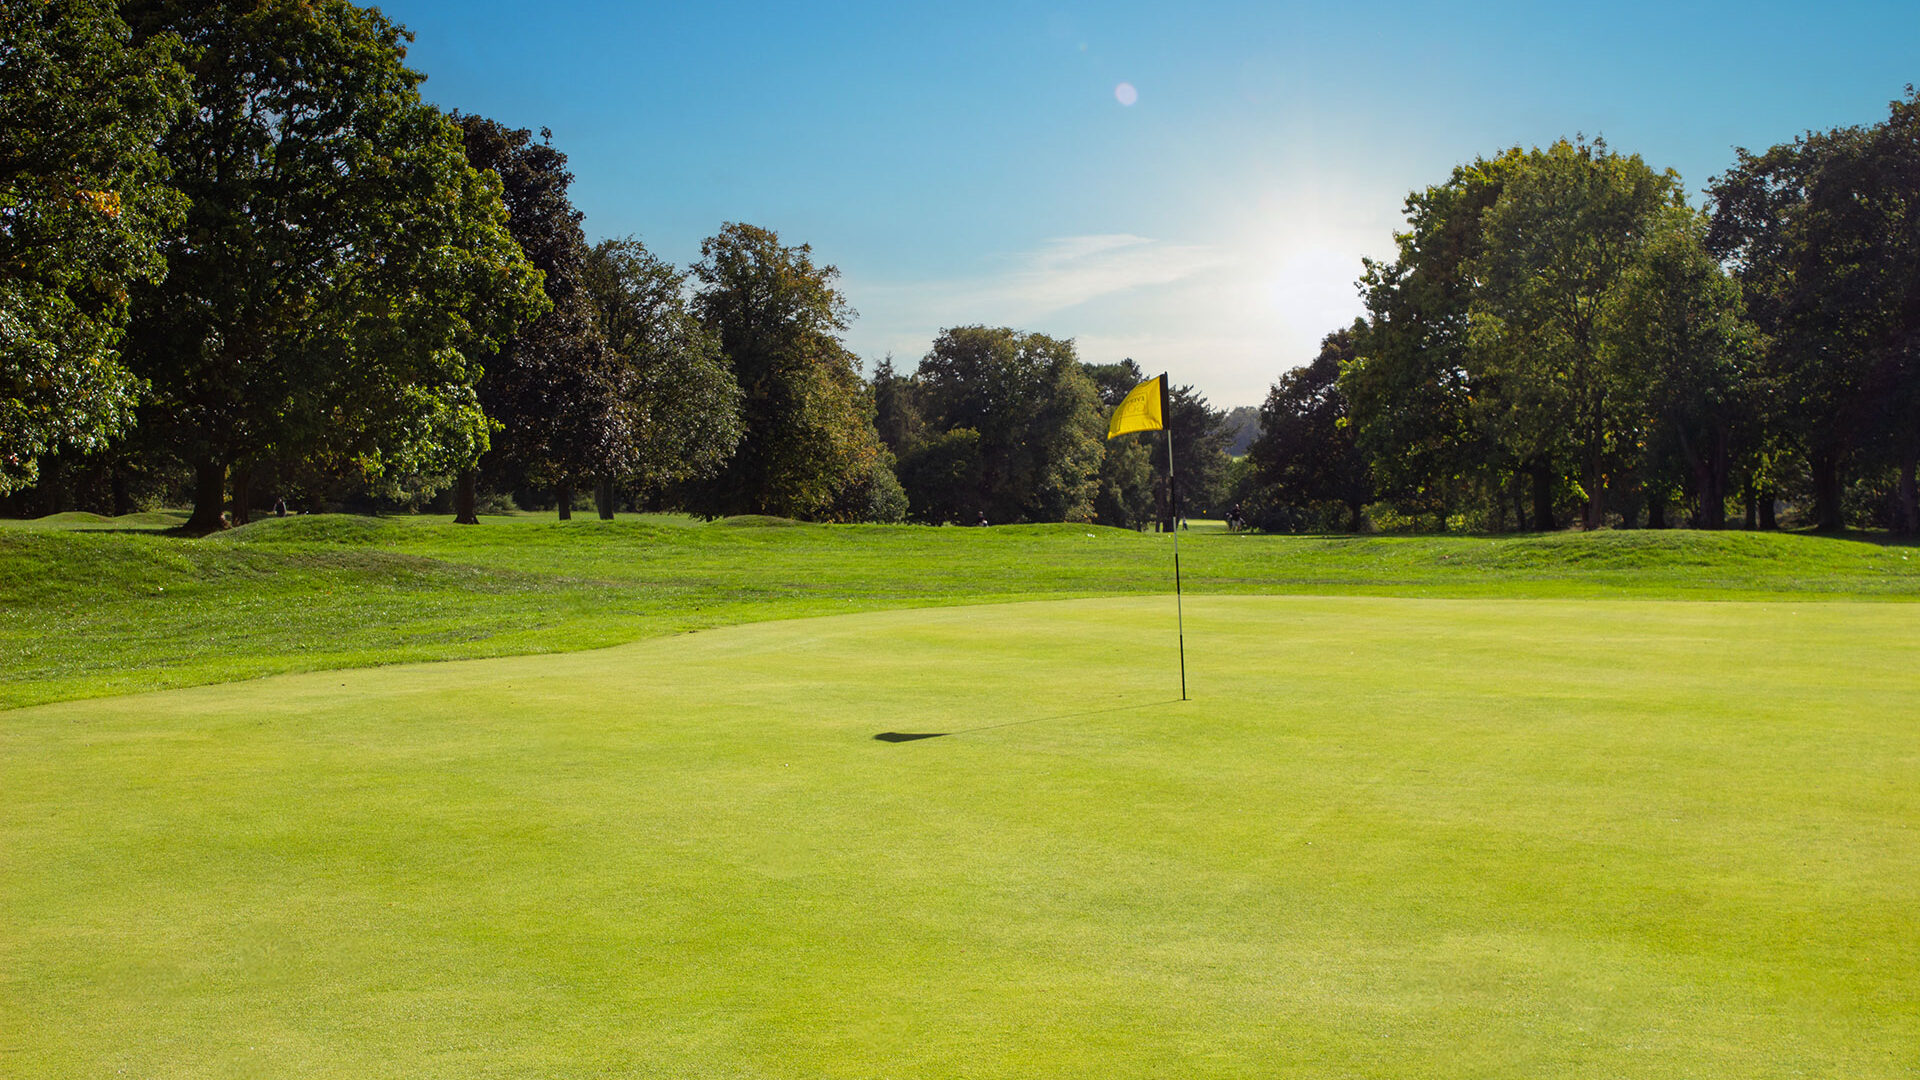
This is a straightforward hole that plays shorter than its distance due to the slope at the front of the green.
| PAR | YARDS | STROKE | |
|---|---|---|---|
| White Tee | 4 | 366 | 6 |
| Yellow Tee | 4 | 344 | 6 |
| Red Tee | 4 | 338 | 6 |
PRO TIP
A dog leg left, use the point of the trees to the left as a guide. Hole Sponsored by

5 of 18
| PAR | YARDS | STROKE | |
|---|---|---|---|
| White Tee | 4 | 420 | 4 |
| Yellow Tee | 4 | 411 | 4 |
| Red Tee | 4 | 365 | 2 |
HOLE FIVE
PAR 4, YARDS 420, STROKE INDEX 4
5 of 18
HOLE FIVE
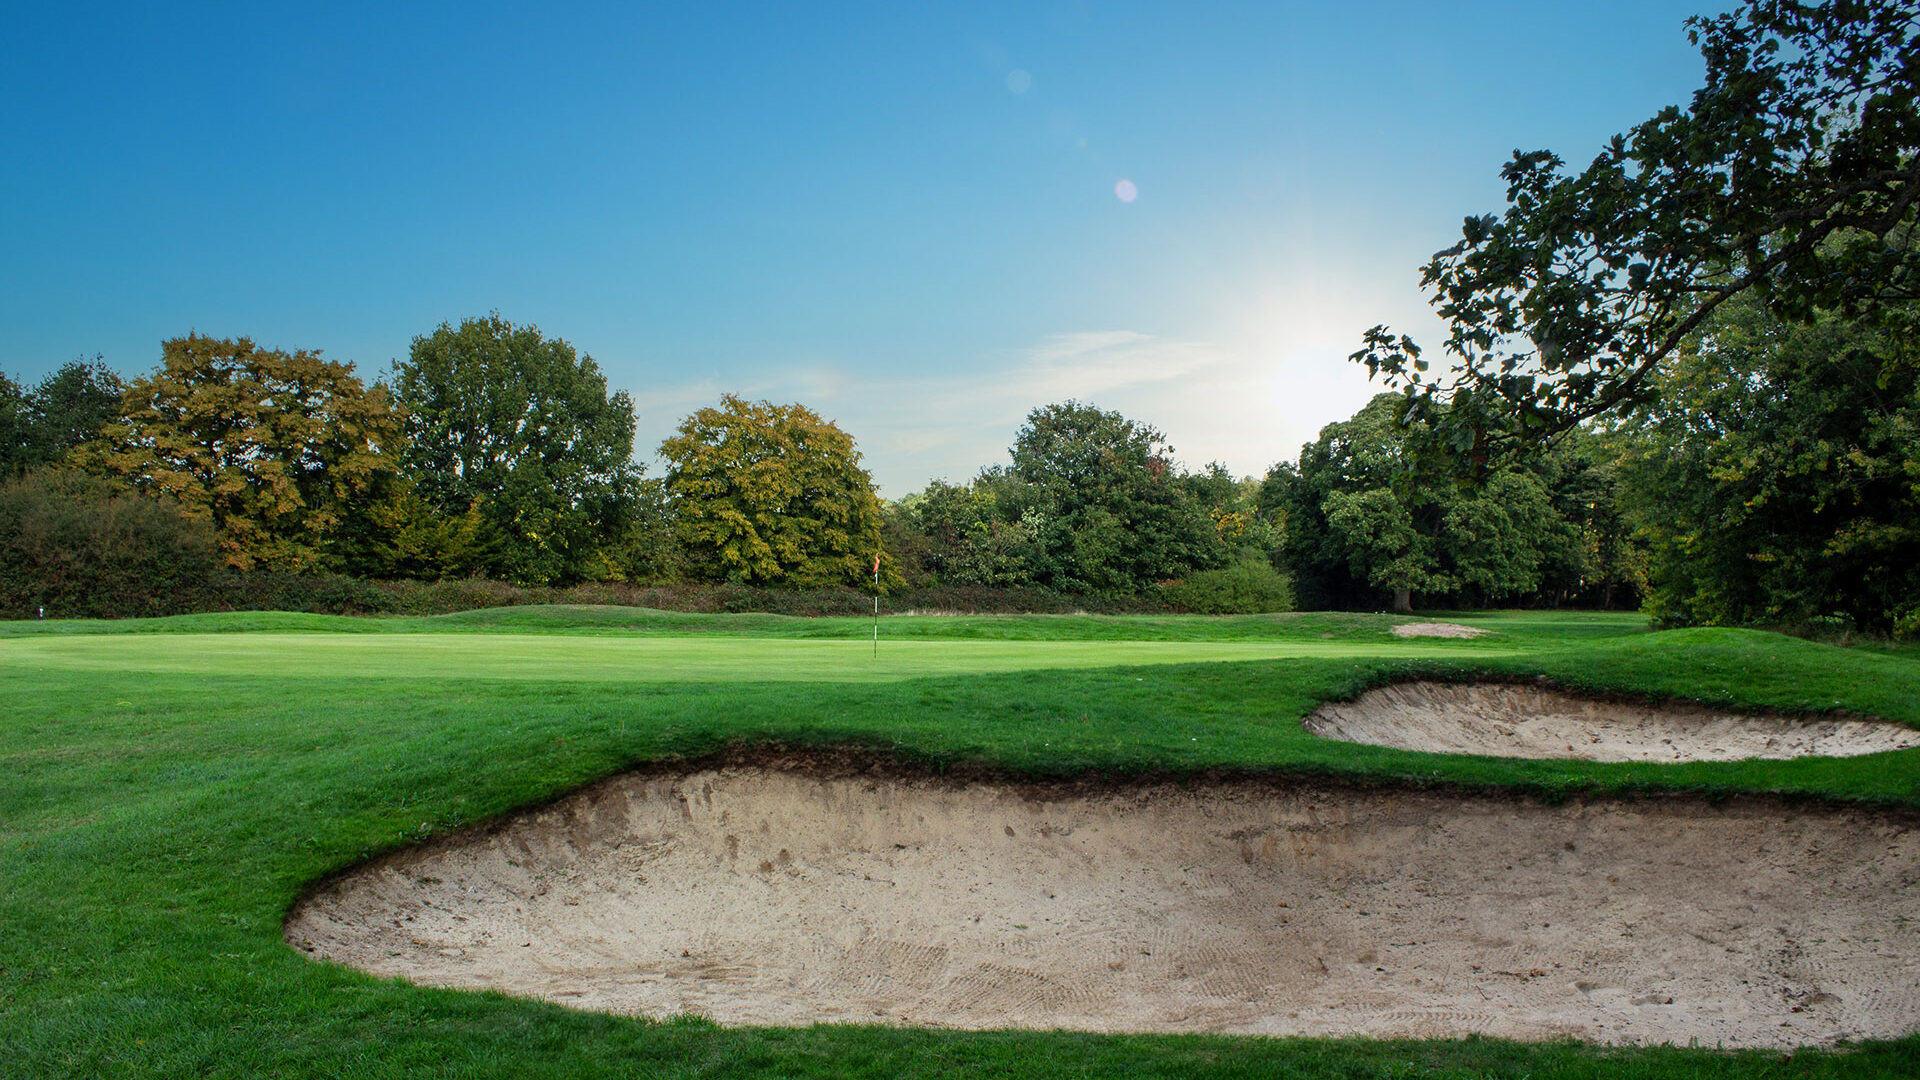
This is a tough uphill hole. Beware of the bunkers on the right hand side of the fairway.
| PAR | YARDS | STROKE | |
|---|---|---|---|
| White Tee | 4 | 420 | 4 |
| Yellow Tee | 4 | 411 | 4 |
| Red Tee | 4 | 365 | 2 |
PRO TIP
Increase the power on the drive to make the approach shot easier. Hole Sponsored by

6 of 18
| PAR | YARDS | STROKE | |
|---|---|---|---|
| White Tee | 3 | 208 | 12 |
| Yellow Tee | 3 | 188 | 12 |
| Red Tee | 3 | 170 | 14 |
HOLE SIX
PAR 3, YARDS 208, STROKE INDEX 12
6 of 18
HOLE SIX
Here, you'll find out of bounds on both sides of the fairway, as well as a bunker located 120 yards up the fairway.
| PAR | YARDS | STROKE | |
|---|---|---|---|
| White Tee | 3 | 208 | 12 |
| Yellow Tee | 3 | 188 | 12 |
| Red Tee | 3 | 170 | 14 |
PRO TIP
A challenging par 3, with a nice apron before the green means you don’t have to worry about over hitting. Hole Sponsored by

7 of 18
| PAR | YARDS | STROKE | |
|---|---|---|---|
| White Tee | 4 | 459 | 2 |
| Yellow Tee | 4 | 415 | 10 |
| Red Tee | 5 | 393 | 10 |
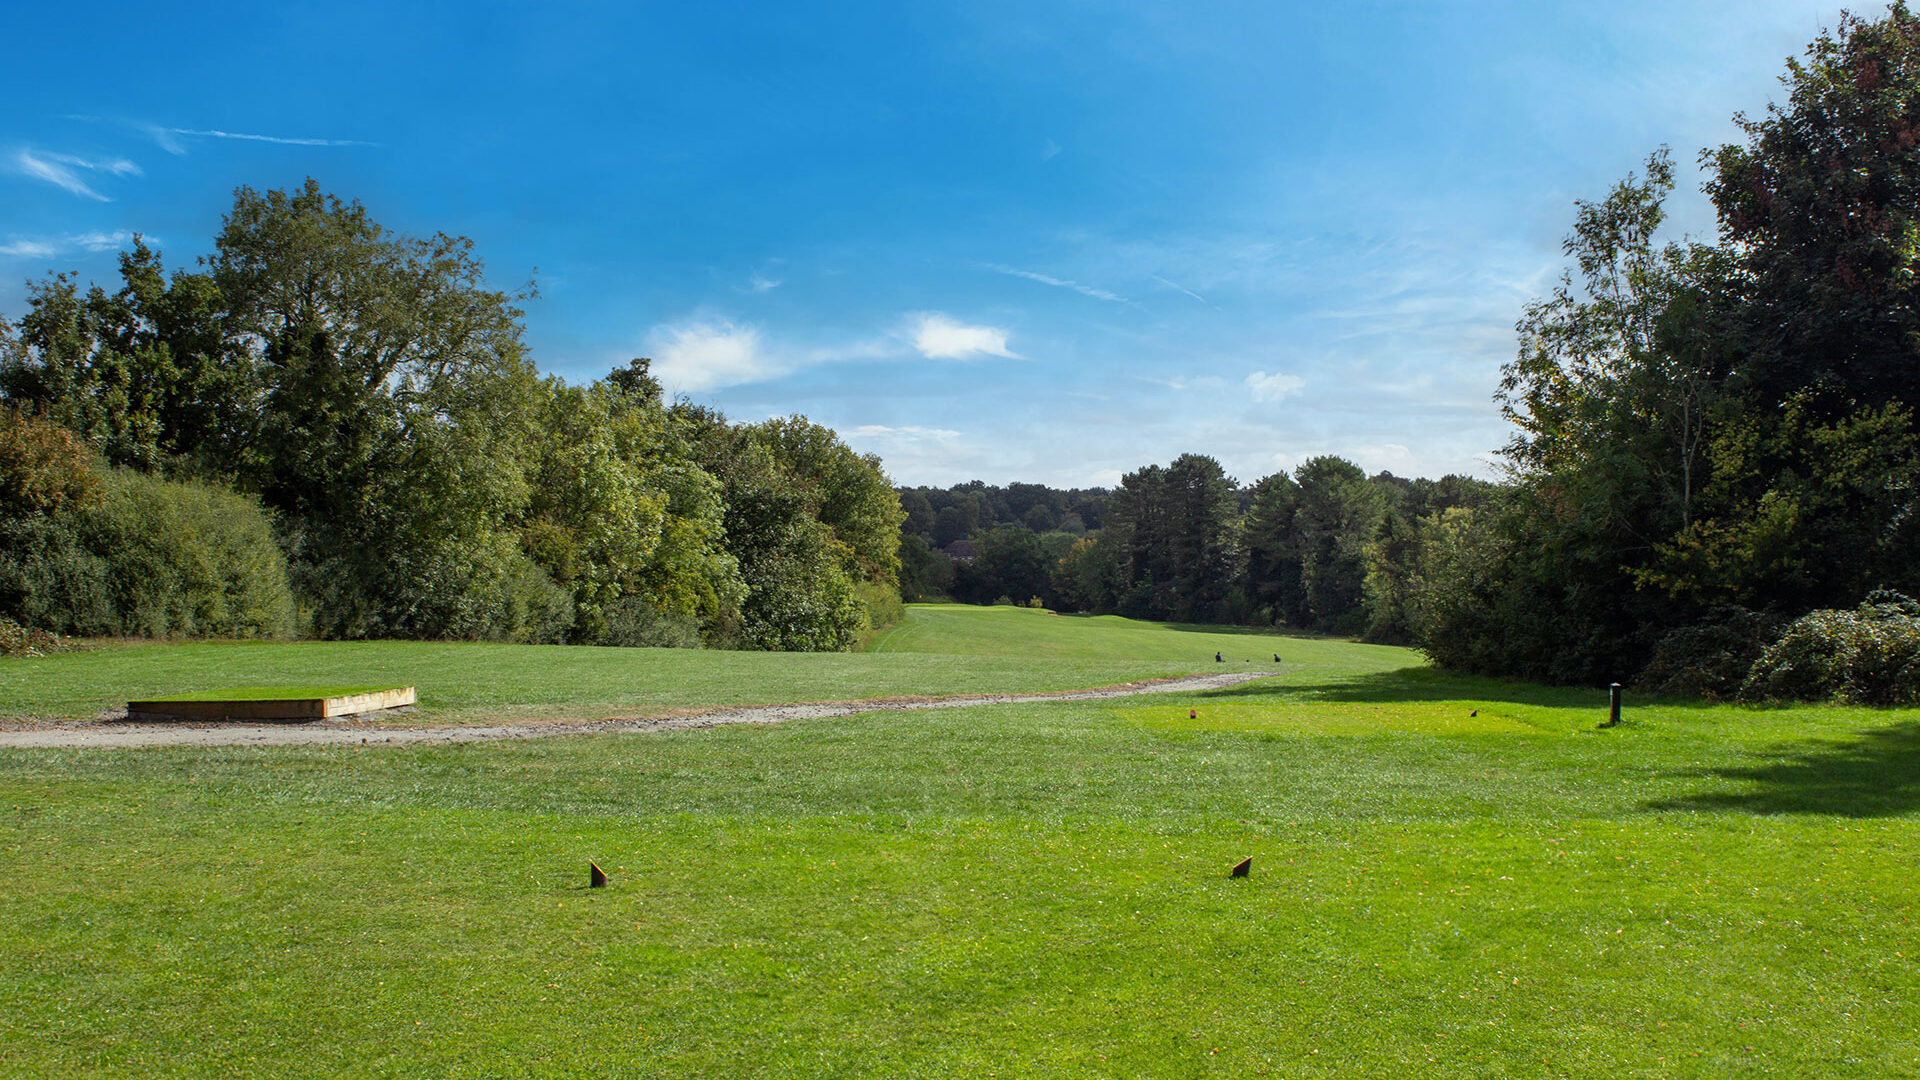
HOLE SEVEN
PAR 4, YARDS 459, STROKE INDEX 2
7 of 18
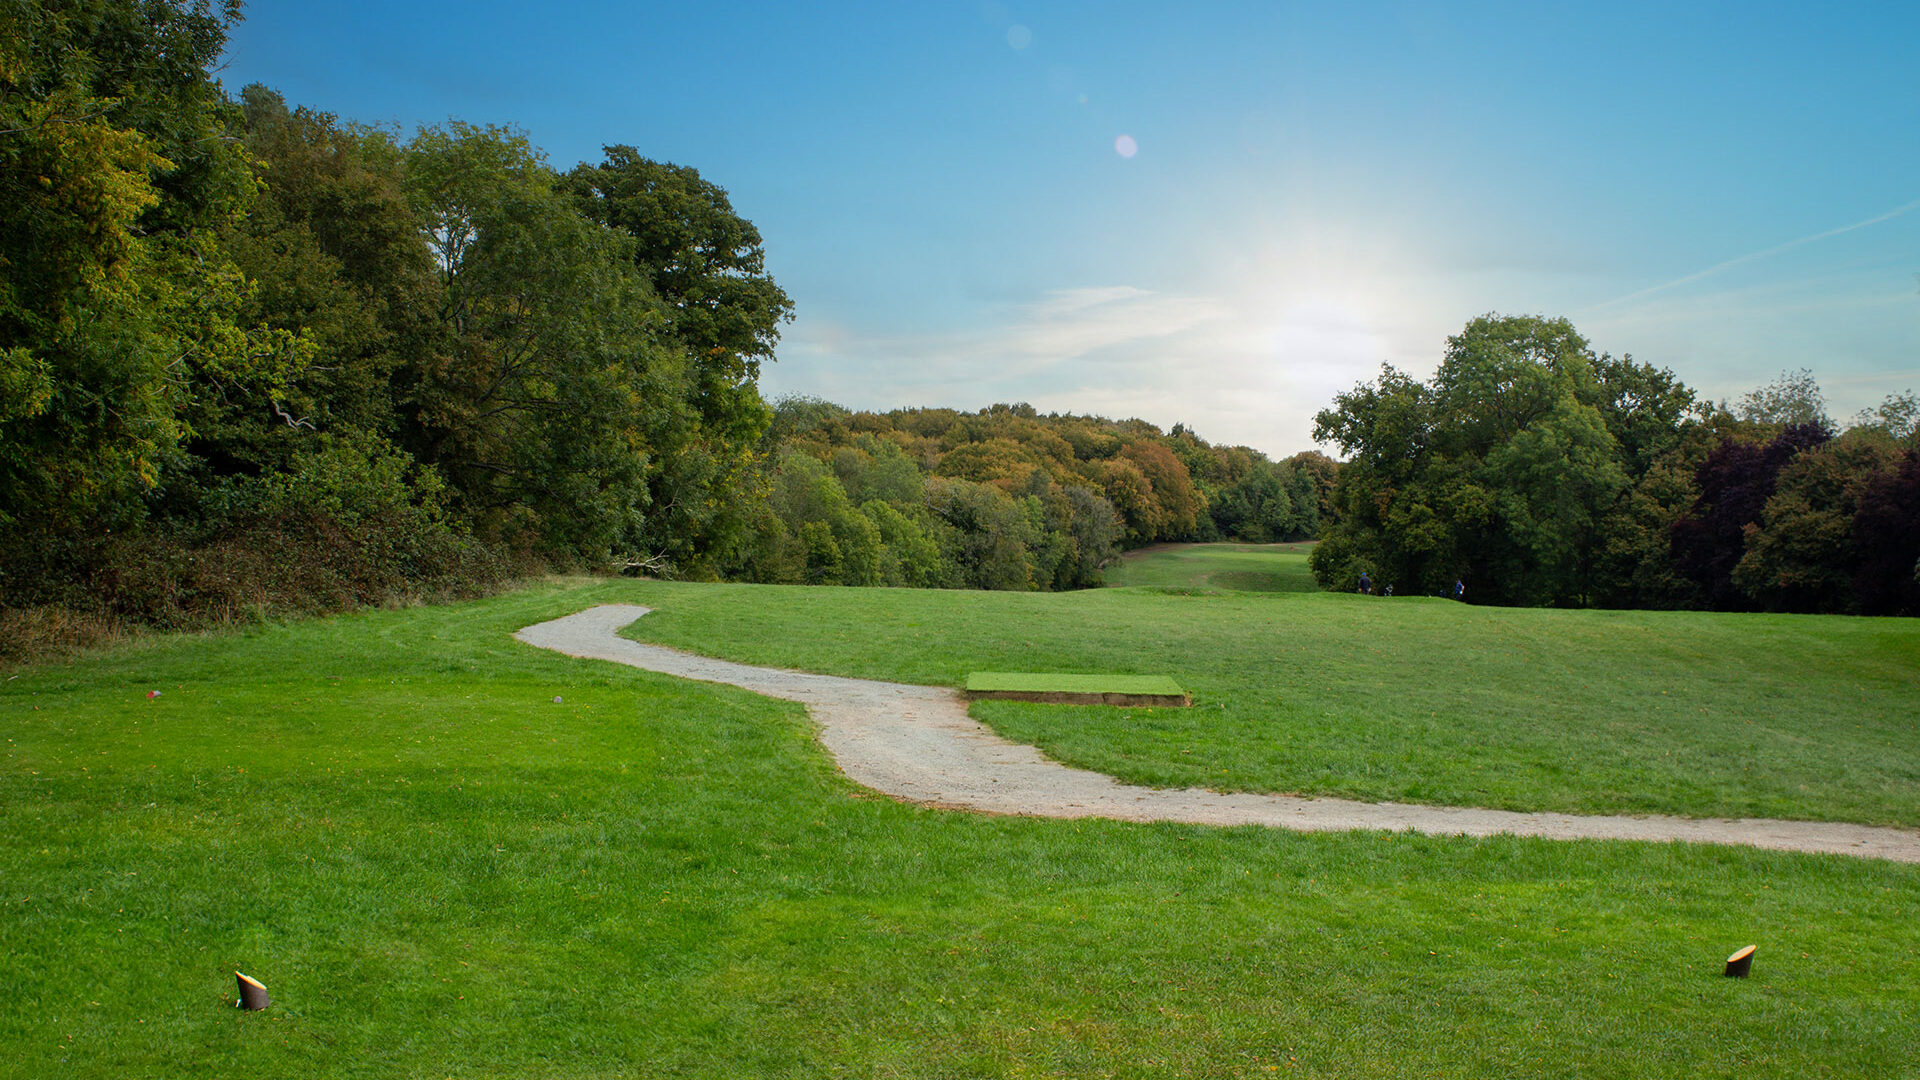
HOLE SEVEN
You need to take a little more care on this hole. It's not shown on card, but you should play a straight shot from the tee, then there is a big fall away/dip on the fareway with a bunker on the left-hand side. Then it's straight up on to the green.
| PAR | YARDS | STROKE | |
|---|---|---|---|
| White Tee | 4 | 459 | 2 |
| Yellow Tee | 4 | 415 | 10 |
| Red Tee | 5 | 393 | 10 |
PRO TIP
The longest Par 4 on the course but with a vast downhill slope means the ball will carry - keep it simple.
8 of 18
| PAR | YARDS | STROKE | |
|---|---|---|---|
| White Tee | 4 | 367 | 10 |
| Yellow Tee | 4 | 356 | 4 |
| Red Tee | 4 | 330 | 10 |
HOLE EIGHT
PAR 4, YARDS 367, STROKE INDEX 10
8 of 18
HOLE EIGHT
Be aware playing off the white tees as there is a restricted view of the Bridle path that runs straight across the fairway.
| PAR | YARDS | STROKE | |
|---|---|---|---|
| White Tee | 4 | 367 | 10 |
| Yellow Tee | 4 | 356 | 4 |
| Red Tee | 4 | 330 | 10 |
PRO TIP
Vast left to right sloped fairway means staying left is the key to success. Hole Sponsored by

9 of 18
| PAR | YARDS | STROKE | |
|---|---|---|---|
| White Tee | 4 | 442 | 1 |
| Yellow Tee | 4 | 432 | 1 |
| Red Tee | 5 | 385 | 11 |
HOLE NINE
PAR 4, YARDS 442, STROKE INDEX 1


9 of 18
HOLE NINE
For this par 5, be careful of the bridle path that runs straight across the fairway.
| PAR | YARDS | STROKE | |
|---|---|---|---|
| White Tee | 4 | 442 | 1 |
| Yellow Tee | 4 | 432 | 1 |
| Red Tee | 5 | 385 | 11 |
PRO TIP
Get over the ridge and stay right. Hole Sponsored by

10 of 18
| PAR | YARDS | STROKE | |
|---|---|---|---|
| White Tee | 3 | 163 | 14 |
| Yellow Tee | 3 | 158 | 14 |
| Red Tee | 3 | 153 | 16 |
HOLE TEN
PAR 3, YARDS 163, STROKE INDEX 14

10 of 18
HOLE TEN
On this uphill hole, you've got to be careful not to leave the shot short.
| PAR | YARDS | STROKE | |
|---|---|---|---|
| White Tee | 3 | 163 | 14 |
| Yellow Tee | 3 | 158 | 14 |
| Red Tee | 3 | 153 | 16 |
PRO TIP
Hit the heart of the green, be careful not to go long as its deep rough.
11 of 18
| PAR | YARDS | STROKE | |
|---|---|---|---|
| White Tee | 4 | 429 | 5 |
| Yellow Tee | 4 | 421 | 5 |
| Red Tee | 4 | 404 | 1 |
HOLE ELEVEN
PAR 4, YARDS 429, STROKE INDEX 5
11 of 18
HOLE ELEVEN
This is a tricky par 4 that slopes sharply from right to left. Try to work along right hand side of the fairway.
| PAR | YARDS | STROKE | |
|---|---|---|---|
| White Tee | 4 | 429 | 5 |
| Yellow Tee | 4 | 421 | 5 |
| Red Tee | 4 | 404 | 1 |
PRO TIP
Fairway slopes right to left here so adjust slightly to the right and let the fairway do the work. Hole Sponsored by

12 of 18
| PAR | YARDS | STROKE | |
|---|---|---|---|
| White Tee | 4 | 396 | 3 |
| Yellow Tee | 4 | 344 | 3 |
| Red Tee | 4 | 325 | 7 |
HOLE TWELVE
PAR 4, YARDS 396, STROKE INDEX 3
12 of 18
HOLE TWELVE
On this par 4, you need to play with caution as there is a tight corridor from the white tees.
| PAR | YARDS | STROKE | |
|---|---|---|---|
| White Tee | 4 | 396 | 3 |
| Yellow Tee | 4 | 344 | 3 |
| Red Tee | 4 | 325 | 7 |
PRO TIP
A sharp slope to the back of the green so be careful not to over hit your second shot. Hole Sponsored by

13 of 18
| PAR | YARDS | STROKE | |
|---|---|---|---|
| White Tee | 4 | 349 | 11 |
| Yellow Tee | 4 | 340 | 11 |
| Red Tee | 4 | 318 | 3 |
HOLE THIRTEEN
PAR 4, YARDS 349, STROKE INDEX 11
13 of 18
HOLE THIRTEEN
Be careful on this par 4 as the ball runs through the green very easily.
| PAR | YARDS | STROKE | |
|---|---|---|---|
| White Tee | 4 | 349 | 11 |
| Yellow Tee | 4 | 340 | 11 |
| Red Tee | 4 | 318 | 3 |
PRO TIP
Get some height in the first shot and over these safely. Hole Sponsored by

14 of 18
| PAR | YARDS | STROKE | |
|---|---|---|---|
| White Tee | 4 | 339 | 13 |
| Yellow Tee | 4 | 334 | 13 |
| Red Tee | 4 | 315 | 13 |
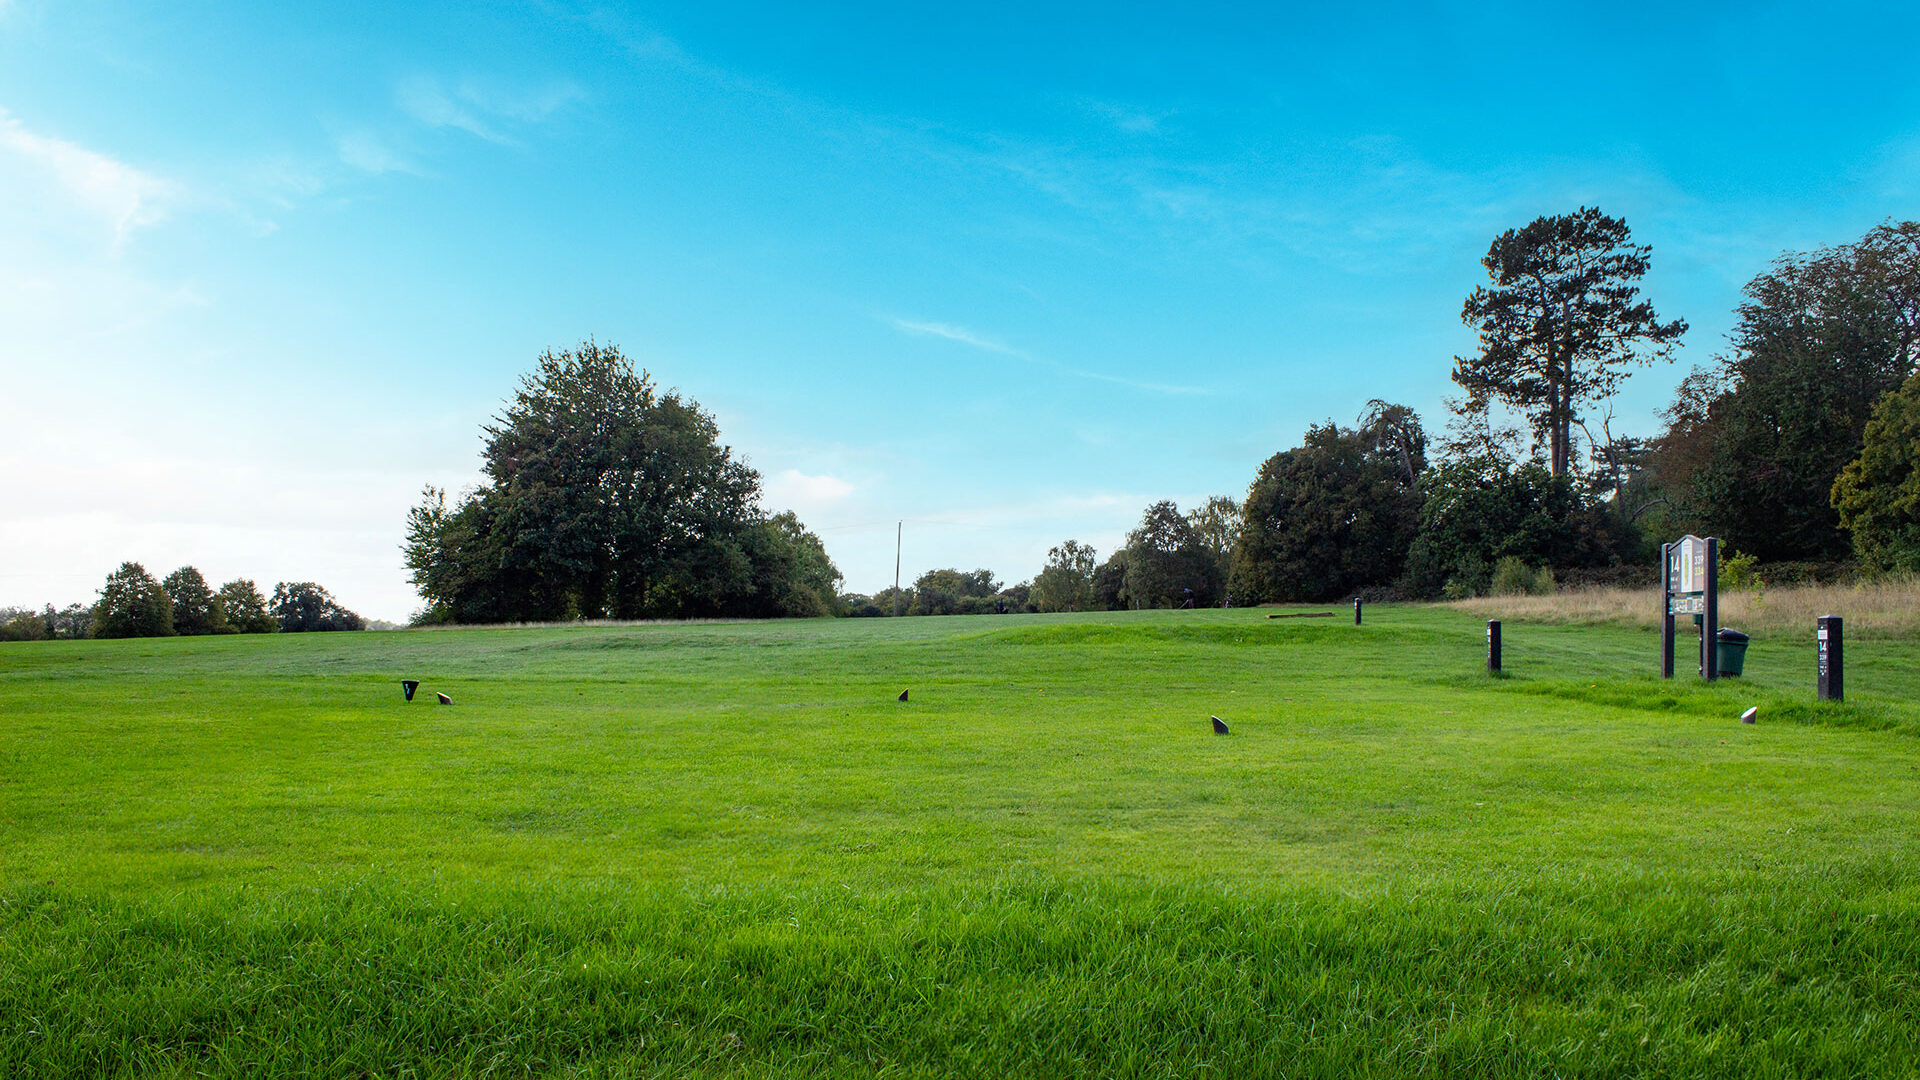
HOLE FOURTEEN
PAR 4, YARDS 339, STROKE INDEX 13
14 of 18
HOLE FOURTEEN
On this par 4, the green slopes from right to left, making putting difficult.
| PAR | YARDS | STROKE | |
|---|---|---|---|
| White Tee | 4 | 339 | 13 |
| Yellow Tee | 4 | 334 | 13 |
| Red Tee | 4 | 315 | 13 |
PRO TIP
Difficult to see the pin from this tee and with woodland either side the key is finding the fairway. Hole Sponsored by

15 of 18
| PAR | YARDS | STROKE | |
|---|---|---|---|
| White Tee | 4 | 356 | 7 |
| Yellow Tee | 4 | 335 | 7 |
| Red Tee | 4 | 326 | 15 |
HOLE FIFTEEN
PAR 4, YARDS 356, STROKE INDEX 7


15 of 18
HOLE FIFTEEN
With a sloped green, it's important you try not to overshoot.
| PAR | YARDS | STROKE | |
|---|---|---|---|
| White Tee | 4 | 356 | 7 |
| Yellow Tee | 4 | 335 | 7 |
| Red Tee | 4 | 326 | 15 |
PRO TIP
A steep downwards slope at both the approach and the back of the green dictates a lighter toucher is required here.
16 of 18
| PAR | YARDS | STROKE | |
|---|---|---|---|
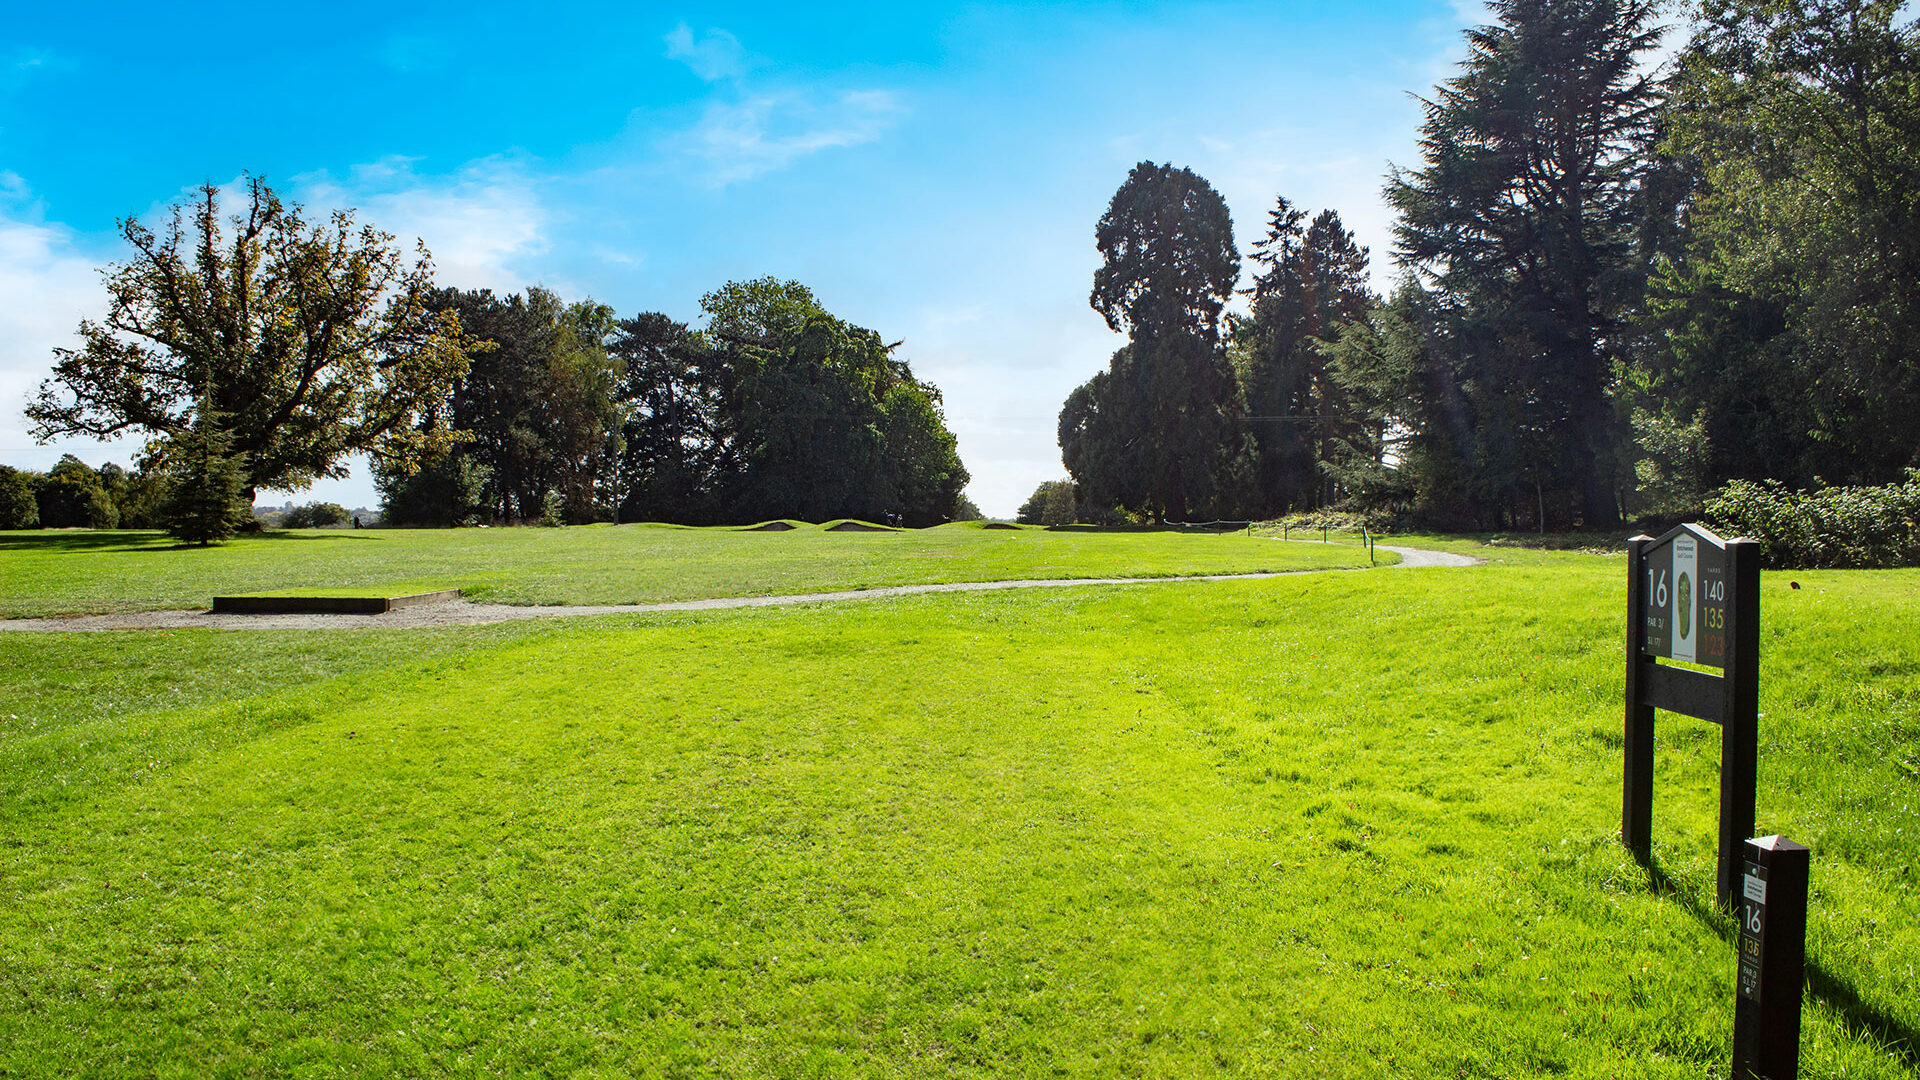
| White Tee | 3 | 140 | 17 |
| Yellow Tee | 3 | 135 | 17 |
| Red Tee | 3 | 123 | 17 |
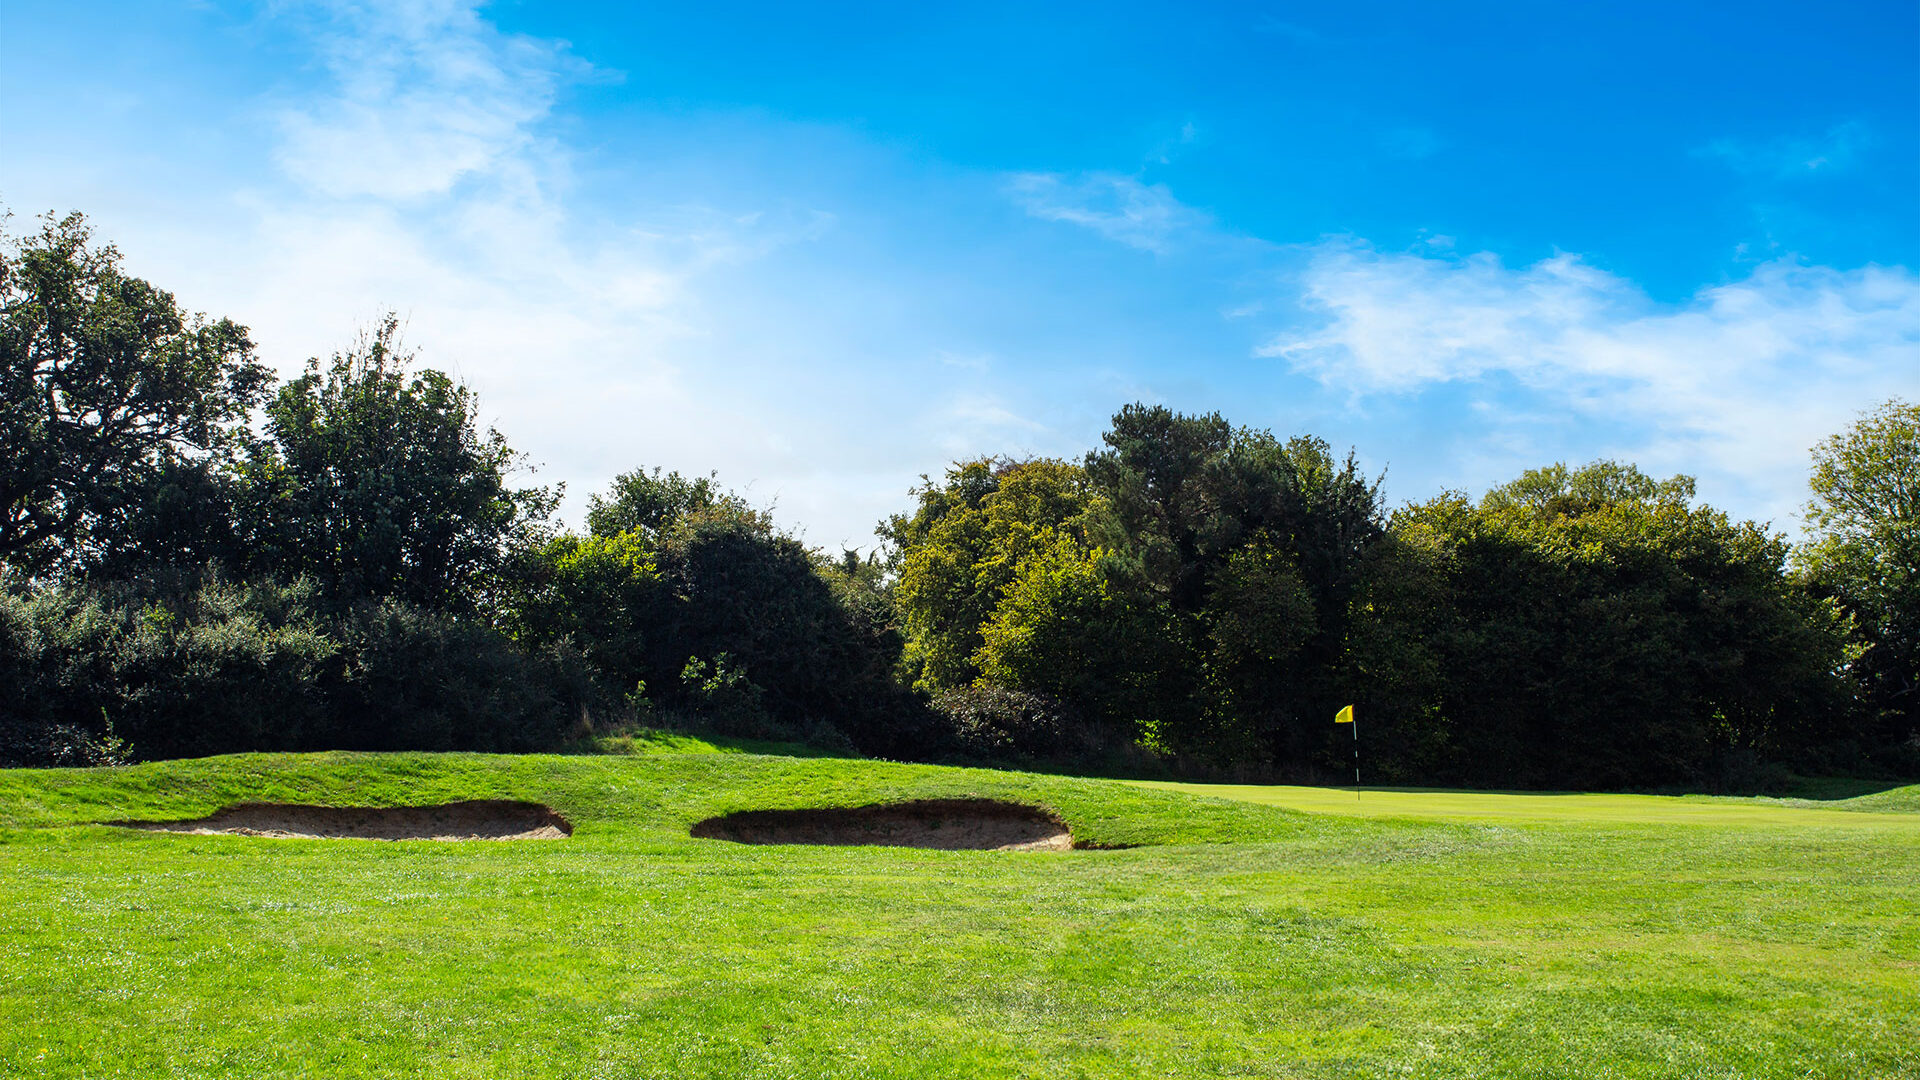
HOLE SIXTEEN
PAR 3, YARDS 140, STROKE INDEX 17
16 of 18
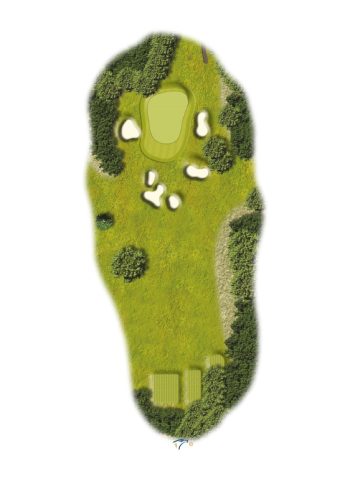
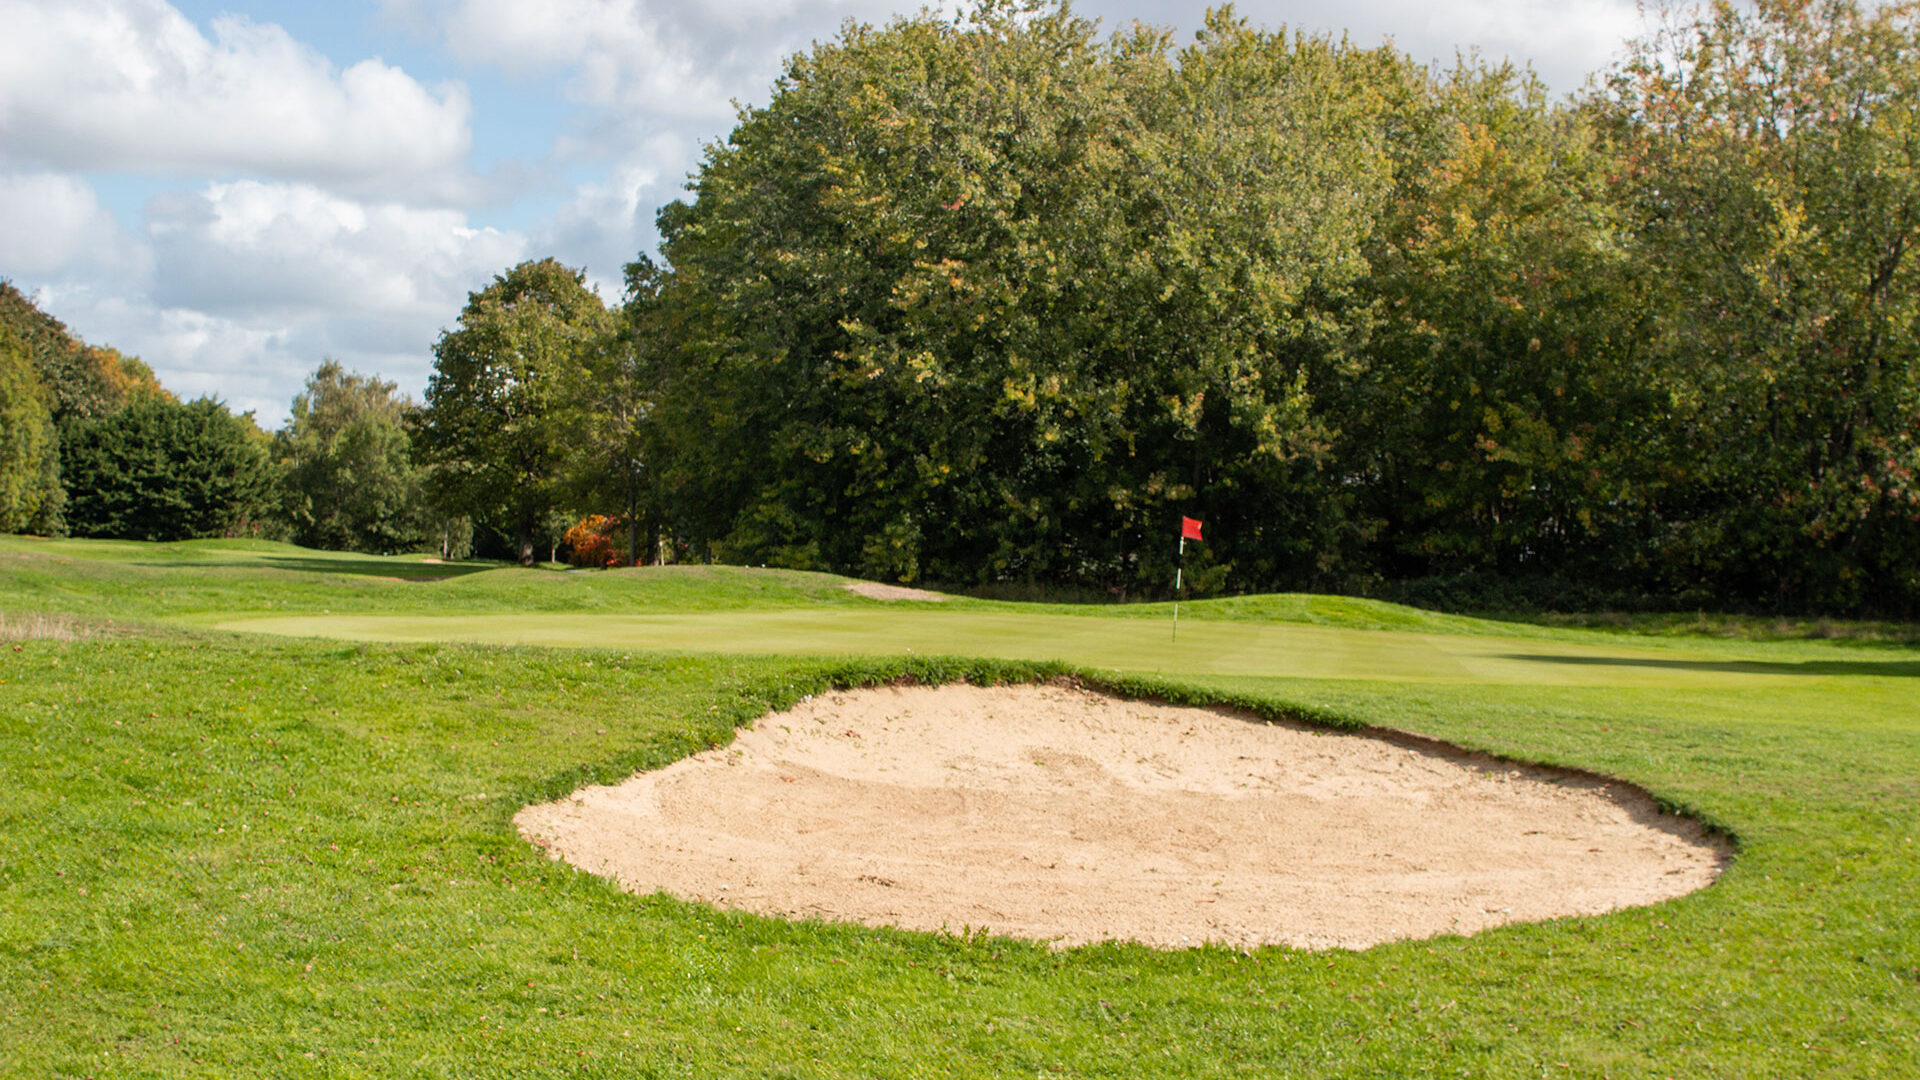
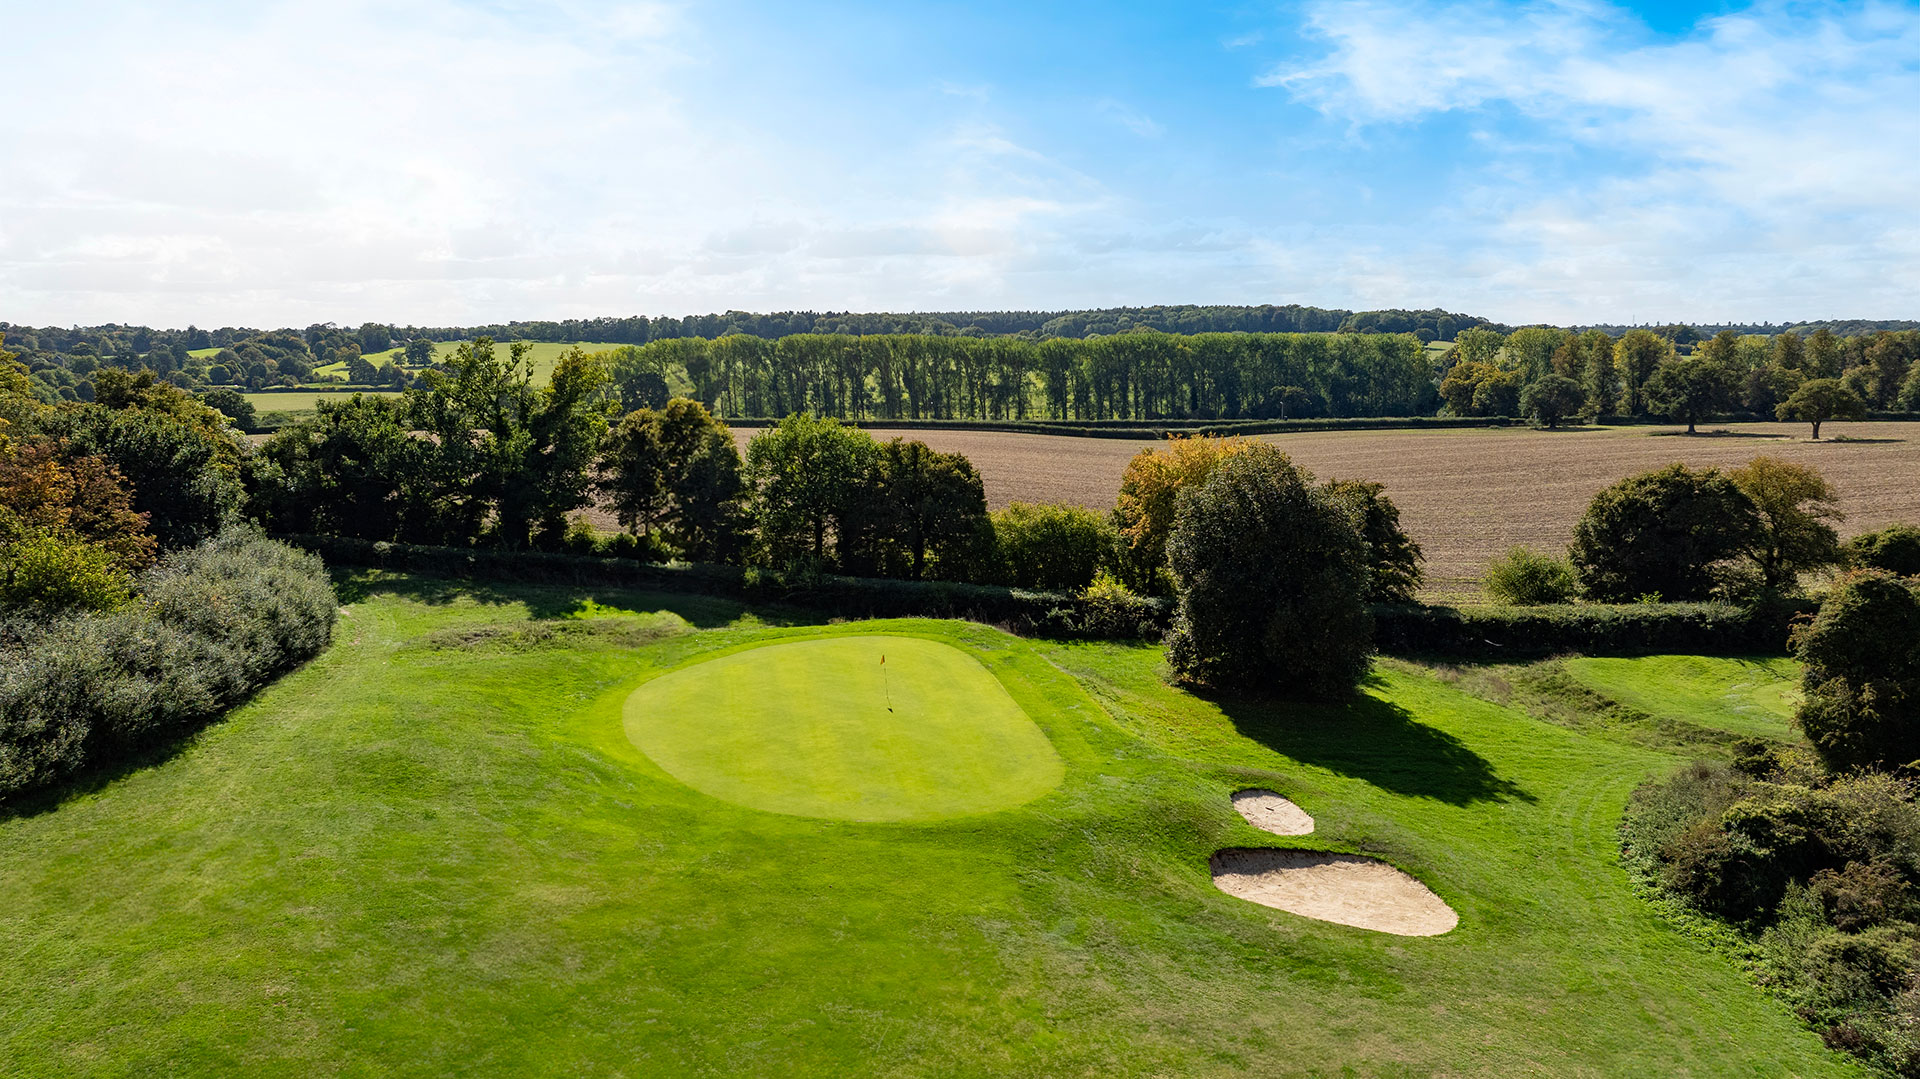
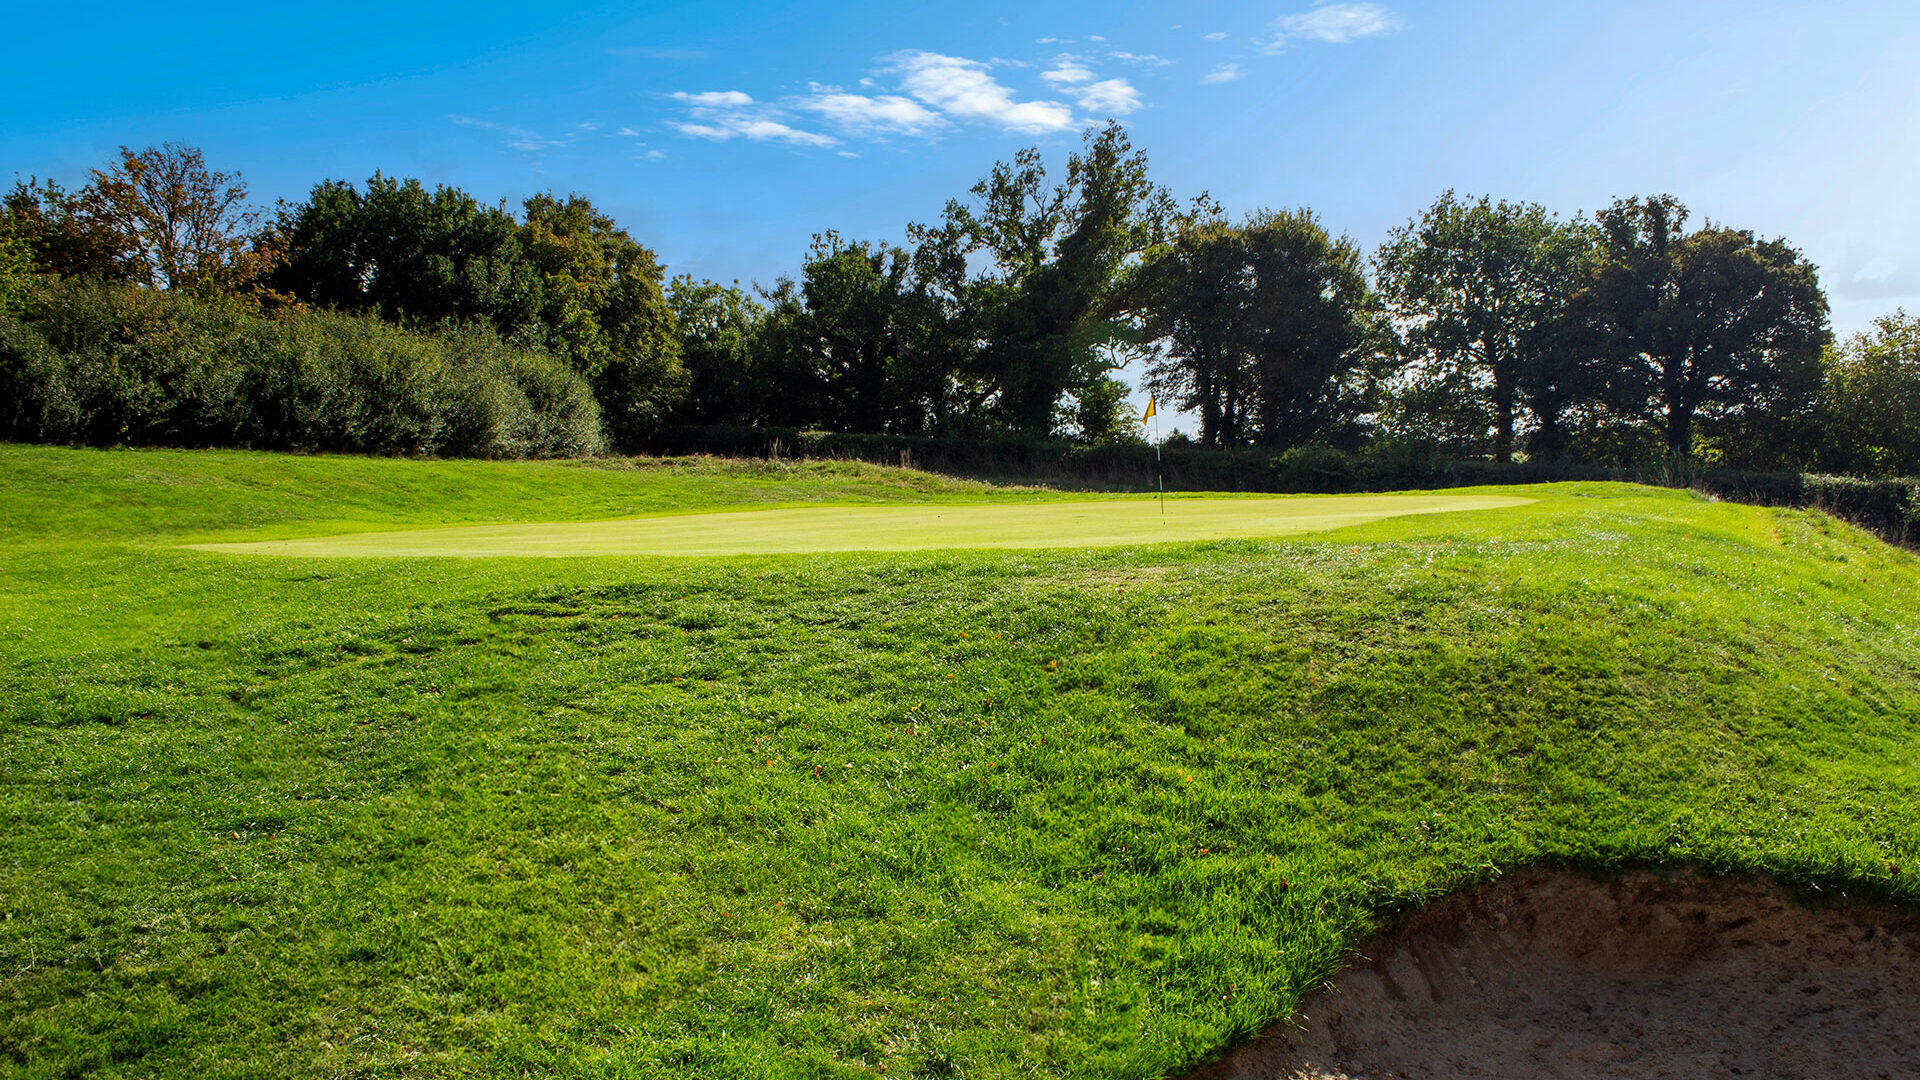
HOLE SIXTEEN
This is a particularly tricky par 3, with a green surrounded by bunkers.
| PAR | YARDS | STROKE | |
|---|---|---|---|
| White Tee | 3 | 140 | 17 |
| Yellow Tee | 3 | 135 | 17 |
| Red Tee | 3 | 123 | 17 |
PRO TIP
Several bunkers at the front and sides of this beautiful par 3.
17 of 18
| PAR | YARDS | STROKE | |
|---|---|---|---|
| White Tee | 5 | 485 | 15 |
| Yellow Tee | 5 | 475 | 15 |
| Red Tee | 5 | 442 | 9 |
HOLE SEVENTEEN
PAR 5, YARDS 485, STROKE INDEX 15
17 of 18
HOLE SEVENTEEN
The penultimate hole - a par 5 - often plays into the wind, making it longer than it seems.
| PAR | YARDS | STROKE | |
|---|---|---|---|
| White Tee | 5 | 485 | 15 |
| Yellow Tee | 5 | 475 | 15 |
| Red Tee | 5 | 442 | 9 |
PRO TIP
Grip it and rip it... a long par 5 with a wide fairway - go for it.
18 of 18
| PAR | YARDS | STROKE | |
|---|---|---|---|
| White Tee | 5 | 462 | 9 |
| Yellow Tee | 5 | 447 | 9 |
| Red Tee | 5 | 416 | 5 |
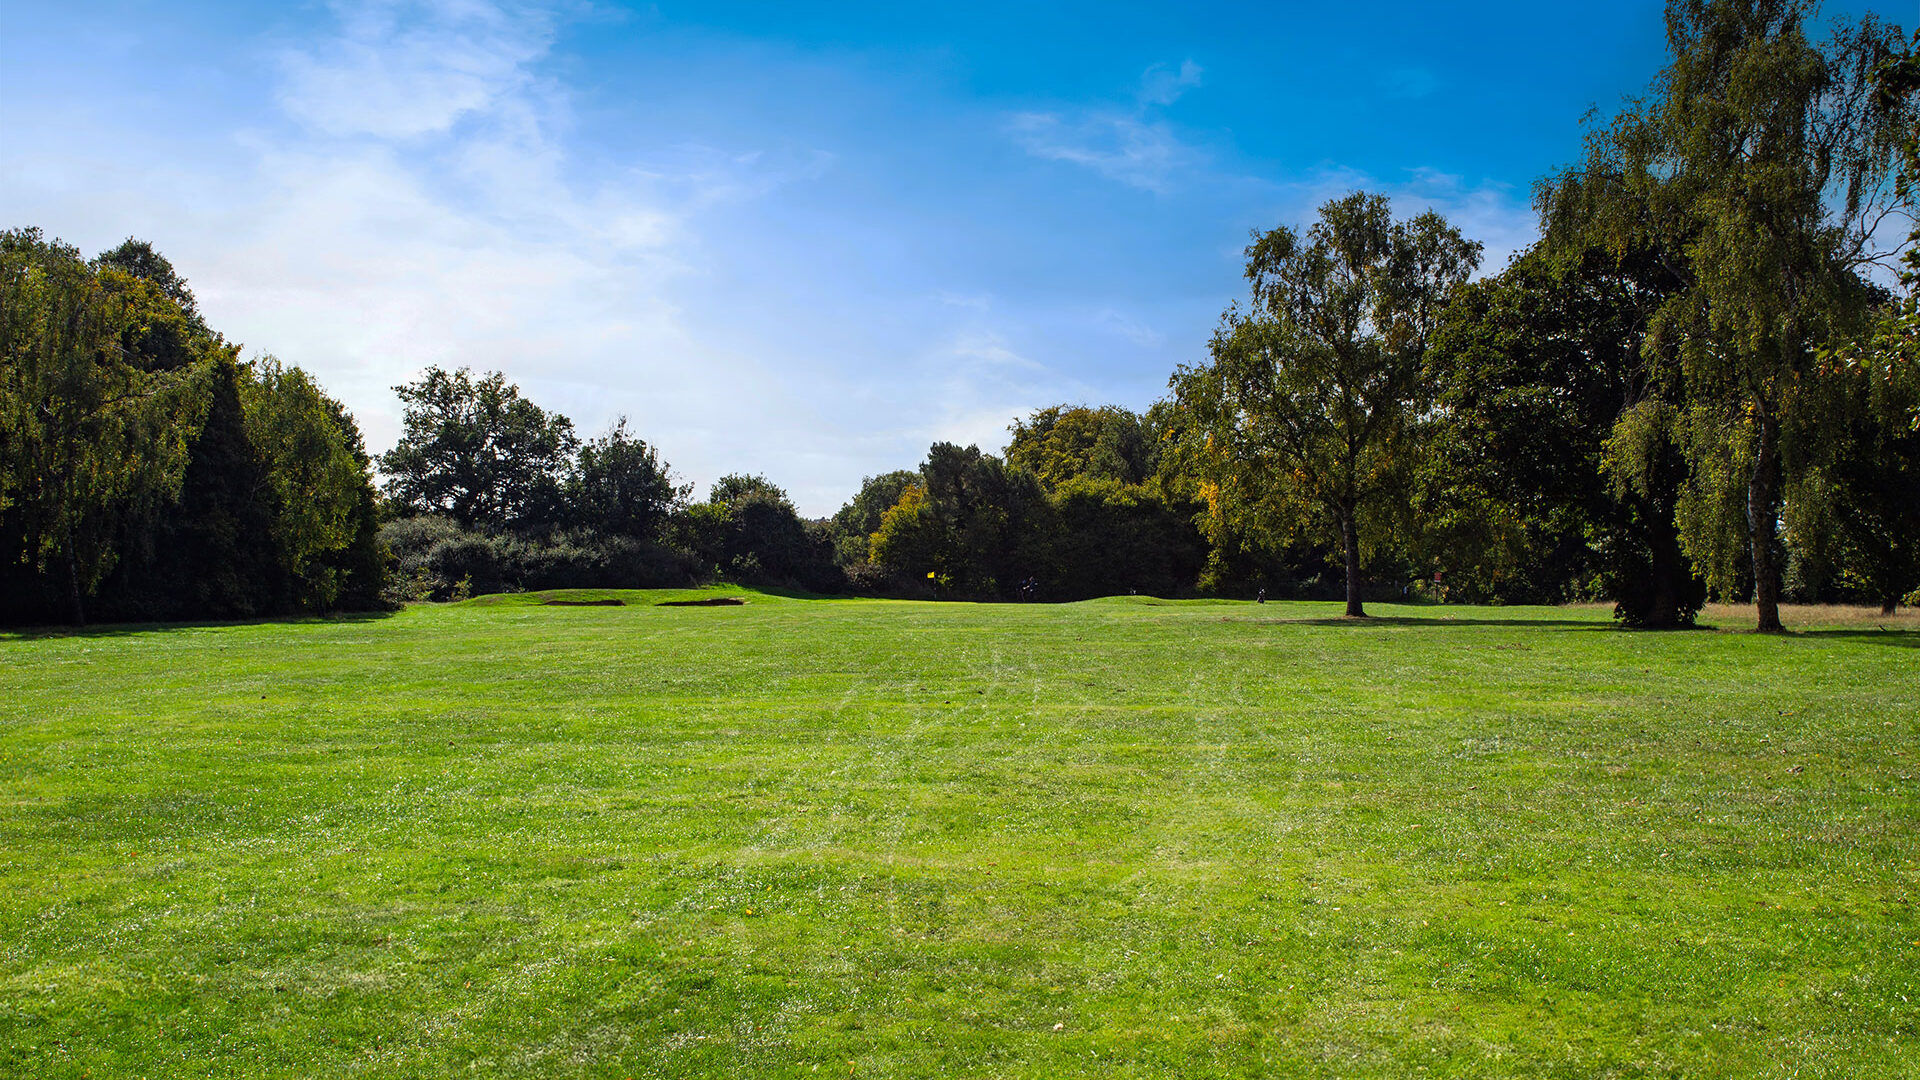
HOLE EIGHTEEN
PAR 5, YARDS 462, STROKE INDEX 9

18 of 18
HOLE EIGHTEEN
It is important to drive the ball straight on this final hole, as there are trees on either side all the way up the fairway.
| PAR | YARDS | STROKE | |
|---|---|---|---|
| White Tee | 5 | 462 | 9 |
| Yellow Tee | 5 | 447 | 9 |
| Red Tee | 5 | 416 | 5 |
PRO TIP
While the first drive is straightforward, the green is surrounded with bunkers, play up to them gently and make the approach far easier. Hole Sponsored by

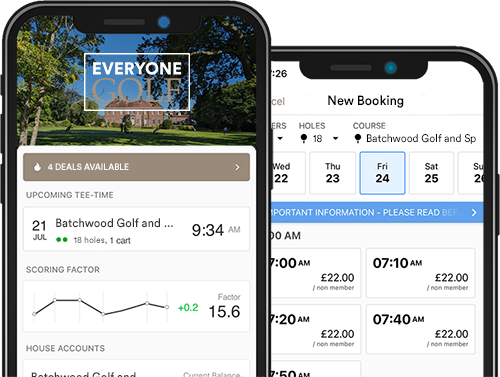
BOOK ANYTIME, ANYWHERE WITH
OUR APP
OUR APP
Easy to use and saves you time. Book with our mobile app. Available on iOS & Android.